文章目录
一、SpringCache是什么?
spring从3.1开始定义了Cache、CacheManager接口来统一不同的缓存技术。并支持使用JCache(JSR-107)注解简化我们的开发
Cache接口的实现包括RedisCache、EhCacheCache、ConcurrentMapCache等。
每次调用需要缓存功能的方法时,spring会检查检查指定参数的指定的目标方法是否已经被调用过;如果有就直接从缓存中获取方法调用后的结果,如果没有就调用方法并缓存结果后返回给用户。下次调用直接从缓存中获取。
使用Spring缓存抽象时我们需要关注以下两点:
1、确定方法需要缓存以及他们的缓存策略
2、从缓存中读取之前缓存存储的数据# 二、使用步骤
二、SpringCache简单使用(整合redis)
1.引入依赖
<dependency>
    <groupId>org.springframework.boot</groupId>
    <artifactId>spring-boot-starter-cache</artifactId>
</dependency>

<!-- 引入redis -->
<dependency>
	<groupId>org.springframework.boot</groupId>
	<artifactId>spring-boot-starter-data-redis</artifactId>
</dependency>
2.自动配置缓存源代码
1.CacheAutoConfiguration
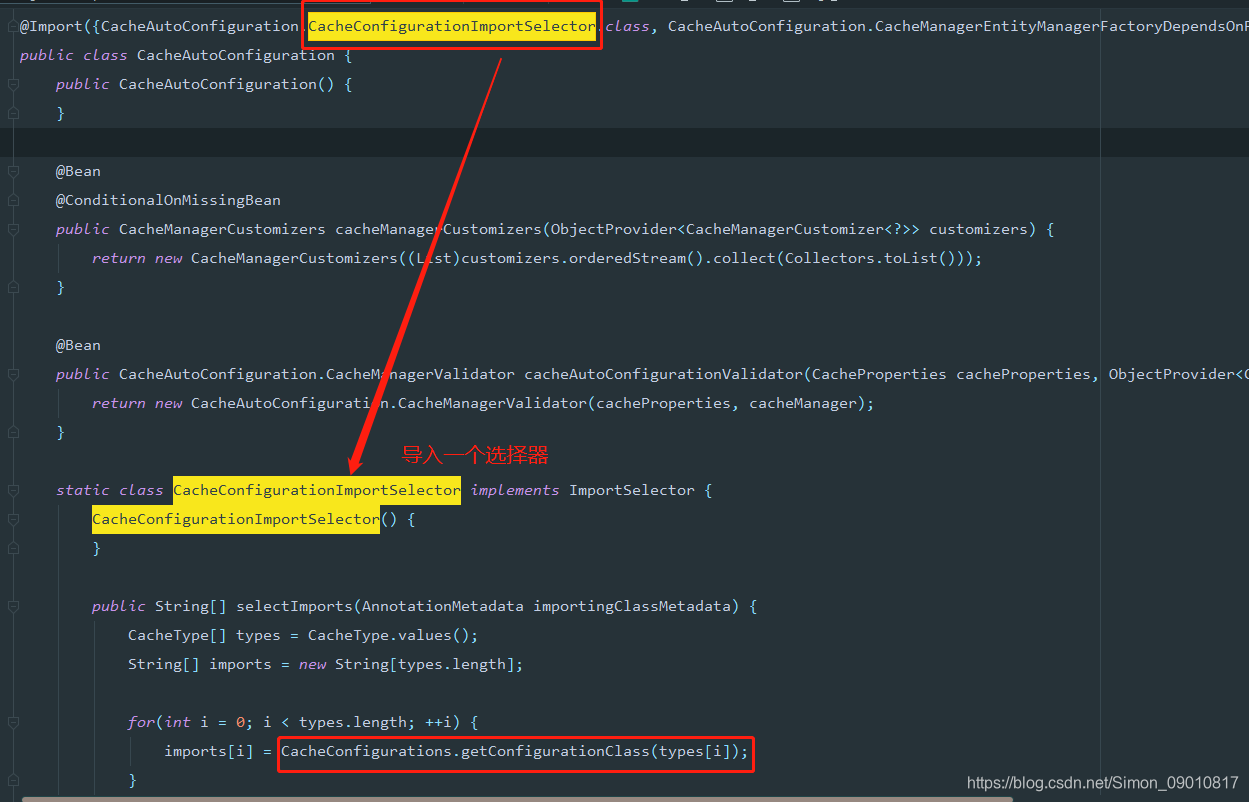
缓存的自动配置在CacheAutoConfiguration.class类中
在CacheAutoConfiguration–> CacheConfigurations --> RedisCacheConfiguration
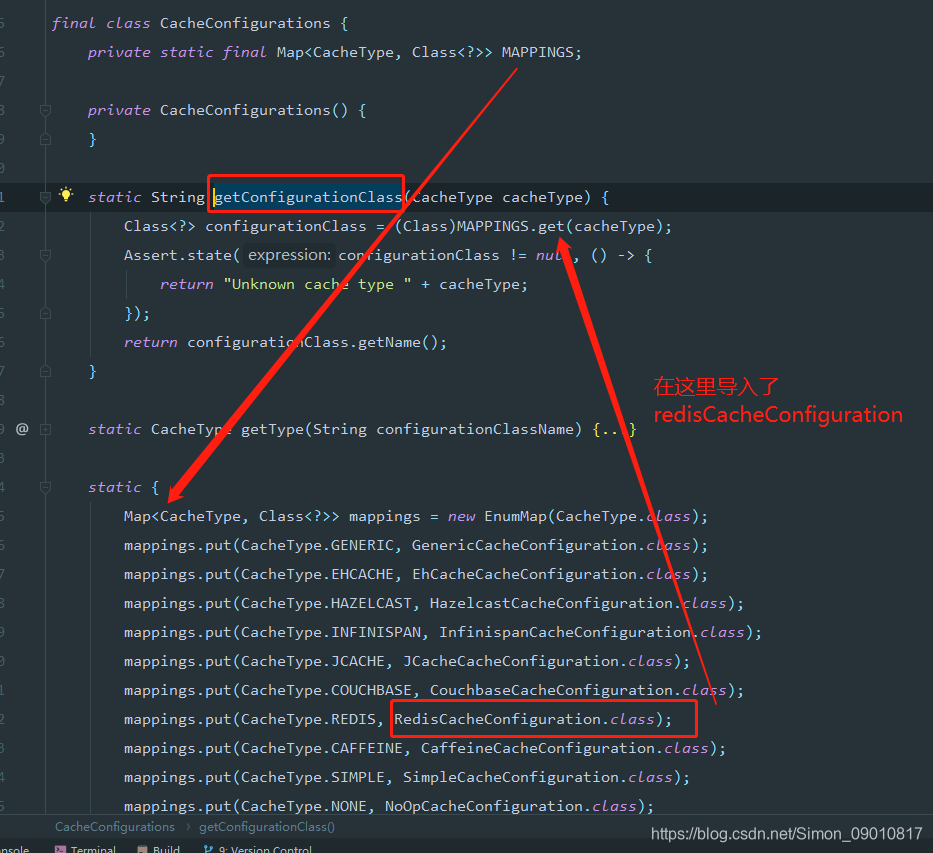
在CacheAutoConfiguration中导入了一个selector选择器,选择器中调用CacheConfigurations 中的getConfigurationClass方法,CacheConfigurations 类中加载了一个map,在静态代码块中定义了缓存的类型种类。其中就有RedisCacheConfiguration。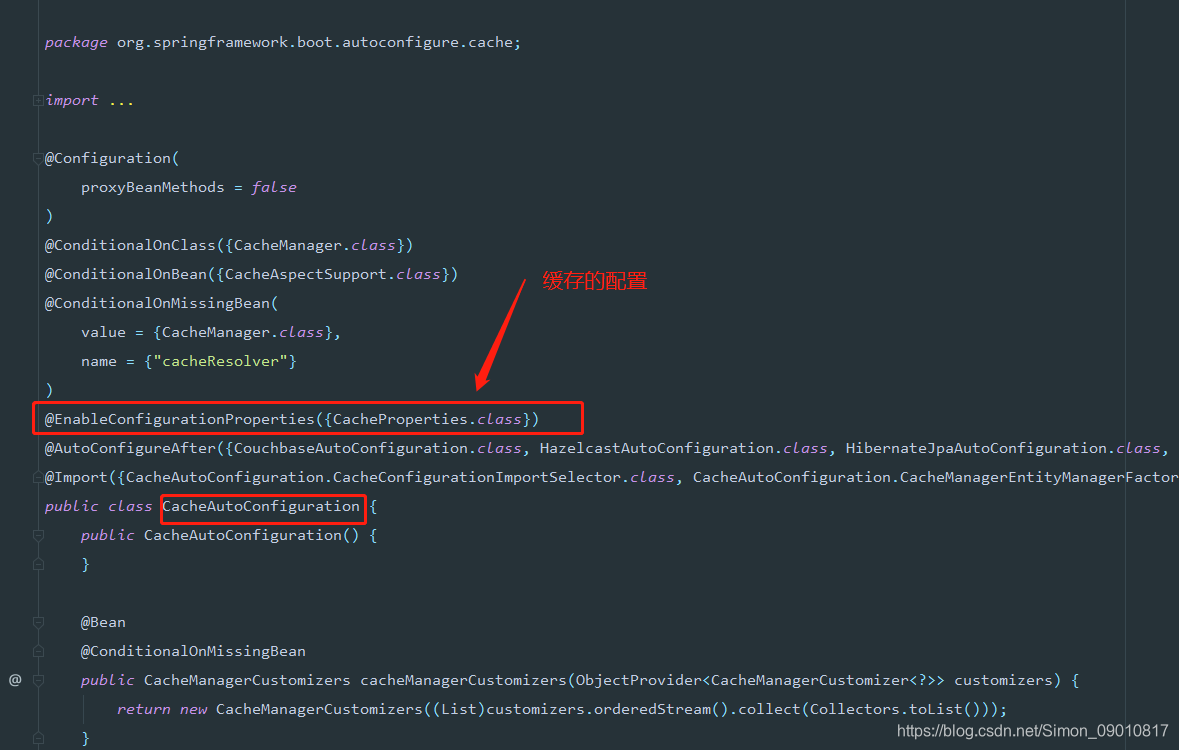
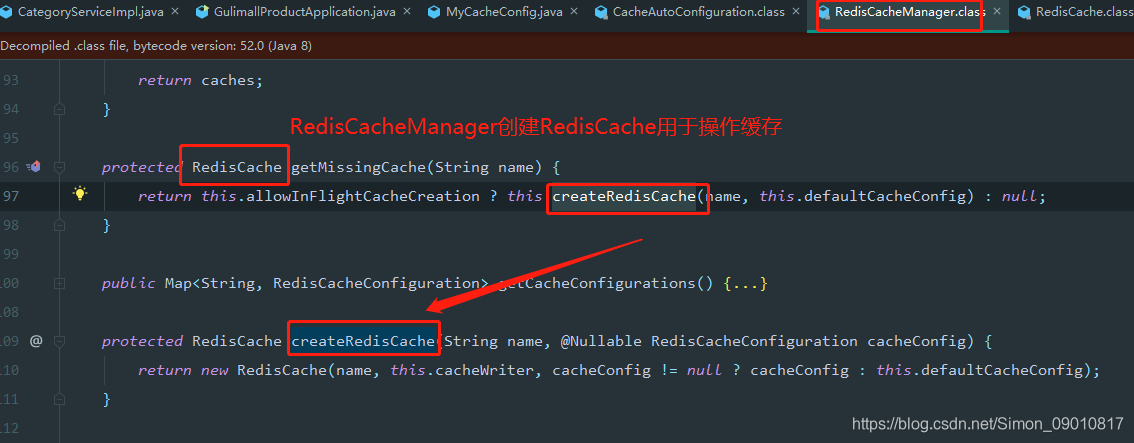
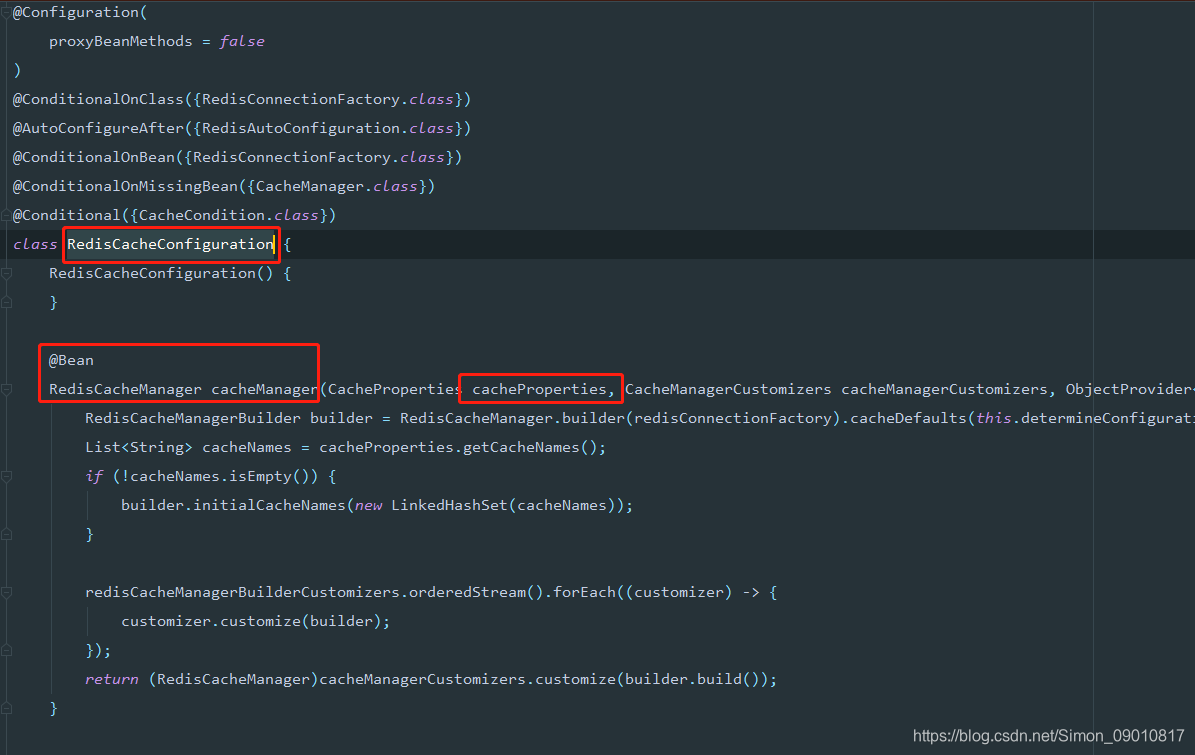
2.自动配置RedisCacheConfiguration
RedisCacheConfiguration中注入了RedisCacheManager.
3.自定义配置缓存
默认配置中:
value的序列化方式: 缓存超时时间ttl:
key的序列化方式:
1.定义配置类,重新注入RedisCacheConfiguration
使用@EnableCaching开启缓存
@Configuration
@EnableCaching
public class MyCacheConfig {
@Bean
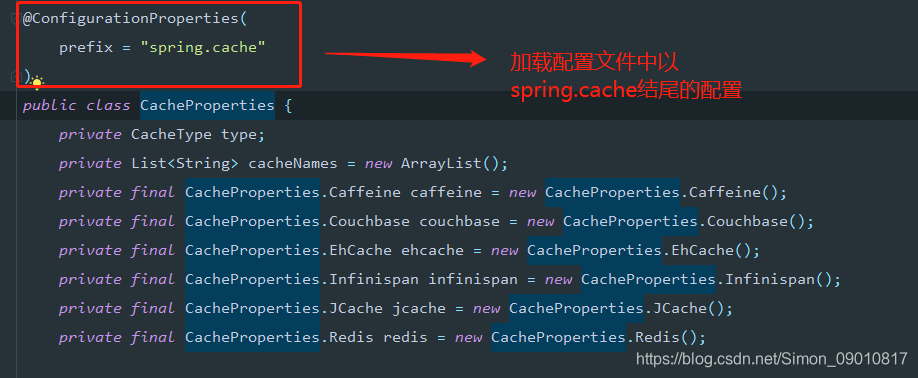
public RedisCacheConfiguration redisCacheConfiguration(CacheProperties cacheProperties) {
//读取配置文件中的配置
CacheProperties.Redis redisProperties = cacheProperties.getRedis();
RedisCacheConfiguration config = RedisCacheConfiguration.defaultCacheConfig();
//指定缓存序列化方式为json
config = config.serializeValuesWith(
RedisSerializationContext.SerializationPair.fromSerializer(new GenericJackson2JsonRedisSerializer()));
//设置配置文件中的各项配置,如过期时间
if (redisProperties.getTimeToLive() != null) {
config = config.entryTtl(redisProperties.getTimeToLive());
}
if (redisProperties.getKeyPrefix() != null) {
config = config.prefixKeysWith(redisProperties.getKeyPrefix());
}
if (!redisProperties.isCacheNullValues()) {
config = config.disableCachingNullValues();
}
if (!redisProperties.isUseKeyPrefix()) {
config = config.disableKeyPrefix();
}
return config;
}
}
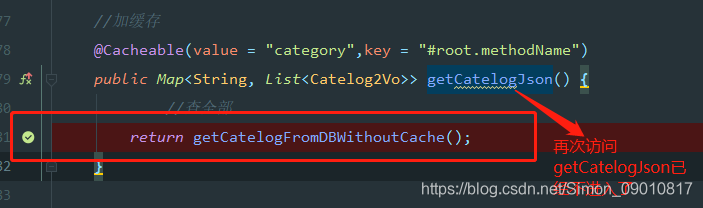
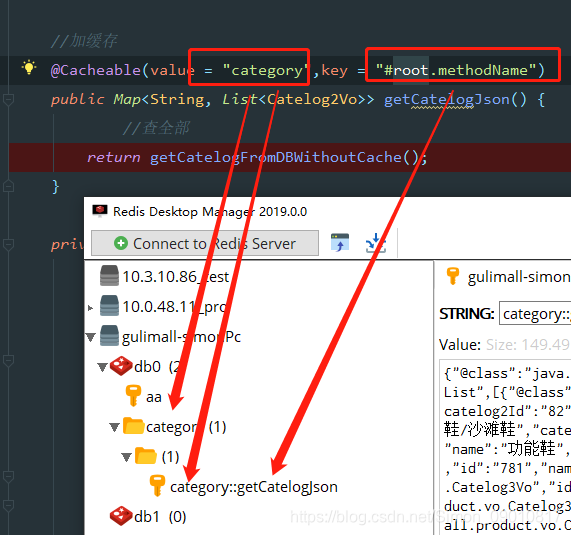
2.改造三级分类缓存代码
 	//加缓存
    @Cacheable(value = "category",key = "#root.methodName")
    public Map<String, List<Catelog2Vo>> getCatelogJson() {
            //查全部
        return getCatelogFromDBWithoutCache();
    }

    private Map<String, List<Catelog2Vo>> getCatelogFromDBWithoutCache() {
        List<CategoryEntity> categoryEntities = baseMapper.selectList(null);
        //查询所有一级目录
        List<CategoryEntity> categoryLevel01 = getCategoryEntities(categoryEntities, 0L);
        Map<String, List<Catelog2Vo>> parent_cid = categoryLevel01.stream().collect(Collectors.toMap(k -> k.getCatId().toString(), v -> {
            //遍历 拿到每个一级分类的二级分类
            List<CategoryEntity> categoryLevel02 = getCategoryEntities(categoryEntities, v.getCatId());
            List<Catelog2Vo> catelog2Vos = null;
            if (categoryLevel02 != null) {
                catelog2Vos = (List<Catelog2Vo>) categoryLevel02.stream().map(l2 -> {
                    Catelog2Vo catelog2Vo = new Catelog2Vo(v.getCatId().toString(), l2.getName(), l2.getCatId().toString(), null);
                    //三级分类
                    List<CategoryEntity> categoryLevel03 = getCategoryEntities(categoryEntities, l2.getCatId());
                    if (categoryLevel03 != null) {
                        List<Catelog3Vo> catelog3Vo = categoryLevel03.stream().map(l3 -> new Catelog3Vo(l3.getCatId().toString(), l3.getName(), l2.getCatId().toString())).collect(Collectors.toList());
                        catelog2Vo.setCatelog3VoList(catelog3Vo);
                    }
                    return catelog2Vo;
                }).collect(Collectors.toList());
            }
            return catelog2Vos;
        }));
        return parent_cid;
    }
3.测试缓存是否起作用
启动nacos nginx redis gateway product模块。(前提条件是配置好了nginx转发的gateway进行负载均衡)。
访问gulimall.com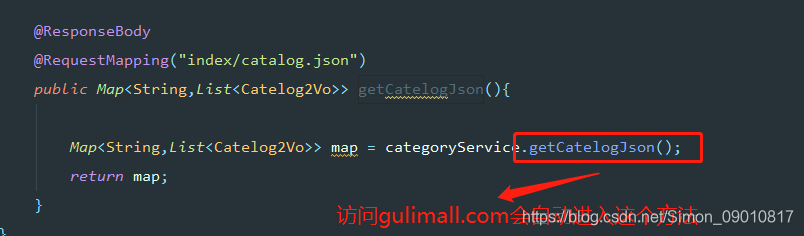
查看redis中存储情况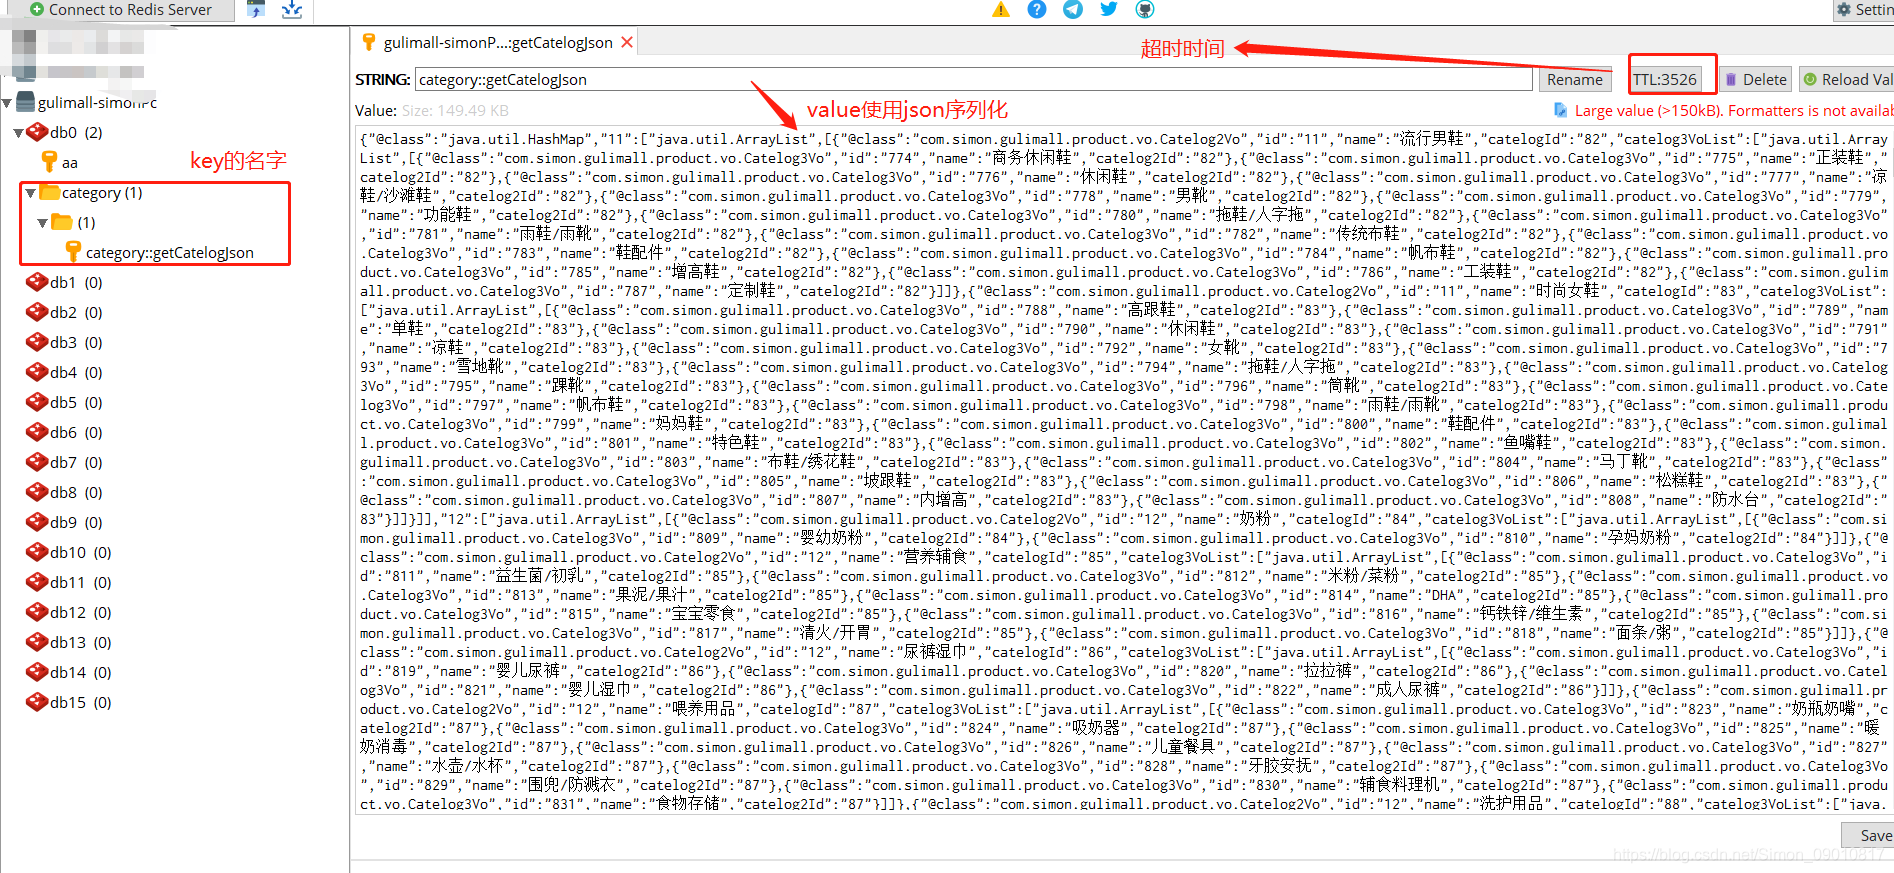
4.springCache注解的使用
1.@Cacheable
@Cacheable:表示该方法的结果需要保存到缓存中。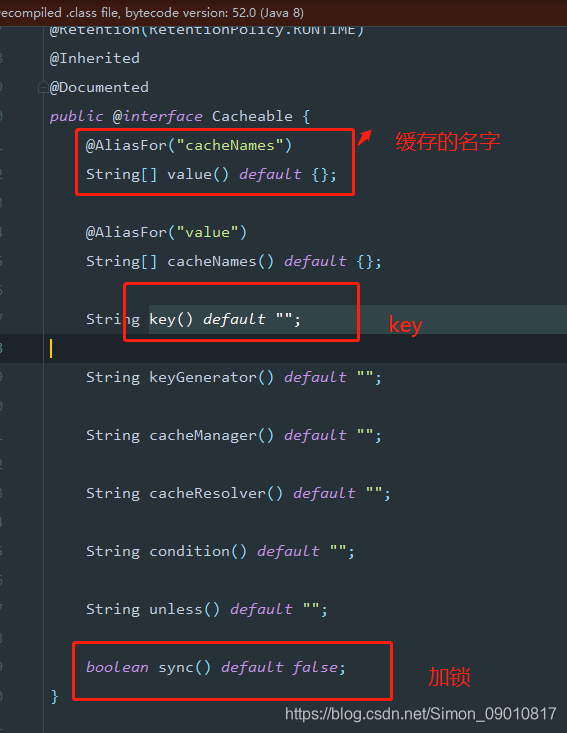
2.@CacheEvict
@CacheEvict:表示需要清空缓存。
@CacheEvict(value = {“category”}, allEntries = true) : 删除这个分区所有数据
    @CacheEvict(value = {"category"}, allEntries = true)
    @Override
    public void updateCascade(CategoryEntity category) {
        this.updateById(category);
        categoryBrandRelationService.updateCategory(category.getCatId(), category.getName());
    }
@Caching: 同时进行多种缓存操作
@Caching(evict = {
		@CacheEvict(value = {"category"}, key = "'getLevel1Categorys'"),
		@CacheEvict(value = {"category"}, key = "'getCatelogJson'")
})
4.springCache解决缓存失效问题
1.缓存穿透
大并发请求下查询一个null数据。导致请求穿过缓存,直接查数据库
解决方案:缓存空数据,
可通过spring.cache.redis.cache-null-values=true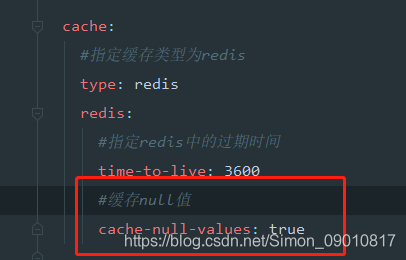
2.缓存雪崩
大量的key同时过期。
解决方案:设置过期时间,加随机时间。
3.缓存击穿
大量并发进来同时查询一个正好过期的数据。
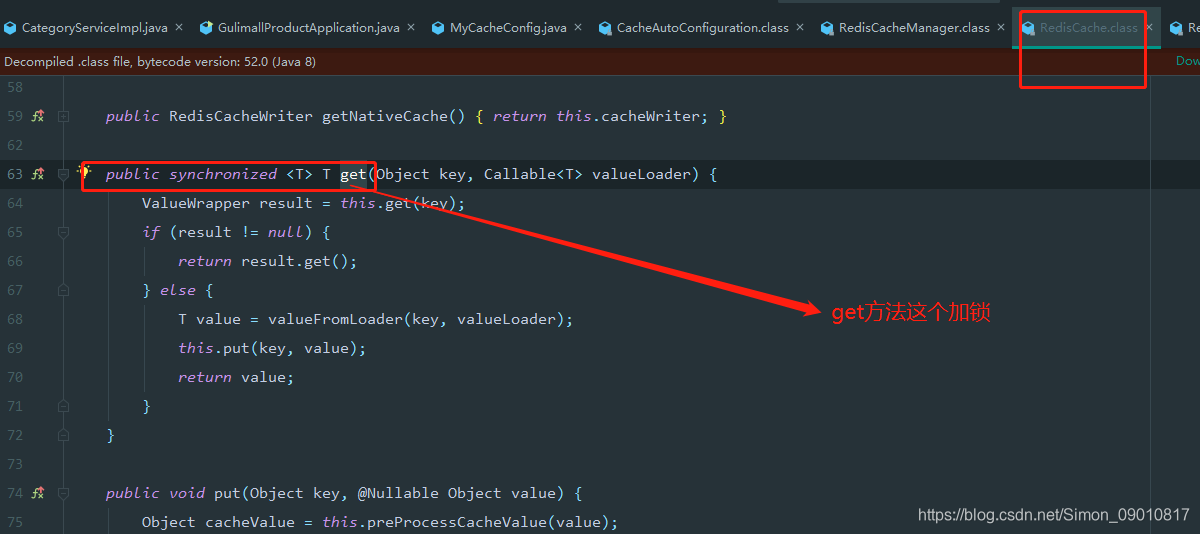
解决方案:使用@Caching并加锁 sync = true。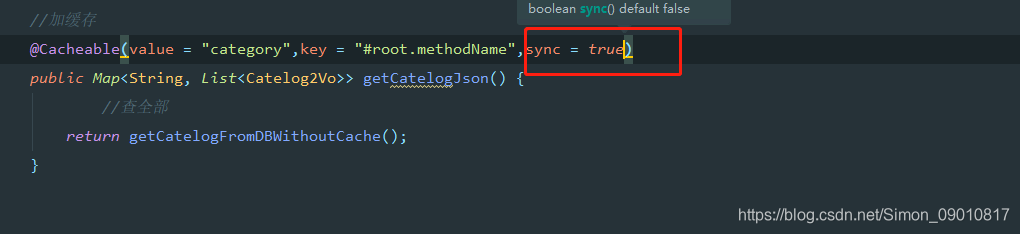
默认情况下是不加锁的。
查找源码: