1.以root用户登录linux,修改/etc/my.cnf
公司的MySQL数据库my.cnf文件路径 /home/mysql/mysql3306/my.cnf
vim /home/mysql/mysql3306/my.cnf
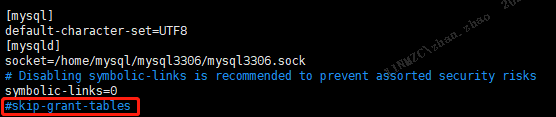
2.在[mysqld]的段中加上一句:skip-grant-tables
[mysqld]
datadir=/var/lib/mysql
socket=/var/lib/mysql/mysql.sock
skip-grant-tables
3.退出保存,重新启动mysqld
nohup /usr/local/mysql57/bin/mysqld_safe --defaults-file=/home/mysql/mysql3306/my.cnf &
4.登录并修改MySQL的root密码 12345678
命令如下:
//进入 mysq lbin路径
[root@localhost ~]# cd /usr/local/mysql57/
//输入新密码
[root@localhost bin]# ./mysql -uroot -p
Enter password:
//直接回车
use mysql;
//刷新权限:
flush privileges;
5.还原/etc/my.cnf
6.重启服务
nohup /usr/local/mysql57/bin/mysqld_safe --defaults-file=/home/mysql/mysql3306/my.cnf &
登陆MySQL
[root@localhost ~]# mysql -u root -p
其他:修改密码
update user set password = password('new-password') where user = 'root' ;
or
update user set authentication_string= password('new-password') where user = 'root' ;
7.顺便把confluence 数据库用户创建了
mysql> create database confluence default character set utf8 collate utf8_bin;
mysql> grant all on confluence.* to 'confluencer'@'%' identified by 12345678';
mysql> flush privileges;