Feign概述
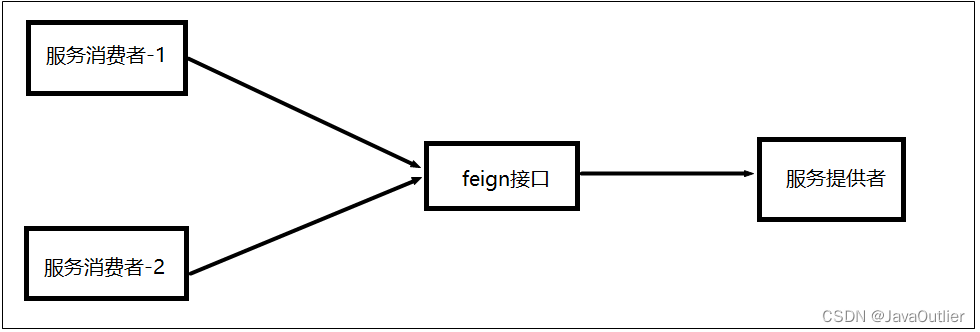
Feign是Spring Cloud提供的声明式、模板化的HTTP客户端, 它使得调用远程服务就像调用本地服务一样简单,只需要创建一个接口并添加一个注解即可。
Spring Cloud集成Feign并对其进行了增强,使Feign支持了Spring MVC注解;Feign默认集成了Ribbon,所以Fegin默认就实现了负载均衡的效果。
Feign入门
创建服务提供者feign_provider
//目录结构
java
    com.feign
          controller
              ProviderController
          service
              UserService
              UserServiceImpl
          FeignProviderApp
resources
    application.yml

//yml
server:
  port: 9090
spring:
  cloud:
    nacos:
      discovery:
        server-addr: 192.168.222.132:8848 #nacos服务的地址
  application:
    name: feign-provider #向注册中心注册的名字

//controller
@RestController
@RequestMapping("/provider")
public class ProviderController {
    @Autowired
    private UserService userService;

    @RequestMapping("/getUserById/{id}")
    public User getUserById(@PathVariable Integer id){
        return userService.getUserById(id);
    }
}

//service
public interface UserService {
    User getUserById(Integer id);
}

//serviceImpl
@Service
public class UserServiceImpl implements UserService {
           //这里做一个简单得到判断
         @Override
        public User getUserById(Integer id) {
            if(id == 1){
                return new User(id,"Feign-provider-1",1);
            }
            return new User(id,"Feign-provider+"+id,18);
        }
}

//FeignProviderApp
@SpringBootApplication
@EnableDiscoveryClient
public class FeignProviderApp{
    public static void main(String[] args) {
        SpringApplication.run(FeignProviderApp.class,args);
    }
}

//依赖
    <dependencies>
        <dependency>
            <groupId>org.springframework.boot</groupId>
            <artifactId>spring-boot-starter-web</artifactId>
        </dependency>
        <dependency>
            <groupId>com.alibaba.cloud</groupId>
            <artifactId>spring-cloud-starter-alibaba-nacos-discovery</artifactId>
        </dependency>
    </dependencies>


############################################################
需要spring-*-web和spring-*-nacos-discovery依赖
服务提供者仅仅需要向nacos中注册即可  需要再运行类上面加上@EnableDiscoveryClient即可
创建feign接口feign_provider
//目录结构
java
    com.feign
          FeignInterface

//接口代码
@FeignClient("feign-provider")//这个名字需要跟前面注册到nacos中的provoder的注册服务名字保持一致
@RequestMapping("/provider")  //保持与provider一致
public interface FeignInterface {

    @RequestMapping("/getUserById/{id}")  //保持与provider一致
    User getUserById (@PathVariable("id") Integer id);
}

//依赖
 <dependencies>
        <!--Spring Cloud OpenFeign Starter -->
        <dependency>
            <groupId>org.springframework.cloud</groupId>
            <artifactId>spring-cloud-starter-openfeign</artifactId>
        </dependency>
    </dependencies>


###############################################################################
接口需要openfeign依赖  然后开放注册到nacos中的provider的某一个接口
仅仅需要再interface上面添加一个@feignclient即可
创建服务的消费者feign_consumer
//目录结构
java
    com.feign
          controller
              ConsumerController
          ConsumerApp
resources
    application.yml

//yml
server:
  port: 80
spring:
  cloud:
    nacos:
      discovery:
        server-addr: 192.168.222.132:8848 #nacos服务的地址
  application:
    name: feign-consumer #向注册中心注册的名字

//ConsumerController
@RestController
@RequestMapping(value = "/consumer")
public class ConsumerController {

    @Autowired
    private FeignInterface feignInterface;

    @RequestMapping(value = "/getUserById/{id}")
    public User getUserById(@PathVariable Integer id) {
        return feignInterface.getUserById(id);
    }
}

//ConsumerApp
@SpringBootApplication
@EnableDiscoveryClient
@EnableFeignClients  //开启feign接口扫描  注意consumer与interface里面的包名保持一致
public class ConsumerApp {
    public static void main(String[] args) {
        SpringApplication.run(ConsumerApp.class,args);
    }
}

//依赖
<dependencies>
        <dependency>
            <groupId>org.springframework.boot</groupId>
            <artifactId>spring-boot-starter-web</artifactId>
        </dependency>
        <dependency>
            <groupId>com.alibaba.cloud</groupId>
            <artifactId>spring-cloud-starter-alibaba-nacos-discovery</artifactId>
        </dependency>
        <dependency>
            <groupId>com.feign</groupId>
            <artifactId>feign_interface</artifactId>
            <version>1.0-SNAPSHOT</version>
        </dependency>
    </dependencies>

############################################################
需要spring-*-web和spring-*-nacos-discovery依赖  同时还要将interface类引入依赖
服务消费者需要向nacos中注册同时还需要 扫描onterface包
需要再运行类上面加上@EnableDiscoveryClient和@EnableFeignClients
启动测试
访问:http://localhost/consumer/getUserById/1
结果:{"id":1,"name":"Feign-provider-1","age":1}


访问:http://localhost/consumer/getUserById/6
结果:{"id":6,"name":"Feign-provider+6","age":18} 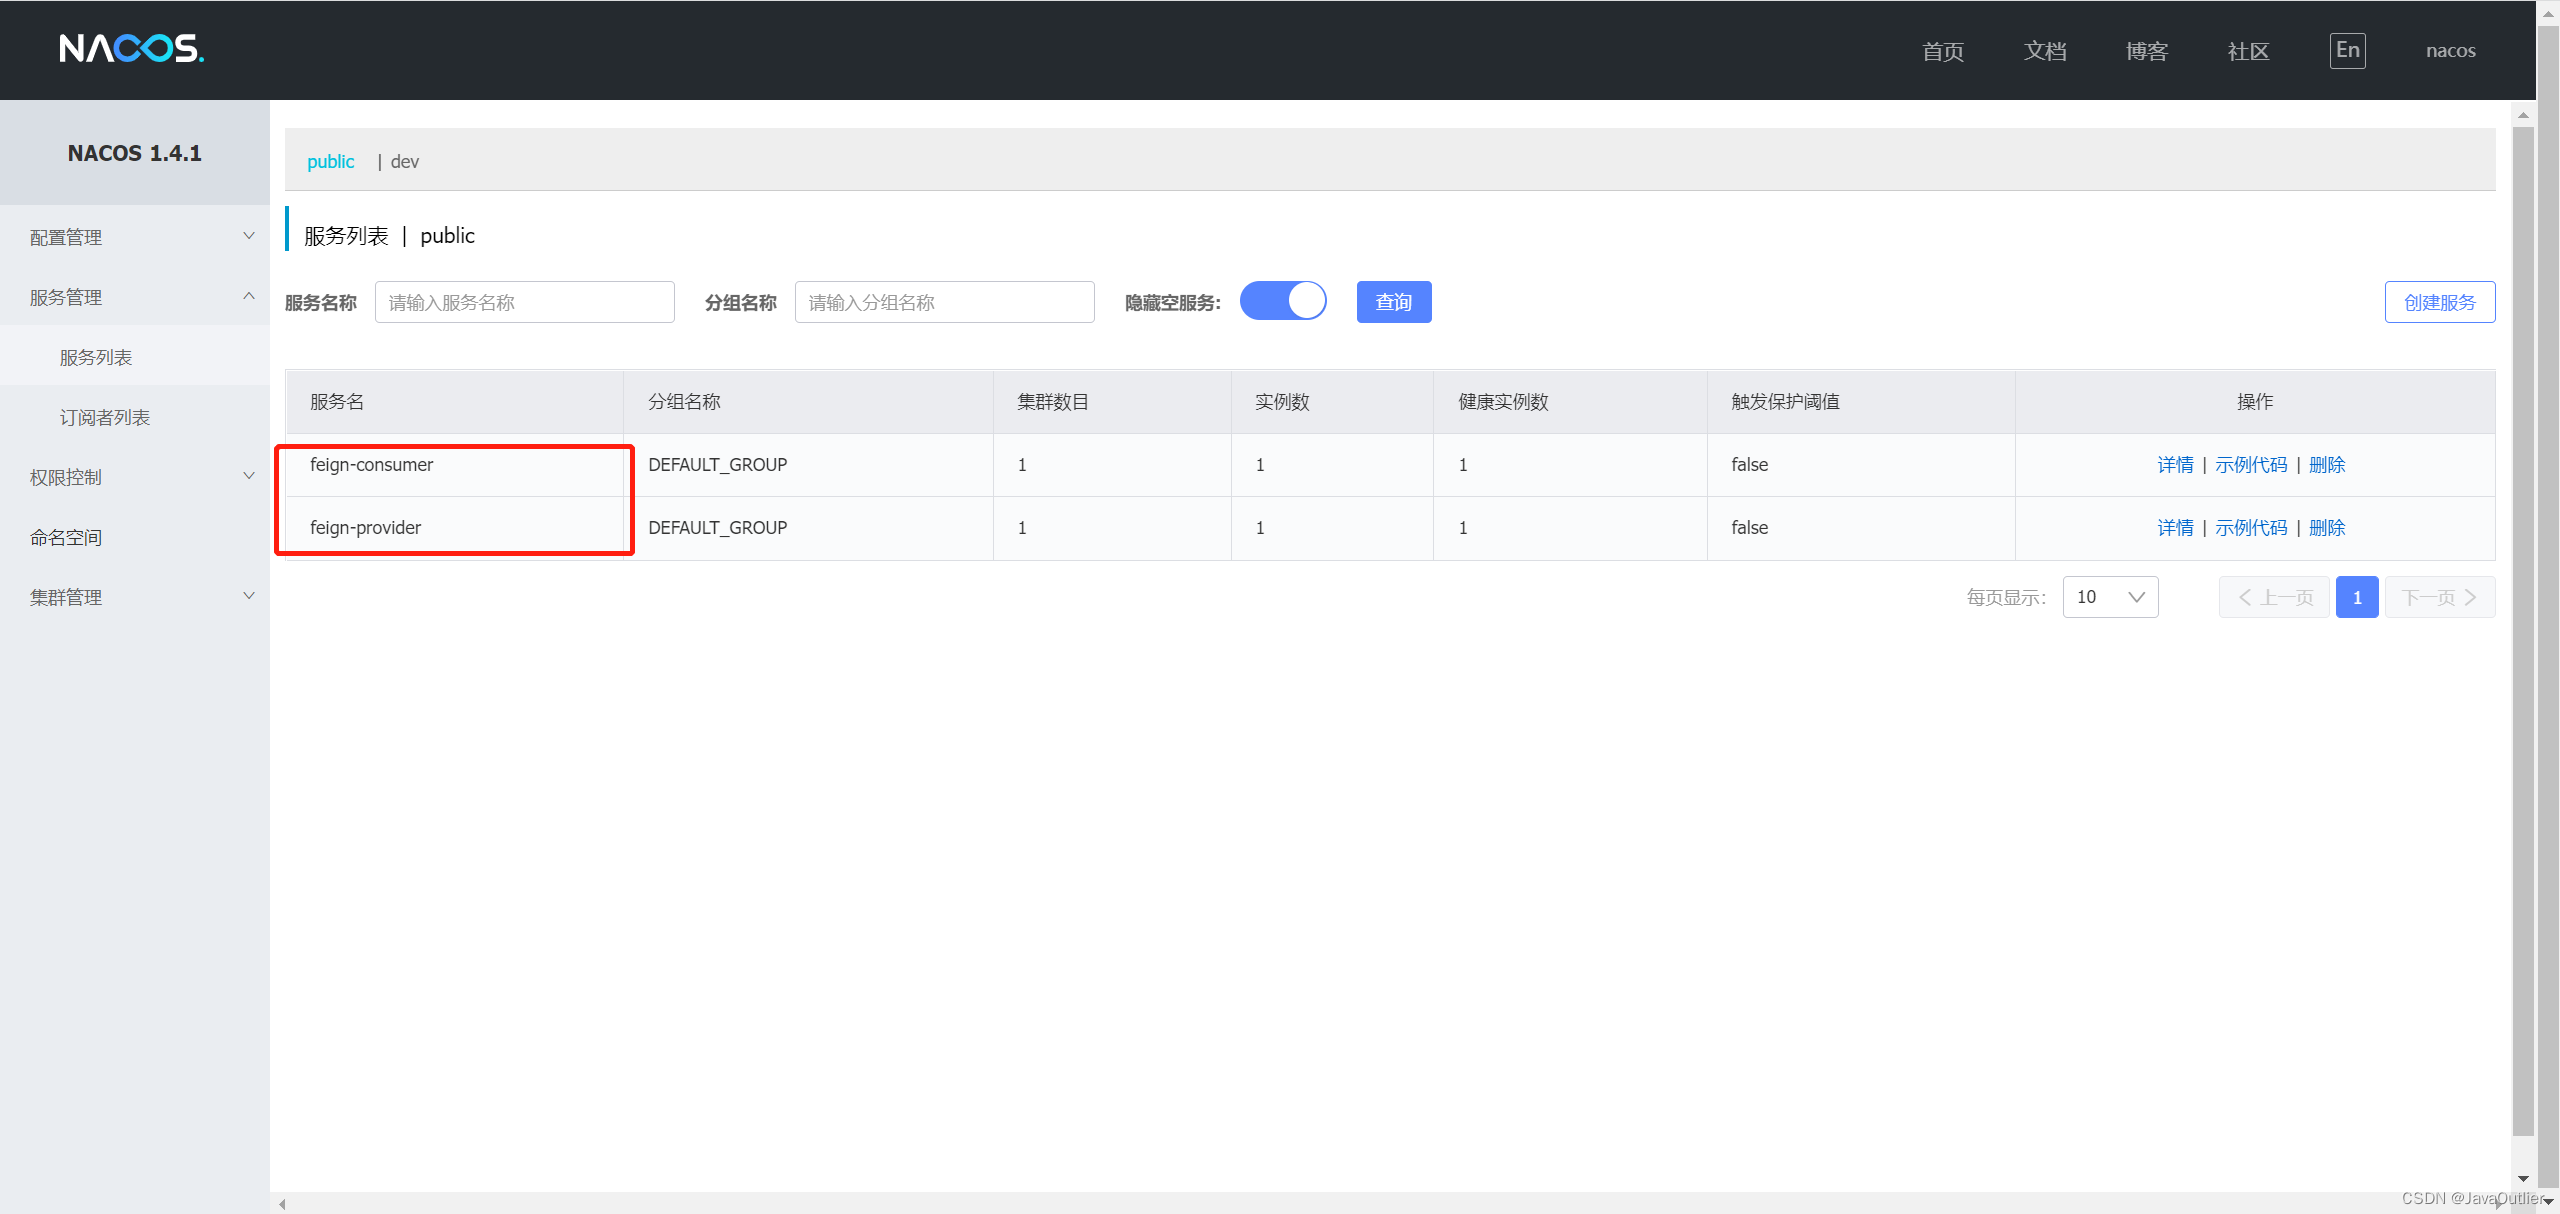
Feign的优化
使用Http连接池
在消费者consumer中引入依赖,无需其他任何操作即可,也可以自定义配置连接池,在application.yml中
//依赖
<dependency>
    <groupId>io.github.openfeign</groupId>
    <artifactId>feign-httpclient</artifactId>
</dependency>


//配置
feign:
  httpclient:
    enabled: true # 开启feign对HttpClient的支持 默认开启
    max-connections: 200 # 最大的连接数
    max-connections-per-route: 50 # 每个路径的最大连接数
自定义Feign连接、处理超时问题
openFeign默认的超时时间(1秒),我们可以自定义连接超时时间
consumer中配置
        1、方式一:
			ribbon:
			   ConnectTimeout: 5000 #请求连接的超时时间
			   ReadTimeout: 5000 #请求处理的超时时间
		2、方式二:
			feign:
			  client:
			    config:
			      feign-provider:
				ConnectTimeout: 5000 #请求连接的超时时间
				ReadTimeout: 5000 #请求处理的超时时间
开启gzip压缩
Spring Cloud feign支持对请求与响应进行GZIP压缩,以减少通信中的性能损耗。在spring-cloud-openfeign-core.jar文件中.默认对请求和响应压缩是禁用的,需要我们手动开启
//gzip压缩,consumser的yml中进行配置
		server:
		  compression:
		      enabled: true #开启gzip压缩
开启feign日志
首先需要设置属性logging.level.包名:debug。
为什么要打开这个属性呢?
因为feign的logger实现类Slf4jLogger在调用log方法时,会判断是否开启了debug。
feign的日志级别包含下面几个
- NONE:不输出日志
- BASIC:输出请求方法及url,响应的状态码及响应时间
- HEADERS:输出请求和响应的头信息
- FULL:输出请求和响应的请求头,消息体及元数据
feign:
    client:
        config:
            default:  #如果这里是default的话是开启所有的类的日志,也可以是具体到个类
			    loggerLevel: full   #日志等级
logging:
    level:
com.feign.feign: debug #开启debug版权声明:本文为weixin_66479402原创文章,遵循CC 4.0 BY-SA版权协议,转载请附上原文出处链接和本声明。