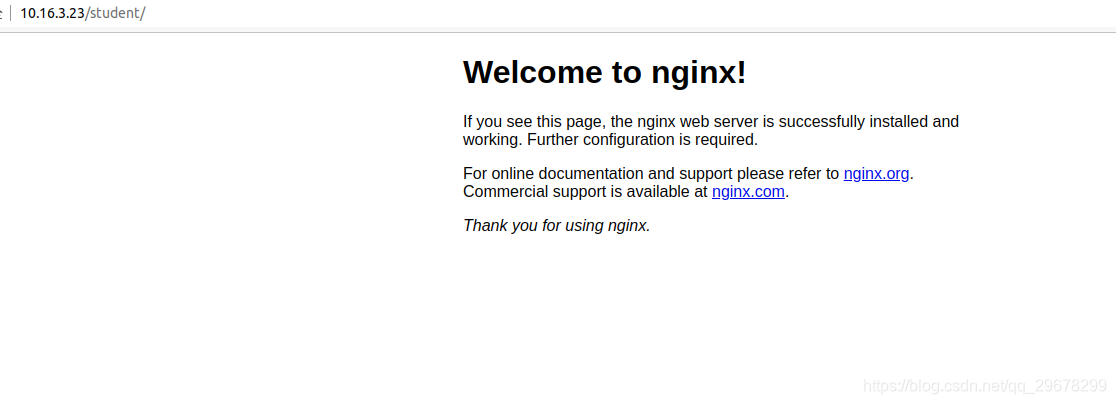
第一种 同一个域名或者ip 相同端口号 部署多个项目
通过斜线访问
先看这2种配置
查找nginx 和配置文件
whereis nginx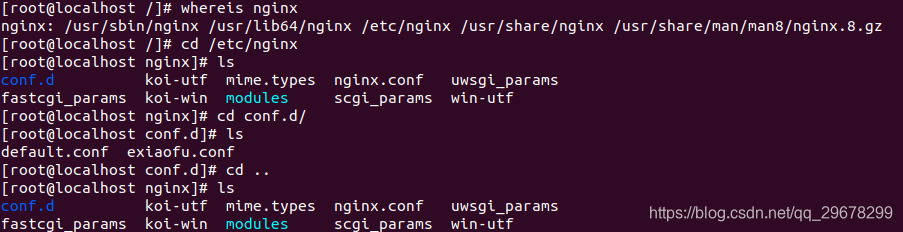
查看配置文件
vim nginx.conf
user  nginx;
worker_processes  1;

error_log  /var/log/nginx/error.log warn;
pid        /var/run/nginx.pid;


events {
    worker_connections  1024;
}


http {
    include       /etc/nginx/mime.types;
    default_type  application/octet-stream;

    log_format  main  '$remote_addr - $remote_user [$time_local] "$request" '
                      '$status $body_bytes_sent "$http_referer" '
                      '"$http_user_agent" "$http_x_forwarded_for"';

    access_log  /var/log/nginx/access.log  main;

    sendfile        on;
    #tcp_nopush     on;

    keepalive_timeout  65;

    #gzip  on;

    include /etc/nginx/conf.d/*.conf;
}
这个只是基本配置信息
include /etc/nginx/conf.d/*.conf;
查找这个目录下所有配置文件

server {
listen 80;
server_name localhost;
#charset koi8-r;
#access_log /var/log/nginx/host.access.log main;
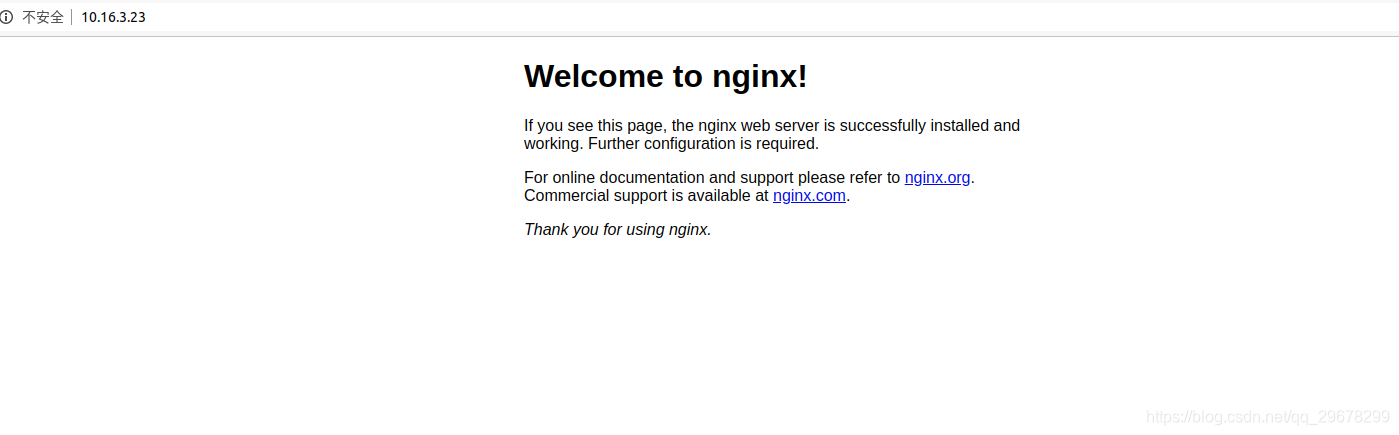
#第一种方法 这个直接/访问
location / {
root /usr/share/nginx/html;
index index.html index.htm;
}
#根/student 访问 指向地点
location /student {
alias /usr/share/nginx/student;
index index.html index.htm;
}
#error_page 404 /404.html;
# redirect server error pages to the static page /50x.html
#
error_page 500 502 503 504 /50x.html;
location = /50x.html {
root /usr/share/nginx/html;
}
# proxy the PHP scripts to Apache listening on 127.0.0.1:80
#
#location ~ \.php$ {
# proxy_pass http://127.0.0.1;
#}
# pass the PHP scripts to FastCGI server listening on 127.0.0.1:9000
#
#location ~ \.php$ {
# root html;
# fastcgi_pass 127.0.0.1:9000;
# fastcgi_index index.php;
# fastcgi_param SCRIPT_FILENAME /scripts$fastcgi_script_name;
# include fastcgi_params;
#}
# deny access to .htaccess files, if Apache's document root
# concurs with nginx's one
#
#location ~ /\.ht {
# deny all;
#}
}
重启nginx服务
nginx -s reload
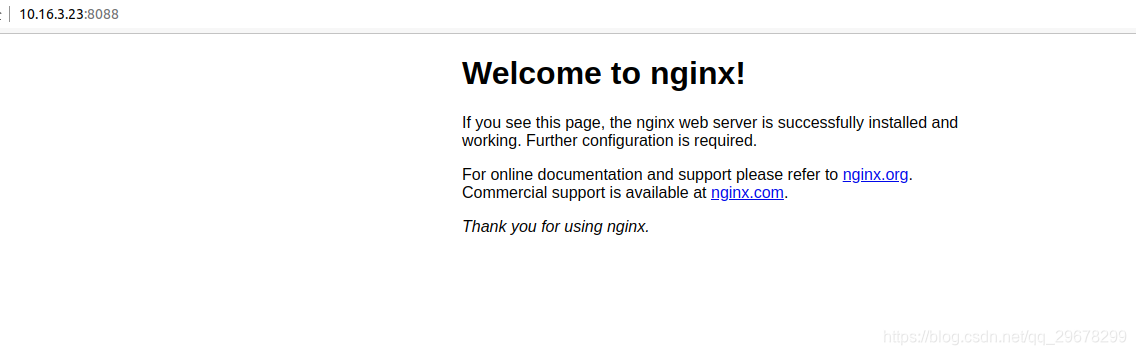
第二种方法就是简单的监听不同的端口号去实现
http://10.16.3.23:8088
去访问
直接看配置文件
server {
    listen       8088;
    server_name  localhost;

    #charset koi8-r;
    #access_log  /var/log/nginx/host.access.log  main;

    location /  {
        root   /usr/share/nginx/student;
        index  index.html index.htm;
        }

    #error_page  404              /404.html;

    # redirect server error pages to the static page /50x.html
    #
    error_page   500 502 503 504  /50x.html;
    location = /50x.html {
        root   /usr/share/nginx/html;
    }

    # proxy the PHP scripts to Apache listening on 127.0.0.1:80
    #
    #location ~ \.php$ {
    #    proxy_pass   http://127.0.0.1;
    #}

    # pass the PHP scripts to FastCGI server listening on 127.0.0.1:9000
    #
    #location ~ \.php$ {
    #    root           html;
    #    fastcgi_pass   127.0.0.1:9000;
    #    fastcgi_index  index.php;
    #    fastcgi_param  SCRIPT_FILENAME  /scripts$fastcgi_script_name;
    #    include        fastcgi_params;
    #}

    # deny access to .htaccess files, if Apache's document root
    # concurs with nginx's one
    #
    #location ~ /\.ht {
    #    deny  all;
    #}
}
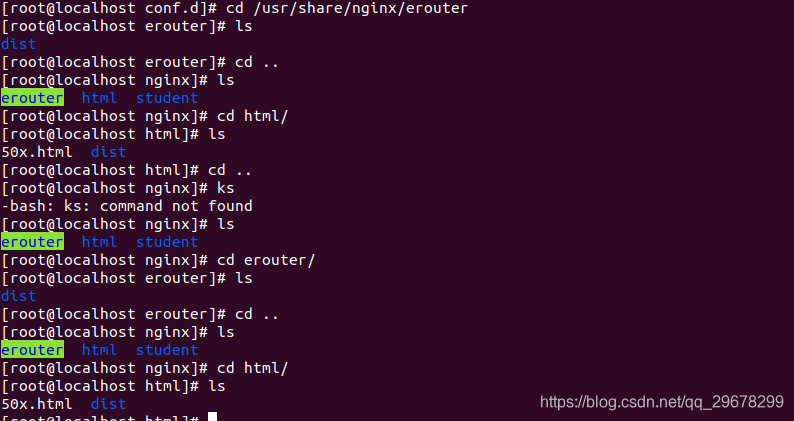
文件目录

站点文件地址
放开端口号命令
sudo firewall-cmd --add-service=http --permanent


sudo firewall-cmd --add-port=80/tcp --permanent

sudo firewall-cmd --reload
Vue项目真实案例
server {
    listen       80;
    server_name  localhost;

    #charset koi8-r;
    #access_log  /var/log/nginx/host.access.log  main;

    location / {
        root   /usr/share/nginx/html/dist;
         try_files $uri $uri/ /index.html;
        index  index.html index.htm;
    }

    location /student {
        alias   /usr/share/nginx/student;
        index  index.html index.htm;
        }

    location /erouter {
        alias   /usr/share/nginx/erouter/dist;
        index  index.html index.htm;
        try_files $uri $uri/ /index.html;
        }

    #error_page  404              /404.html;

    # redirect server error pages to the static page /50x.html
    #
    error_page   500 502 503 504  /50x.html;
    location = /50x.html {
        root   /usr/share/nginx/html;
    }

    # proxy the PHP scripts to Apache listening on 127.0.0.1:80
    #
    #location ~ \.php$ {
    #    proxy_pass   http://127.0.0.1;
    #}

    # pass the PHP scripts to FastCGI server listening on 127.0.0.1:9000
    #
    #location ~ \.php$ {
    #    root           html;
    #    fastcgi_pass   127.0.0.1:9000;
    #    fastcgi_index  index.php;
    #    fastcgi_param  SCRIPT_FILENAME  /scripts$fastcgi_script_name;
    #    include        fastcgi_params;
    #}

    # deny access to .htaccess files, if Apache's document root
    # concurs with nginx's one
    #
文件地址
文件上传命令
scp -r dist/ root@10.16.3.23:/usr/share/nginx/erouter
https://blog.csdn.net/msg1254765721/article/details/90090228
代理装发的方式夜行
对于Web而已,80端口和443端口是十分重要的,原则上需要输入http://domain.com:80才可以浏览网页的,但由于默认端口是80,所以‘:80’可以忽略。同理对于https的443端口也一样。
随着服务器性能的提升和业务的需求,一台服务器上往往会同时有多个服务,这些服务都希望监听80端口,比如有vue.msg.com和react.msg.com。这时候我们可以使用nginx的代理转发功能帮我们实现共用80端口的需求。
http
首先我们先在两个空闲的端口上分别部署项目(非80,假设是8080和8081),nginx.conf配置如下:
$ vim /ect/nginx/nginx.conf
// nginx.conf
# vue项目配置
server {
listen 8080;
root /web/vue-base-demo/dist/;
index index.html;
location / {
try_files $uri $uri/ /index.html; # 路由模式history的修改
}
}
# react项目配置
server {
listen 8081;
root /web/react-base-demo/build;
index index.html;
location / {}
}
上面就是常规的配置,紧接着如果已经做好域名解析,希望vue.msg.com打开vue项目,react.msg.com打开react项目。我们需要再做两个代理,如下:
// nginx.conf
# nginx 80端口配置 (监听vue二级域名)
server {
listen 80;
server_name vue.msg.com;
location / {
proxy_pass http://localhost:8080; # 转发
}
}
# nginx 80端口配置 (监听react二级域名)
server {
listen 80;
server_name react.msg.com;
location / {
proxy_pass http://localhost:8081; # 转发
}
}
nginx如果检测到vue.msg.com的请求,将原样转发请求到本机的8080端口,如果检测到的是react.msg.com请求,也会将请求转发到8081端口。