使用工具 Idea
java 版本号要选一致

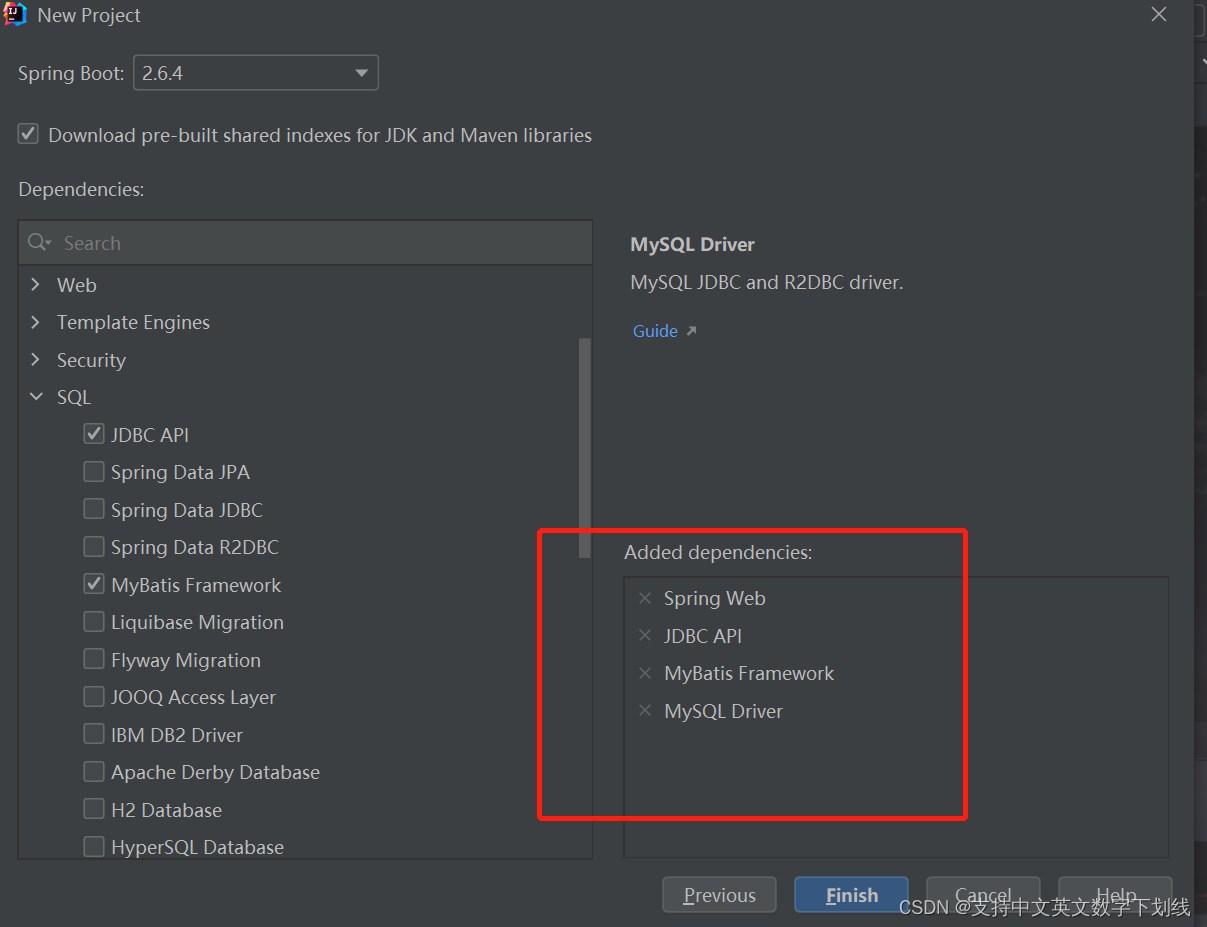
选上这些
项目大概结构

application.yml 配置内容:
将内容 换成自己的数据库就行
spring:
  profiles:
    active: dev
  datasource:
    name: test
    url: jdbc:mysql://localhost:3306/test
    username: root
    password: root
    driver-class-name: com.mysql.jdbc.Driver
    filters: stat
    maxActive: 20
    initialSize: 1
    maxWait: 60000
    minIdle: 1
    timeBetweenEvictionRunsMillis: 60000
    minEvictableIdleTimeMillis: 300000
    validationQuery: select 'x'
    testWhileIdle: true
    testOnBorrow: false
    testOnReturn: false
    poolPreparedStatements: true
    maxOpenPreparedStatements: 20
    tomcat:
      initialSize: 1
      min-idle: 1
      max-idle: 20
      max-wait: 60000
      timeBetweenEvictionRunsMillis: 60000
      minEvictableIdleTimeMillis: 30000
      validationQuery: SELECT 1
      testWhileIdle: true
      testOnBorrow: false
      testOnReturn: false
logging:
  file: logs/demo.log

mybatis-plus:
  mapper-locations: classpath:Mapper/*.xml  #Mapper
  type-aliases-package: com.example.springdemo.entity  #实体类
  configuration:
    log-impl: org.apache.ibatis.logging.stdout.StdOutImpl  # 控制台 打印 sql
application-dev.yml 里的内容
server:
  port: 8080
要使用 MybatisPlus 要删掉原来pom.xml Mybatis的内容,lombok 可以让代码更简洁 ,自行百度了解
<!--        <dependency>-->
<!--            <groupId>org.mybatis.spring.boot</groupId>-->
<!--            <artifactId>mybatis-spring-boot-starter</artifactId>-->
<!--            <version>2.2.2</version>-->
<!--        </dependency>-->

        <!--加入mybatis-plus-->
        <dependency>
            <groupId>com.baomidou</groupId>
            <artifactId>mybatis-plus-boot-starter</artifactId>
            <version>3.1.1</version>
        </dependency>

         <!--加入lombok-->
        <dependency>
            <groupId>org.projectlombok</groupId>
            <artifactId>lombok</artifactId>
            <version>1.16.14</version>
            <scope>provided</scope>
        </dependency>
要导入 swagger 配置文件
<!--swagger2-->
<dependency>
    <groupId>io.springfox</groupId>
    <artifactId>springfox-swagger2</artifactId>
    <version>2.9.2</version>
</dependency>
<!--swagger-ui -->
<dependency>
    <groupId>io.springfox</groupId>
    <artifactId>springfox-swagger-ui</artifactId>
    <version>2.9.2</version>
</dependency>

mybatis逆向工程jar包
<dependency>
    <groupId>org.mybatis.generator</groupId>
    <artifactId>mybatis-generator-core</artifactId>
    <version>1.3.4</version>
</dependency>
<!-- mybatis逆向工程jar包 -->
<plugin>
<groupId>org.mybatis.generator</groupId>
<artifactId>mybatis-generator-maven-plugin</artifactId>
<version>1.3.2</version>
<configuration>
<overwrite>true</overwrite>
<configurationFile>src/main/resources/generator/generatorConfig.xml</configurationFile>
</configuration>
</plugin>generatorConfig 内容 把生成的包改成自己的地址
<?xml version="1.0" encoding="UTF-8"?>
<!DOCTYPE generatorConfiguration
PUBLIC "-//mybatis.org//DTD MyBatis Generator Configuration 1.0//EN"
"http://mybatis.org/dtd/mybatis-generator-config_1_0.dtd">
<generatorConfiguration>
<!-- 数据库驱动:选择你的本地硬盘上面的数据库驱动包-->
<classPathEntry location="C:/jdbc/mysql-connector-java-8.0.28.jar"/>
<context id="DB2Tables" targetRuntime="MyBatis3">
<!-- JavaBean 实现 序列化 接口 -->
<plugin type="org.mybatis.generator.plugins.SerializablePlugin" />
<!-- 生成toString -->
<plugin type="org.mybatis.generator.plugins.ToStringPlugin" />
<!-- optional,旨在创建class时,对注释进行控制 -->
<commentGenerator>
<property name="suppressDate" value="true"/>
<!-- <property name="suppressAllComments" value="true"/>-->
</commentGenerator>
<!--数据库链接URL,用户名、密码 -->
<jdbcConnection driverClass="com.mysql.jdbc.Driver"
connectionURL="jdbc:mysql://localhost:3306/Test"
userId="root"
password="root">
</jdbcConnection>
<!-- 类型转换 -->
<javaTypeResolver >
<!-- 是否使用bigDecimal,
false: 把JDBC DECIMAL 和 NUMERIC 类型解析为 Integer(默认)
true: 把JDBC DECIMAL 和 NUMERIC 类型解析为java.math.BigDecimal
-->
<property name="forceBigDecimals" value="false" />
</javaTypeResolver>
<!-- 生成模型的包名和位置-->
<javaModelGenerator targetPackage="com.example.springdemo.entity" targetProject="src/main/java">
<!-- 默认false 是否允许子包 -->
<property name="enableSubPackages" value="true" />
<!-- 默认false 是否对model添加 构造函数 -->
<property name="constructorBased" value="false"/>
<!-- 默认false 建立的Model对象是否 不可改变 即生成的Model对象不会有 setter方法,只有构造方法 -->
<property name="immutable" value="false"/>
<!-- 默认false 是否对类CHAR类型的列的数据进行trim操作 -->
<property name="trimStrings" value="true" />
</javaModelGenerator>
<!-- 生成映射文件的包名和位置-->
<sqlMapGenerator targetPackage="Mapper" targetProject="src/main/resources">
<property name="enableSubPackages" value="true"/>
</sqlMapGenerator>
<!-- 生成DAO的包名和位置-->
<javaClientGenerator type="XMLMAPPER" targetPackage="com.example.springdemo.dao" targetProject="src/main/java">
<property name="enableSubPackages" value="true"/>
</javaClientGenerator>
<!-- 要生成的表 tableName是数据库中的表名或视图名 domainObjectName是实体类名-->
<table tableName="user_dl" domainObjectName="userDl" enableCountByExample="false" enableUpdateByExample="false" enableDeleteByExample="false" enableSelectByExample="false" selectByExampleQueryId="false"></table>
<!-- <table tableName="tel_bill_record" domainObjectName="DSTelBillRecord" enableCountByExample="false" enableUpdateByExample="false" enableDeleteByExample="false" enableSelectByExample="false" selectByExampleQueryId="false"></table>-->
<!-- <table tableName="user"></table>-->
</context>
</generatorConfiguration>
在启动类 写一下 MapperScan 不然会找不到dao层
swagger 内容
package com.example.springdemo;

import org.springframework.context.annotation.Bean;
import org.springframework.context.annotation.Configuration;
import springfox.documentation.builders.ApiInfoBuilder;
import springfox.documentation.builders.PathSelectors;
import springfox.documentation.builders.RequestHandlerSelectors;
import springfox.documentation.service.ApiInfo;
import springfox.documentation.spi.DocumentationType;
import springfox.documentation.spring.web.plugins.Docket;
import springfox.documentation.service.Contact;
import springfox.documentation.swagger2.annotations.EnableSwagger2;

@Configuration
@EnableSwagger2
public class Swagger2 {
    @Bean
    public Docket createRestApi() {
        return new Docket(DocumentationType.SWAGGER_2)
                .apiInfo(apiInfo())
                .select()
                //为当前包路径
                .apis(RequestHandlerSelectors.basePackage("com.example.springdemo"))
                .paths(PathSelectors.any())
                .build();
    }
    //构建 api文档的详细信息函数,注意这里的注解引用的是哪个
    private ApiInfo apiInfo() {
        return new ApiInfoBuilder()
                //页面标题
                .title("我亚索贼六")
                //创建人
                .contact(new Contact("?????", "GGGGGGGG", ""))
                //版本号
                .version("1.0")
                //描述
                .description("API 描述")
                .build();
    }

}

这样 一个简单的demo 就完成了版权声明:本文为kkdtcxtyi原创文章,遵循CC 4.0 BY-SA版权协议,转载请附上原文出处链接和本声明。