首先打开百度AI开放平台: https://ai.baidu.com/ ,登录自己的百度账号(与百度网盘账号相同)。然后打开控制台,在左侧导航选择人脸分析。(图片不清晰的话可以放大看)
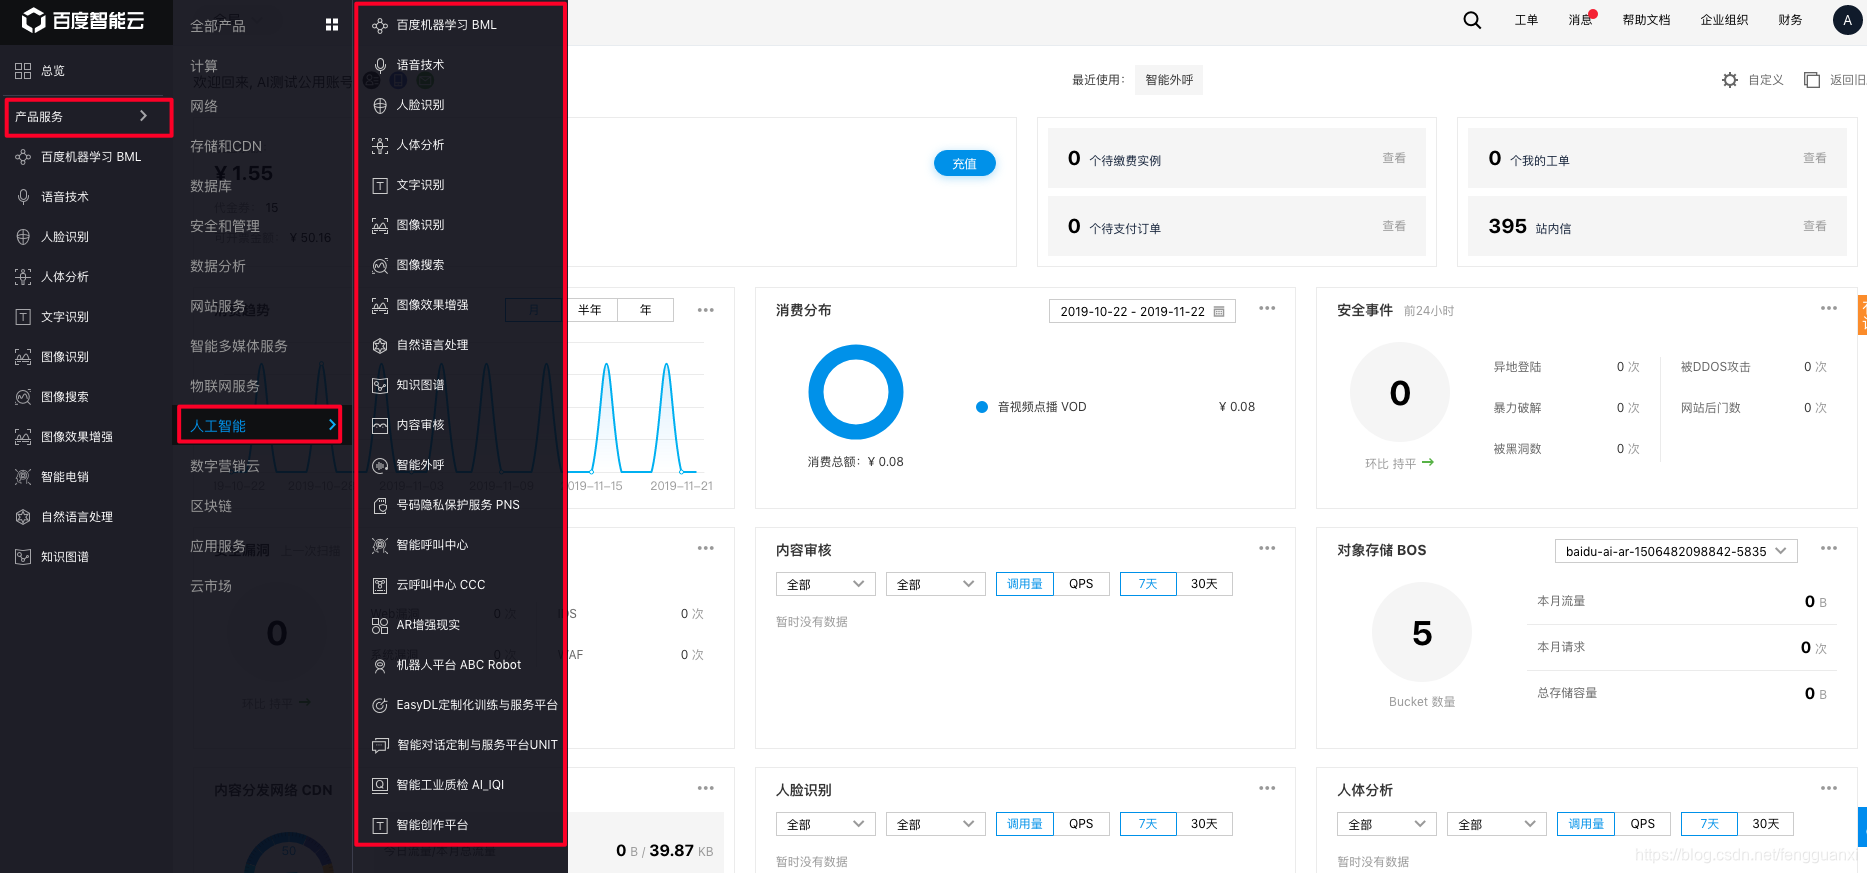
然后点击创建应用,把必填的填写一下。然后就可以拿到API Key和Secret Key:

接下来,我们就需要使用这些密钥进行人脸分析了。
首先,我们需要根据API Key,和SecretKey来获取token:
def getToken():
    # client_id 为官网获取的AK, client_secret 为官网获取的SK
    host = 'https://aip.baidubce.com/oauth/2.0/token?grant_type=client_credentials&client_id=YourOwnAK&client_secret=YourOwnSK'
    response = requests.get(url=host,verify=False)
    if response:
        # print(response.json())
        accessToken=response.json()['access_token']
        return accessToken
    else:
        raise ValueError('无网络连接')
拿到token后,我们还需要将一张图片转换为字符格式以便于云端识别:
# 将一张图片转换为字符格式
def getImage2Base64(imagePath):
    f = open(imagePath, 'rb')
    img = base64.b64encode(f.read()).decode('utf-8')
    return img
接下来是整体函数liao:
def getAttribute(imagePath):
    img=getImage2Base64(imagePath)
    request_url = "https://aip.baidubce.com/rest/2.0/face/v3/detect"
    params = {"image": img, "image_type": "BASE64",
              "face_field": "age,gender,beauty"}
    header = {'Content-Type': 'application/json'}

    access_token = getToken()

    request_url = request_url + "?access_token=" + access_token
    response1 = requests.post(url=request_url, data=params, headers=header,verify=False)
    json1 = response1.json()
    # print("性别为", json1["result"]["face_list"][0]['gender']['type'])
    # print("年龄为", json1["result"]["face_list"][0]['age'], '岁')
    print(json1)
    theSex=json1["result"]["face_list"][0]['gender']['type']
    theAge=json1["result"]["face_list"][0]['age']
    theBeauty=json1["result"]["face_list"][0]['beauty']
return theSex,str(theAge),theBeautygetAttribute函数中需要注意的一个是params,你可以选择你需要得到人脸图片的哪些信息(年龄,性别,颜值等)。看起来是不是很简单。但其实这里涉及到一个坑。我们这里代码的request.get和request.post函数参数中,verify都设置为了False,为什么这么设置?如果不这样设置,pyintaller打包应用时,会显出证书错误。想要具体了解的话,可以查看我的博客:tkinter+request+pyinstaller证书错误解决办法
下一篇主要内容:基于tkinter开发界面。
版权声明:本文为fengguanxi原创文章,遵循CC 4.0 BY-SA版权协议,转载请附上原文出处链接和本声明。