本篇文章主要阐述如何使用uniapp实现一些选择器,用于微信小程序上,三种选择器思路如下:
一:日期选择器
- 此功能细分为三个选择,左边是年份,中间是月份,右边是天数,年份默认本年,月份默认是只能本月,天数只允许选择2天内(即:今天和明天)的。
1.view代码
	<view class="picker_view" style="margin-top: 35rpx;">
			<picker :range="yearList" mode="multiSelector" @change="yearsChange">
				<view class="shouyi" style="margin-top:25rpx;">日期选择器</view>
				<image src="../../static/rili.png" class="image_rili_code">
					<view class="years_css" @change="yearsChange">
						{{yearList[0][yearsIndex1]}}-
						{{yearList[1][yearsIndex2]}}-
						{{yearList[2][yearsIndex3]}}
					</view>
			</picker>
		</view>
2.js函数代码
var month;
data() {
			return {
				//月份数组 通过这个可以获取当前的月份数组
				monthList: [],
				//获取当前的 年数数组
				yearList: [],
				//获取数据的月份天数数组 此数组参与运算
				month_list: [],
					yearsIndex1: 0,
				yearsIndex2: 0,
				yearsIndex3: 0,
				}
		},
		onLoad: function(e) {
			_self = this

			this.month_list = [] //天数的数组
			nowTime = new Date();
			var year = [] //年份
			var ri;
			var lastday = "";

			var month = nowTime.getMonth() + 1;


			if (month == "1" || month == "3" || month == "5" || month == "7" || month == "8" || month == "10" ||
				month == "12") {
				lastday = 31;
			} else if (month == "2") {
				if ((year % 4 == 0 && year % 100 != 0) || (year % 100 == 0 && year % 400 == 0)) {
					lastday = 29;
				} else {
					lastday = 28;
				};
			} else {
				lastday = 30;
			};

			//var d = new Date(nowTime.getMonth() + 1,nowTime.getDate(),0);
			if (nowTime.getDate() == lastday) {
				ri = 1
			} else {
				ri = nowTime.getDate() + 1
			}
			// //循环出来天数添加到数组


			//这里赋值给天数数组的月份,可以使用默认的getMonth()时间,月份+1就是当前月份,如果使用上面的moteuy月份,12月则变成13月了(不能行)
			this.monthList.push(nowTime.getMonth() + 1)
			this.rilist.push(nowTime.getDate(), ri)

			//赋值给选择日期文本,判断月份是不等于1月,进行年分的更换,如果是1月,要保留去年的年份,以便查询12月的数据
			if (nowTime.getMonth() + 1 == 1) {
				year.push(nowTime.getFullYear(), nowTime.getFullYear() - 1)
			} else {
				//否则,不是1月,就显示本年
				year.push(nowTime.getFullYear())
			}

			//this.alist.push(this.RegionOneArray[0])
			//年份添加到数组(年--月)
			this.yearList.push(year, this.monthList, this.rilist)
		},
yearsChange: function(e) {
				this.month_list = []
				this.yearsIndex1 = e.detail.value[0];
				this.yearsIndex2 = e.detail.value[1];
				this.yearsIndex3 = e.detail.value[2];
			},
3.效果图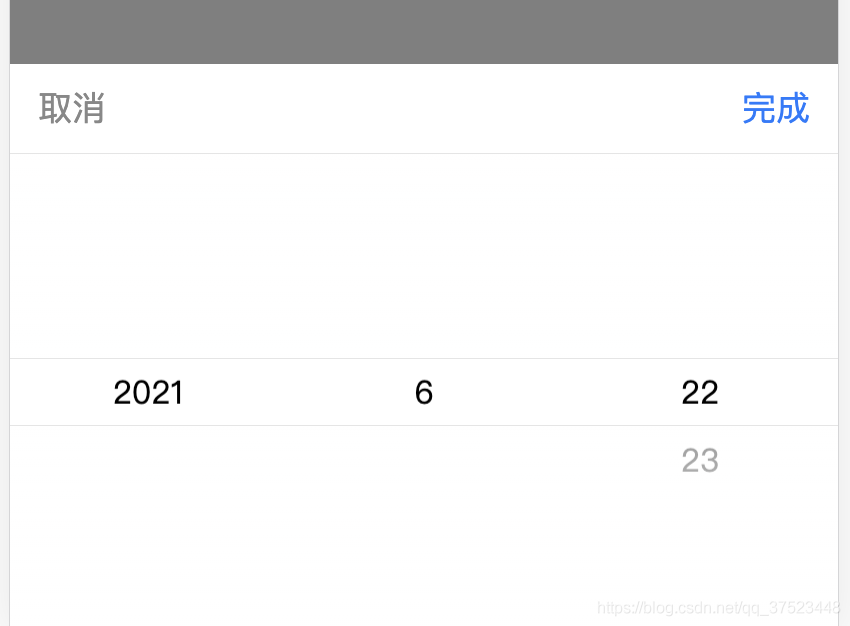
二:地区选择器
- 两个选择器,左边的是校区,后边的是对应某校区的楼层;
1.view代码
		<view class="picker_view2" style="margin-top: 130rpx;">
			<picker mode="multiSelector" @columnchange="RegionChange" :value="RegionSelector" :range="RegionList">
				<view class="shouyi" style="margin-top:25rpx;">地区选择器</view>
				<view class="years_css" @change="RegionChange">
					{{RegionList[0][RegionSelector[0]]}}-
					{{RegionList[1][RegionSelector[1]]}}
				</view>
			</picker>
		</view>
2.js代码
	export default {
		data() {
				RegionList: [
					['校区一', '校区二'],
					['第1层', '第2层', '第3层', '第4层']
				],
				RegionSelector: [0, 0]
	}
		},

RegionChange: function(e) {
				console.log('修改的列为:' + e.detail.column + ',值为:' + e.detail.value)
				this.RegionSelector[e.detail.column] = e.detail.value
				switch (e.detail.column) {
					case 0: //拖动第1列
						switch (this.RegionSelector[0]) {
							case 0:
								this.RegionList[1] = ['第1层', '第2层', '第3层', '第4层']

								break
							case 1:
								this.RegionList[1] = ['1层', '2层', "3层"]

								break
						}
						this.RegionSelector.splice(1, 1, 0)
						//this.RegionSelector.splice(2, 1, 0)
						break
					case 1: //拖动第2列
						switch (this.RegionSelector[0]) { //判断第一列是什么
							case 0:
								switch (this.RegionSelector[1]) {
									case 0:

										break
									case 1:

										break
								}
								break
							case 1:
								switch (this.RegionSelector[1]) {
									case 0:

										break
									case 1:

										break
								}
								break
						}
						this.RegionSelector.splice(2, 1, 0)
						break
				}
[this.RegionSelector1])
			}
3.效果图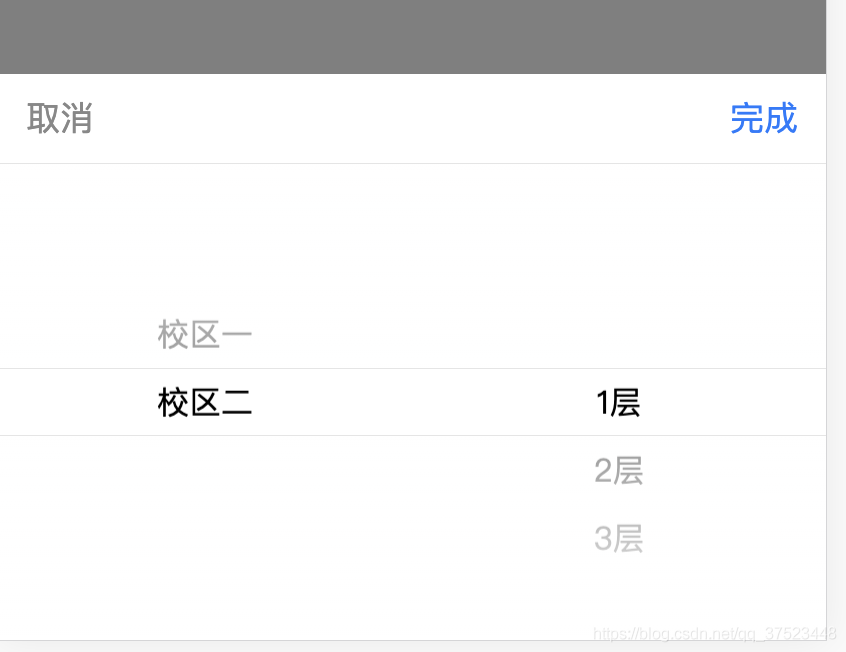
三.预约选择器
- 此功能主要阐述的是预约,左边一个起始点,右边终结点,课程预约数不能小于1,并且节数左边不能低于右边终点。
1.view代码
		<view class="picker_view3" style="margin-top: 230rpx;padding-right: 10rpx;">
			<view class="shouyi" style="margin-top:25rpx;">预约选择器</view>

			<!-- /结束 -->
			<picker mode="selector" @change="EddChange" :value="eddindex" :range="EddList">
				<button class="yue_css" style="border: 1px #007AFF solid;">
					{{EddList[eddindex]}}
				</button>
			</picker>
			<view class="years_css">-
			</view>
			<!-- //开始 -->
			<picker mode="selector" @change="StartChange" :value="index" :range="StartList">
				<button class="yue_css">
					{{StartList[index]}}
				</button>
			</picker>

		</view>
data() {
			return {
				title: 'picker',
				index: 0,
				eddindex: 0,
				yuyueindex: 1,
				StartList: ['1', '2', '3', '4', '5', '6', '7', '8', '9', '10', '11', '12'],
				EddList: ['0', '1', '2', '3', '4', '5', '6', '7', '8', '9', '10', '11', '12'],
				pd_eddindex: 0
			}
		},
		//起始点函数
		StartChange: function(e) {
				//this.index = e.target.value
				console.log('zzz', e.target.value, this.eddindex, parseInt(this.eddindex) + 1, this.index)

				if (parseInt(e.target.value) + 1 == this.eddindex) {
					uni.showToast({
						icon: 'none',
						title: '预约课程不能相等',
						duration: 3000,
					});
				} else {
					if (this.eddindex == 0) {
						if (parseInt(e.target.value) + 1 < this.eddindex) {
							uni.showToast({
								icon: 'none',
								title: '开始节点不能大于结束节点',
								duration: 3000,
							});
						} else {
							this.index = e.target.value
						}

					} else {
						if (parseInt(e.target.value) + 1 > this.eddindex) {
							uni.showToast({
								icon: 'none',
								title: '开始节点不能大于结束节点',
								duration: 3000,
							});
						} else {
							this.index = e.target.value
							console.log('start发送选择改变,携带值为', this.index + 1, this.eddindex)
						}
					}


				}

			},
			EddChange: function(e) {

				this.pd_eddindex = parseInt(this.index) + 1
				console.log('aaa', this.eddindex, this.index, e.target.value, this.pd_eddindex)
				if (e.target.value == this.pd_eddindex) {
					uni.showToast({
						icon: 'none',
						title: '预约课程不能相等',
						duration: 3000,
					});
				} else if (e.target.value < this.pd_eddindex && e.target.value != 0) {
					uni.showToast({
						icon: 'none',
						title: '结束节点不能小于开始节点',
						duration: 3000,
					});
				} else {
					this.eddindex = e.target.value
					console.log('Edd发送选择改变,携带值为', this.eddindex, this.index)
				}
			},
3.效果图
结束,以上讲述三个选择器具体详细功能,亲测!如需要源码,请点击
三个选择器源码
(完)
版权声明:本文为qq_37523448原创文章,遵循CC 4.0 BY-SA版权协议,转载请附上原文出处链接和本声明。