harbor仓库搭建和docker-compose语法
文章目录
Harbor
无论是使用Docker-distribution去自建仓库,还是通过官方镜像跑容器的方式去自建仓库,通过前面的演示我们可以发现其是非常的简陋的,还不如直接使用官方的Docker Hub去管理镜像来得方便,至少官方的Docker Hub能够通过web界面来管理镜像,还能在web界面执行搜索,还能基于Dockerfile利用Webhooks和Automated Builds实现自动构建镜像的功能,用户不需要在本地执行docker build,而是把所有build上下文的文件作为一个仓库推送到github上,让Docker Hub可以从github上去pull这些文件来完成自动构建。
但无论官方的Docker Hub有多强大,它毕竟是在国外,所以速度是最大的瓶颈,我们很多时候是不可能去考虑使用官方的仓库的,但是上面说的两种自建仓库方式又十分简陋,不便管理,所以后来就出现了一个被 CNCF 组织青睐的项目,其名为Harbor。
Harbor简介
Harbor是由VMWare在Docker Registry的基础之上进行了二次封装,加进去了很多额外程序,而且提供了一个非常漂亮的web界面。
Harbor是一个开源可信的云原生的仓库项目,用于存储、用户管理和查找镜像。
Harbor通过添加用户通常需要的功能,如安全、身份和管理,扩展了开源Docker分发版。
Harbor支持高级特性,如用户管理、访问控制、活动监视和实例之间的复制。
Harbor的功能
- 多租户内容签名和验证
- 安全性和漏洞分析
- 审计日志记录
- 身份集成和基于角色的访问控制
- 实例之间的映像复制
- 可扩展API和图形UI
- 国际化(目前为中英文化)
Docker compose
Harbor在物理机上部署是非常难的,而为了简化Harbor的应用,Harbor官方直接把Harbor做成了在容器中运行的应用,而且这个容器在Harbor中依赖类似redis、mysql、pgsql等很多存储系统,所以它需要编排很多容器协同起来工作,因此VMWare Harbor在部署和使用时,需要借助于Docker的单机编排工具(Docker compose)来实现。
Compose 是一个用于定义和运行多容器 Docker 应用程序的工具。借助 Compose,您可以使用 YAML 文件来配置应用程序的服务。然后,使用单个命令,从配置中创建并启动所有服务。
Harbor部署
在centos8的yum源中没有docker-compose,所以我们需要运行以下命令来安装docker-compose的最新稳定版
[root@harbor ~]# curl -L "https://github.com/docker/compose/releases/download/1.29.2/docker-compose-$(uname -s)-$(uname -m)" -o /usr/local/bin/docker-compose
  % Total    % Received % Xferd  Average Speed   Time    Time     Time  Current
                                 Dload  Upload   Total   Spent    Left  Speed
100   664  100   664    0     0   1173      0 --:--:-- --:--:-- --:--:--  1171
100 12.1M  100 12.1M    0     0  2376k      0  0:00:05  0:00:05 --:--:-- 3361k
[root@harbor ~]# ls /usr/local/bin/
docker-compose
对二进制文件应用可执行权限
[root@harbor ~]# chmod +x /usr/local/bin/docker-compose
测试安装
[root@harbor ~]# docker-compose --version
docker-compose version 1.29.2, build 5becea4c
下载harbor的离线安装包
[root@harbor ~]# ls
anaconda-ks.cfg  harbor-offline-installer-v2.3.5.tgz
[root@harbor ~]# tar xf harbor-offline-installer-v2.3.5.tgz -C /usr/local/
[root@harbor ~]# ls /usr/local/
bin  etc  games  harbor  include  lib  lib64  libexec  sbin  share  src
[root@harbor ~]# cd /usr/local/harbor/
[root@harbor harbor]# ls
common.sh  harbor.v2.3.5.tar.gz  harbor.yml.tmpl  install.sh  LICENSE  prepare

[root@harbor harbor]# cp harbor.yml.tmpl harbor.yml
[root@harbor harbor]# vim harbor.yml
...
hostname: harbor.example.com		//这里改为当前主机的主机名
...
# https related config
#https:						//https这部分由于现在用不上,所以全部注释掉
  # https port for harbor, default is 443
  #  port: 443
  # The path of cert and key files for nginx
  #certificate: /your/certificate/path
  #private_key: /your/private/key/path

[root@harbor harbor]# vim /etc/docker/daemon.json
{
  "insecure-registries": ["harbor.example.com"]
}
[root@harbor harbor]# systemctl daemon-reload
[root@harbor harbor]# systemctl restart docker.service
修改完harbor的配置文件在/etc/hosts文件里做一下主机映射
[root@harbor harbor]# vim /etc/hosts
127.0.0.1   localhost localhost.localdomain localhost4 localhost4.localdomain4
::1         localhost localhost.localdomain localhost6 localhost6.localdomain6
192.168.100.110 harbor.example.com
执行install.sh脚本即可安装harbor
[root@harbor harbor]# ./install.sh
...
[Step 5]: starting Harbor ...
Creating network "harbor_harbor" with the default driver
Creating harbor-log ... done
Creating harbor-portal ... done
Creating registry      ... done
Creating registryctl   ... done
Creating redis         ... done
Creating harbor-db     ... done
Creating harbor-core   ... done
Creating harbor-jobservice ... done
Creating nginx             ... done
✔ ----Harbor has been installed and started successfully.----

[root@harbor harbor]# docker images
REPOSITORY                      TAG       IMAGE ID       CREATED      SIZE
goharbor/harbor-exporter        v2.3.5    1730c6f650e2   6 days ago   81.9MB
goharbor/chartmuseum-photon     v2.3.5    47004f032938   6 days ago   179MB
goharbor/redis-photon           v2.3.5    3d0cedc89a0d   6 days ago   156MB
goharbor/trivy-adapter-photon   v2.3.5    5c0212e98070   6 days ago   133MB
goharbor/notary-server-photon   v2.3.5    f20a76c65359   6 days ago   111MB
goharbor/notary-signer-photon   v2.3.5    b9fa38eef4d7   6 days ago   108MB
goharbor/harbor-registryctl     v2.3.5    7a52567a76ca   6 days ago   133MB
goharbor/registry-photon        v2.3.5    cf22d3e386b8   6 days ago   82.6MB
goharbor/nginx-photon           v2.3.5    5e3b6d9ce11a   6 days ago   45.7MB
goharbor/harbor-log             v2.3.5    a03e4bc963d6   6 days ago   160MB
goharbor/harbor-jobservice      v2.3.5    2ac32df5a2e0   6 days ago   211MB
goharbor/harbor-core            v2.3.5    23baee01156f   6 days ago   193MB
goharbor/harbor-portal          v2.3.5    bb545cdedf5a   6 days ago   58.9MB
goharbor/harbor-db              v2.3.5    9826c57a5749   6 days ago   221MB
goharbor/prepare                v2.3.5    a1ceaabe47b2   6 days ago   255MB

[root@harbor harbor]# ss -antl
State        Recv-Q       Send-Q             Local Address:Port             Peer Address:Port      Process
LISTEN       0            128                    127.0.0.1:1514                  0.0.0.0:*
LISTEN       0            128                      0.0.0.0:80                    0.0.0.0:*
LISTEN       0            128                      0.0.0.0:22                    0.0.0.0:*
LISTEN       0            128                         [::]:80                       [::]:*
LISTEN       0            128                         [::]:22                       [::]:*
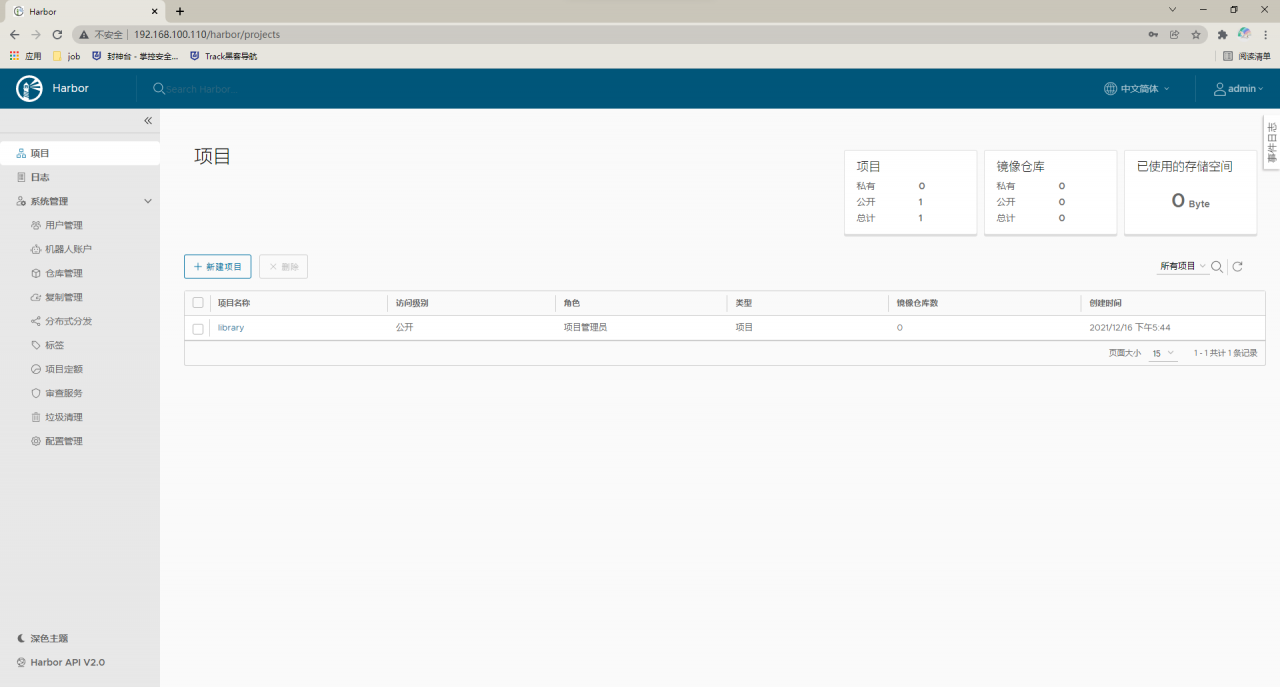
使用IP登录管理harbor
默认的用户名是admin,密码是Harbor12345
拉取官方镜像上传到harbor仓库中
[root@harbor harbor]# docker images
nginx                           latest    f652ca386ed1   13 days ago   141MB
[root@harbor harbor]# docker tag nginx:latest harbor.example.com/library/nginx:latest
[root@harbor harbor]# docker images
harbor.example.com/library/nginx            latest    f652ca386ed1   13 days ago   141MB
nginx                         			    latest    f652ca386ed1   13 days ago   141MB
登录到harbor仓库
[root@harbor harbor]# docker login harbor.example.com
Username: admin
Password:
WARNING! Your password will be stored unencrypted in /root/.docker/config.json.
Configure a credential helper to remove this warning. See
https://docs.docker.com/engine/reference/commandline/login/#credentials-store

Login Succeeded
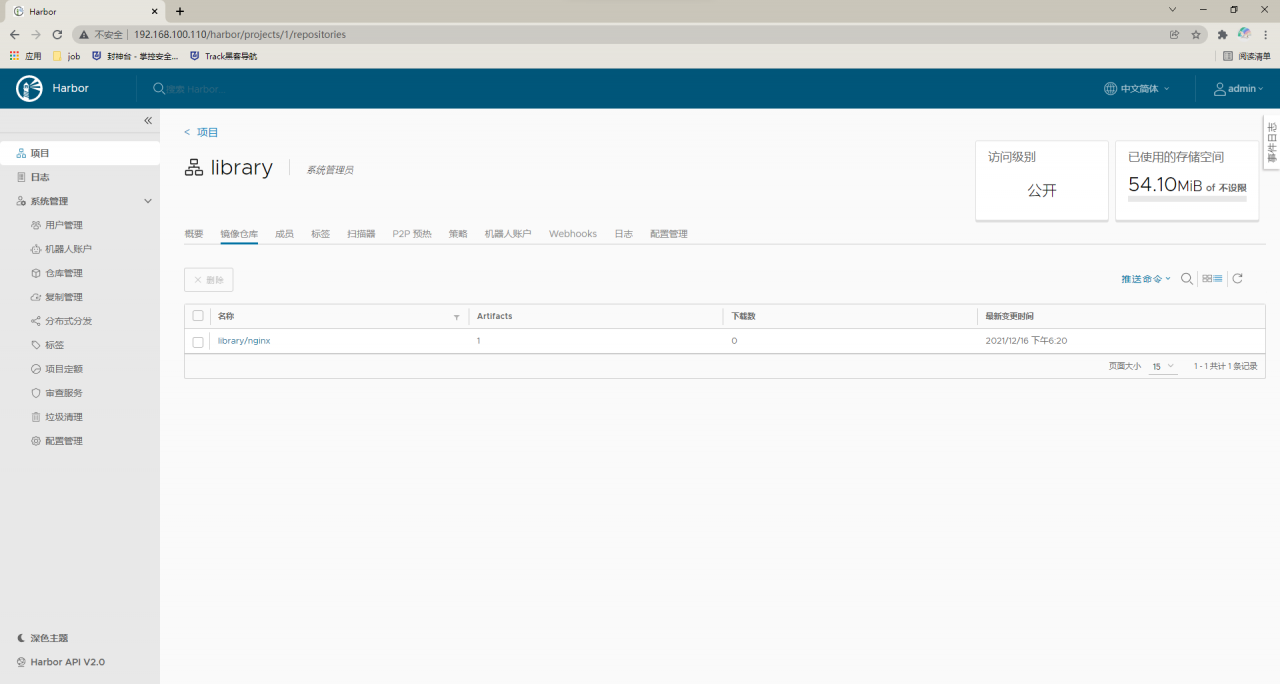
将修改后的nginx镜像推送到harbor仓库中
[root@harbor harbor]# docker push harbor.example.com/library/nginx:latest
The push refers to repository [harbor.example.com/library/nginx]
2bed47a66c07: Pushed
82caad489ad7: Pushed
d3e1dca44e82: Pushed
c9fcd9c6ced8: Pushed
0664b7821b60: Pushed
9321ff862abb: Pushed
latest: digest: sha256:4424e31f2c366108433ecca7890ad527b243361577180dfd9a5bb36e828abf47 size: 1570
到harbor仓库中查看
删除镜像后重新拉取
[root@harbor harbor]# docker rmi harbor.example.com/library/nginx:latest
[root@harbor harbor]# docker images
nginx                           latest    f652ca386ed1   13 days ago   141MB

[root@harbor harbor]# docker pull harbor.example.com/library/nginx:latest
latest: Pulling from library/nginx
Digest: sha256:4424e31f2c366108433ecca7890ad527b243361577180dfd9a5bb36e828abf47
Status: Downloaded newer image for harbor.example.com/library/nginx:latest
harbor.example.com/library/nginx:latest
[root@harbor harbor]# docker images
nginx                              latest    f652ca386ed1   13 days ago   141MB
harbor.example.com/library/nginx   latest    f652ca386ed1   13 days ago   141MB
使用Harbor的注意事项:
- 在客户端上传镜像时一定要记得执行docker login进行用户认证,否则无法直接push
- 在客户端使用的时候如果不是用的https则必须要在客户端的/etc/docker/daemon.json配置文件中配置insecure-registries参数
- 数据存放路径应在配置文件中配置到一个容量比较充足的共享存储中
- Harbor是使用docker-compose命令来管理的,如果需要停止Harbor也应用docker-compose stop来停止,其他参数请–help
docker-compose语法
默认的模板文件是docker-compose.yml,其中定义的每个服务都必须通过image指令指定镜像或build指令(需要Dockerfile)来自动构建。
其他大部分都跟docker run 中类似。 如果使用build指令,在Dockerfile中设置的选项(例如:CMD,EXPOSE,VOLUME,ENV等)将自动被获取,无需在docker-compose.yml中再次被设置。
1、image
指定为镜像名称或镜像ID。如果镜像不存在,Compose将尝试从互联网拉取这个镜像,例如: image: ubuntu image: orchardup/postgresql image: a4bc65fd
2、build
指定Dockerfile所在文件夹的路径。Compose将会利用他自动构建这个镜像,然后使用这个镜像。 build: ./dir
3、command
覆盖容器启动后默认执行的命令。 command: bundle exec thin -p 3000
4、links
链接到其他服务容器,使用服务名称(同时作为别名)或服务别名(SERVICE:ALIAS)都可以
links:
 - db
 - db:database
 - redis
5、external_links
链接到docker-compose.yml外部的容器,甚至并非是Compose管理的容器。参数格式和links类似。 external_links:
- redis_1
 - project_db_1:mysql
 - project_db_2:sqlserver
6、ports
暴露端口信息。 宿主机器端口:容器端口(HOST:CONTAINER)格式或者仅仅指定容器的端口(宿主机器将会随机分配端口)都可以。
ports:
 - "3306"
 - "8080:80"
 - "127.0.0.1:8090:8001"
注意:当使用 HOST:CONTAINER 格式来映射端口时,如果你使用的容器端口小于 60 你可能会得到错误得结果,因为 YAML 将会解析 xx:yy 这种数字格式为 60 进制。所以建议采用字符串格式。
7、expose
暴露端口,与posts不同的是expose只可以暴露端口而不能映射到主机,只供外部服务连接使用;仅可以指定内部端口为参数。
expose:
 - "3000"
 - "8000"
8、volumes
设置卷挂载的路径。可以设置宿主机路径:容器路径(host:container)或加上访问模式(host:container:ro)ro就是readonly的意思,只读模式。
volumes:
 - /var/lib/mysql:/var/lib/mysql
 - /configs/mysql:/etc/configs/:ro
9、volunes_from
挂载另一个服务或容器的所有数据卷。
volumes_from:
 - service_name
 - container_name
10、environment
设置环境变量。可以属于数组或字典两种格式。 如果只给定变量的名称则会自动加载它在Compose主机上的值,可以用来防止泄露不必要的数据。
environment:
 - RACK_ENV=development
 - SESSION_SECRET
11、env_file
从文件中获取环境变量,可以为单独的文件路径或列表。 如果通过docker-compose -f FILE指定了模板文件,则env_file中路径会基于模板文件路径。 如果有变量名称与environment指令冲突,则以后者为准。
env_file: .env
env_file:
 - ./common.env
 - ./apps/web.env
 - /opt/secrets.env
环境变量文件中每一行都必须有注释,支持#开头的注释行。
# common.env: Set Rails/Rack environment
RACK_ENV=development
12、extends
基于已有的服务进行服务扩展。例如我们已经有了一个webapp服务,模板文件为common.yml.
# common.yml
webapp:
build: ./webapp
environment:
  - DEBUG=false
  - SEND_EMAILS=false
编写一个新的 development.yml 文件,使用 common.yml 中的 webapp 服务进行扩展。 development.yml
web:
extends:
file: common.yml
service:
  webapp:
    ports:
       - "8080:80"
    links:
       - db
    envelopment:
       - DEBUG=true
   db:
    image: mysql:5.7
后者会自动继承common.yml中的webapp服务及相关的环境变量。
13、net
设置网络模式。使用和docker client 的 --net 参数一样的值。
# 容器默认连接的网络,是所有Docker安装时都默认安装的docker0网络.
net: "bridge"
# 容器定制的网络栈.
net: "none"
# 使用另一个容器的网络配置
net: "container:[name or id]"
# 在宿主网络栈上添加一个容器,容器中的网络配置会与宿主的一样
net: "host"
Docker会为每个节点自动创建三个网络: 网络名称 作用 bridge 容器默认连接的网络,是所有Docker安装时都默认安装的docker0网络 none 容器定制的网络栈 host 在宿主网络栈上添加一个容器,容器中的网络配置会与宿主的一样 附录: 操作名称 命令 创建网络 docker network create -d bridge mynet 查看网络列表 docker network ls
14、pid
和宿主机系统共享进程命名空间,打开该选项的容器可以相互通过进程id来访问和操作。
pid: "host"
15、dns
配置DNS服务器。可以是一个值,也可以是一个列表。
dns: 8.8.8.8
dns:
 - 8.8.8.8
 - 9.9.9.9
16、cap_add,cap_drop
添加或放弃容器的Linux能力(Capability)。
cap_add:
 - ALL
cap_drop:
 - NET_ADMIN
 - SYS_ADMIN
17、dns_search
配置DNS搜索域。可以是一个值也可以是一个列表。
dns_search: example.com
dns_search:
 - domain1.example.com
 - domain2.example.com
working_dir, entrypoint, user, hostname, domainname, mem_limit, privileged, restart, stdin_open, tty, cpu_shares
这些都是和 docker run 支持的选项类似。
cpu_shares: 73
working_dir: /code
entrypoint: /code/entrypoint.sh
user: postgresql
hostname: foo
domainname: foo.com
mem_limit: 1000000000
privileged: true
restart: always
stdin_open: true
tty: true
注意事项: 使用compose对Docker容器进行编排管理时,需要编写docker-compose.yml文件,初次编写时,容易遇到一些比较低级的问题,导致执行docker-compose up时先解析yml文件的错误。比较常见的是yml对缩进的严格要求。
yml文件还行后的缩进,不允许使用tab键字符,只能使用空格,而空格的数量也有要求,经过实际测试,发现每一行增加一个空格用于缩进是正常的。 比如:
web:
<空格>build:
<空格><空格>command:
...
否则,很容易引起各种 yaml.scanner.ScannerError:的错误提示。