文件结构

注:这里的web3js代码是基于1.0.0以上的版本。
一般的开发流程:
写智能合约 => 编译 => 部署到ganache测试环境 => 测试 => 通过geth发布到私有网络
合约
pragma solidity >=0.4.0;

contract C{
    event ChangeBalance(address indexed who, uint indexed value);
    mapping(address=>uint) public balances;
    function update(uint _value) public {
        balances[msg.sender] = _value;
        emit ChangeBalance(msg.sender, _value);
    }
}
编译
compile.js
/**
 * 编译脚本
 * 输入参数一个:sol源文件名
 * 输出:sol源文件中所有合约的编译结果对象
 */

const fs = require('fs-extra');
const solc = require('solc');
const path = require('path');

//input
//处理输入参数
const arguments = process.argv.splice(2);
if (!arguments || arguments.length != 1){
	console.log('Parameter error')
	return;
}
//被编译的sol文件名
const solFileName = arguments[0];
const solName = solFileName.split('.')[0];


//clean up
//删除先前编译结果,保存最新的编译结果
//编译结果保存路径
const compiledDir = path.resolve(__dirname, '../compiled', solName);
//删除sol对应文件夹内容
fs.removeSync(compiledDir);
fs.ensureDirSync(compiledDir);


//Compile
//目标合约路径
const contractPath = path.resolve(__dirname, '../contracts', solFileName);
//读取合约内容
const contractSource = fs.readFileSync(contractPath, 'utf-8');
//编译合约
const contractResult = solc.compile(contractSource, 1); //参数1表示打开solc中的优化器

//check errors
//检查编译错误,优化输出抛出异常
//检查结果中的errors
if (Array.isArray(contractResult.errors) && contractResult.errors.length){
	throw new Error(contractResult.errors[0]);
}

//save to disk
//写入到文件
Object.keys(contractResult.contracts).forEach(name =>{ //对结果对象中的合约名字遍历,注意前面有:号
	//去掉:号,得到合约名
	let contractName = name.replace(/^:/, '');
	//保存的路径,保存为json文件
	let filePath = path.resolve(compiledDir, contractName + '.json');
	//保存
	fs.outputJsonSync(filePath, contractResult.contracts[name]); //注意这里是name
	//提示结果
	console.log("Save compiled contract", contractName, "to", filePath);
});
部署
deploy.js
/**
 * 部署合约脚本
 * 输入:合约源码sol文件名字 、部署合约名、(部署人地址)
 * 输出:部署后合约地址
 */

const Web3 = require('web3');
const web3 = new Web3(new Web3.providers.HttpProvider('http://localhost:8545'));
const fs = require('fs-extra');
const path = require('path');

//input
//处理输入参数
const arguments = process.argv.splice(2);
if (!arguments || arguments.length != 2){
	console.log('Parameter error')
	return;
}
//要部署的sol合约源文件名
const solFileName = arguments[0];
//其中要部署的合约名
const contractName = arguments[1];


//读取部署合约的abi和字节码
const compiledDir = path.resolve(__dirname, '../compiled', solFileName.split('.')[0], contractName + '.json');
const {interface, bytecode} = require(compiledDir);

//deploy
(async () => {
	//注意,这里要考虑根据环境检查部署合约的账户是否有钱,这里测试环境先没考虑
	//先获得所有账户
	const accountArray = await web3.eth.getAccounts();
	console.log('Default deployment address:', accountArray[0])
	//部署
	console.time('Contract deployment time consuming:')
	const res = await new web3.eth.Contract(JSON.parse(interface))
				.deploy({data: bytecode, arguments: []})
				.send({from: accountArray[0], gas: 1000000});
	console.timeEnd('Contract deployment time consuming:')
	console.log('Contract Address: ', res._address);
})();
测试
使用js中的mocha测试框架。首先安装依赖:
npm install mocha –save -dev
测试部署代码:
const path = require('path');
const ganache = require('ganache-cli');
const Web3 = require('web3');
const assert = require('assert');

//直接引入测试环境的provider,不用外部开启,每次测试都启动一个新的干净的环境
const web3 = new Web3(ganache.provider());

//测试部署需要的数据

//读取部署合约的abi和字节码
const compiledDir = path.resolve(__dirname, '../compiled/demo/C.json');
const {interface, bytecode} = require(compiledDir);

let accountArray;
let contract;

//开始测试
describe('#contract', ()=>{
	before(()=>{
		console.log('测试开始');
	})
	//每次测试(it)之前做的事
	beforeEach( async()=>{
		accountArray = await web3.eth.getAccounts();
		contract = await new web3.eth.Contract(JSON.parse(interface))
					.deploy({data: bytecode, arguments:[]})
					.send({from: accountArray[0], gas: 1000000})
		console.log('合约已部署');
	});
	after(()=>{
		console.log('测试结束');
	})
	afterEach(()=>{
		console.log('单个测试结束');
	})

	//测试发布
	it('deploy contract successfully', async()=>{
		assert.ok(contract._address);
	})
	//测试修改余额
	it('change balance successfully', async()=>{
		await contract.methods.update(100)
				.send({from: accountArray[0]});
		let balance = await contract.methods.balances(accountArray[0])
				.call();
		assert.equal(balance, 100);
	})
});
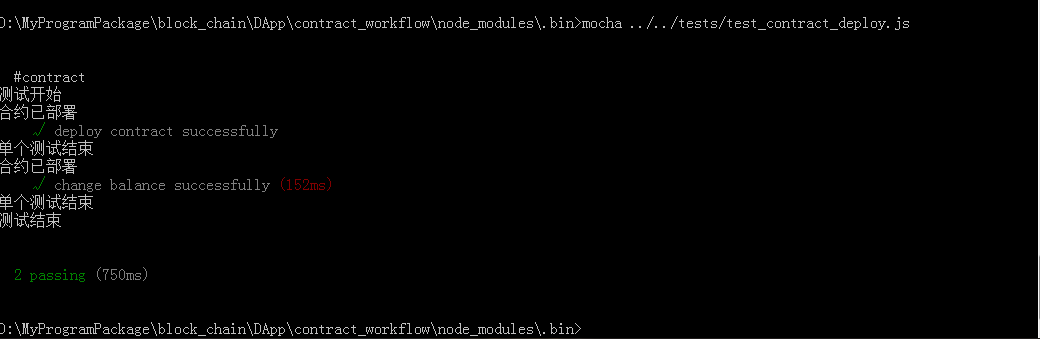
测试中能看到一些错误信息:

调试后,测试成功:
如果mocha不指定执行文件,那么默认会去执行test文件夹下所有测试文件
npm script
使用npm script将整个过程串起来:
如果没有package.json的话,在整个文件夹下初始化:npm init
初始化之后打开package.json找到script:
修改:
"scripts": {
    "compile": "node scripts/compile.js",
    "pretest": "npm run compile",
    "test": "mocha test/",
    "predeploy": "npm run compile",
    "deploy": "node scripts/deploy.js"
  },
这其实就是npm提供的简化命令的方式,对命令的在包裹。
调用npm run compile [参数] 就相当于 => node scripts/compile.js [参数]
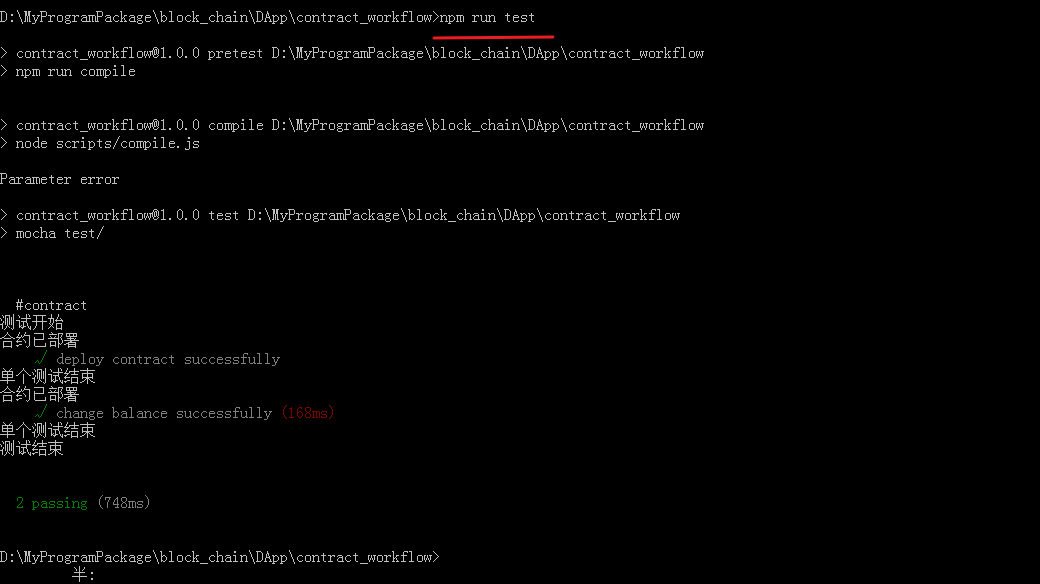
其中pretest指的是调用npm run test之前会先调用npm run compile 也就是 node scripts/compile.js先编译一下,使其串联起来。predeploy同理。
效果:

版权声明:本文为weixin_43988498原创文章,遵循CC 4.0 BY-SA版权协议,转载请附上原文出处链接和本声明。