今天给大家分享session缓存配置与session持久化示例
1. shiro中的缓存
在权限验证时每次从数据库中获取登陆权限数据显然是不合适的,更合适方式是将数据缓存到内存,以提高系统性能。
1.1 引入jar包
   <!-- 缓存需要的包 -->
        <dependency>
            <groupId>org.apache.shiro</groupId>
            <artifactId>shiro-ehcache</artifactId>
            <version>${shiro-version}</version>
        </dependency>
        <dependency>
            <groupId>org.springframework</groupId>
            <artifactId>spring-context-support</artifactId>
            <version>${spring-version}</version>
        </dependency>
1.2 ehcache配置文件
<?xml version="1.0" encoding="UTF-8"?>
<ehcache xmlns:xsi="http://www.w3.org/2001/XMLSchema-instance"
xsi:noNamespaceSchemaLocation="http://ehcache.org/ehcache.xsd"
updateCheck="false">
<diskStore path="java.io.tmpdir"/>
<defaultCache eternal="false" maxElementsInMemory="1000" overflowToDisk="false" diskPersistent="false"
timeToIdleSeconds="0" timeToLiveSeconds="600" memoryStoreEvictionPolicy="LRU"/>
<!--name: Cache的名称,必须是唯一的(ehcache会把这个cache放到HashMap里)-->
<!-- <cache name="stuCache" eternal="false" maxElementsInMemory="100"
overflowToDisk="false" diskPersistent="false" timeToIdleSeconds="0"
timeToLiveSeconds="300" memoryStoreEvictionPolicy="LRU"/> -->
</ehcache>1.2 配置spring-base的配置文件
<!-- shiro 缓存-->
<bean id="cacheManagerFactory" class="org.springframework.cache.ehcache.EhCacheManagerFactoryBean">
<property name="configLocation" value="classpath:ehcache.xml"/>
<property name="shared" value="true"></property>
</bean>
<bean id="shrioEhcache" class="org.apache.shiro.cache.ehcache.EhCacheManager">
<property name="cacheManager" ref="cacheManagerFactory"></property>
</bean>
<!-- 将自定义的realm注入到安全管理器中 -->
<bean id="securityManager" class="org.apache.shiro.web.mgt.DefaultWebSecurityManager">
<property name="realm" ref="shiroRealm" />
<!-- 为安全管理器配置缓存 -->
<property name="cacheManager" ref="shrioEhcache"></property>
</bean>2.shiro中的session
2.1简单的小案例
session中保存的数据,只要session未结束,在任何地方都可以访问session值
必须要先登陆用户,使session里面有用户登陆的值,然后再访问session的值。
mapper不用编写,因为咱们目的只是测试session获取值
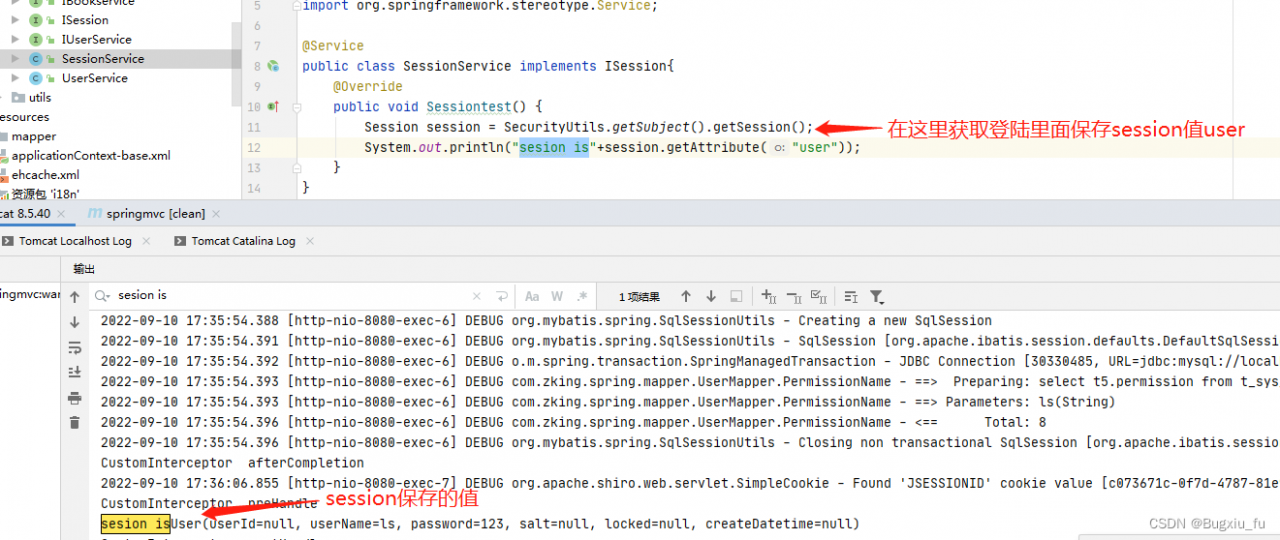
service层
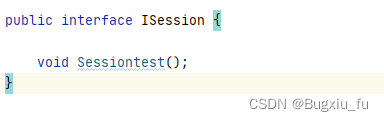
@Service
public class SessionService implements ISession{

    @Override
    public void Sessiontest() {
        Session session = SecurityUtils.getSubject().getSession();
        System.out.println("sesion is"+session.getAttribute("user"));
    }
}
首先,登陆的Controller保存session的值,然后通过编写SessionController获取session的值
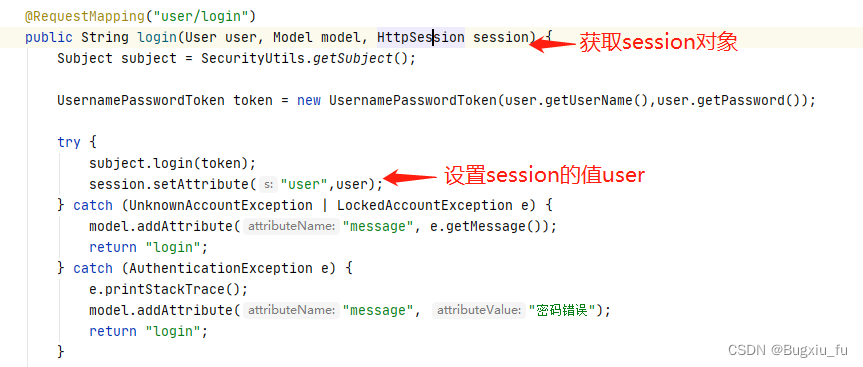
@RequestMapping("user/login")
public String login(User user, Model model, HttpSession session) {
Subject subject = SecurityUtils.getSubject();
UsernamePasswordToken token = new UsernamePasswordToken(user.getUserName(),user.getPassword());
try {
subject.login(token);
session.setAttribute("user",user);
} catch (UnknownAccountException | LockedAccountException e) {
model.addAttribute("message", e.getMessage());
return "login";
} catch (AuthenticationException e) {
e.printStackTrace();
model.addAttribute("message", "密码错误");
return "login";
}
return "index";
}编写一个简单SessionController得到session的值
@Controller
public class SessionController {
@Autowired
private ISession iSession;
@RequestMapping("Sessiontest")
public Object Sessiontest(){
iSession.Sessiontest();
return "";
}
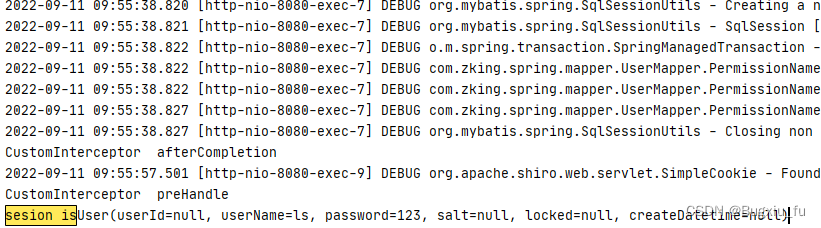
}效果展示
3.Session监听
效果展示
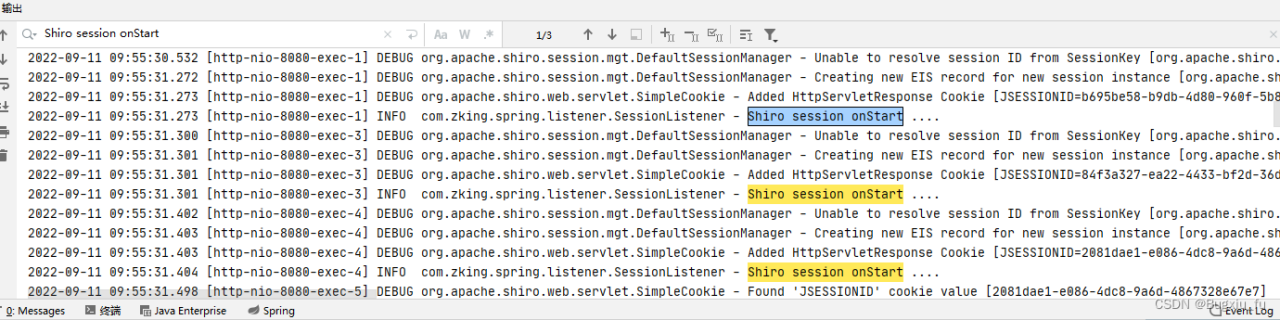
用于监听session的创建,过期等事件,如果在需要时可以再session创建时做些初始化操作,或在过期时做些清理操作。
1) 创建一个自定义监听器
@Slf4j//做为日志输出
public class SessionListener extends SessionListenerAdapter {
@Override
public void onStart(Session session) {
log.info("Shiro session onStart .... ");
}
@Override
public void onStop(Session session) {
log.info("Shiro session onStop .... ");
}
@Override
public void onExpiration(Session session) {
log.info("Shiro session onExpiration ....");
}
}2)配置文件,在spring配置文件中做如下配置
<bean id="securityManager" class="org.apache.shiro.web.mgt.DefaultWebSecurityManager">
<property name="realm" ref="shiroRealm" />
<!-- 注入缓存管理器 -->
<property name="cacheManager" ref="shrioEhcache"/>
<!-- session管理器 -->
<property name="sessionManager" ref="sessionManager"/>
</bean>
<!-- session管理器 ,配置自定义监听器,同时需要将该sessionManager配置到securityManager中-->
<bean id="sessionManager" class="org.apache.shiro.web.session.mgt.DefaultWebSessionManager">
<property name="sessionListeners">
<list>
<bean class="com.zking.shirodemo.listener.SessionListener"/>
</list>
</property>
</bean>4.session持久化
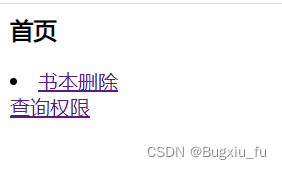
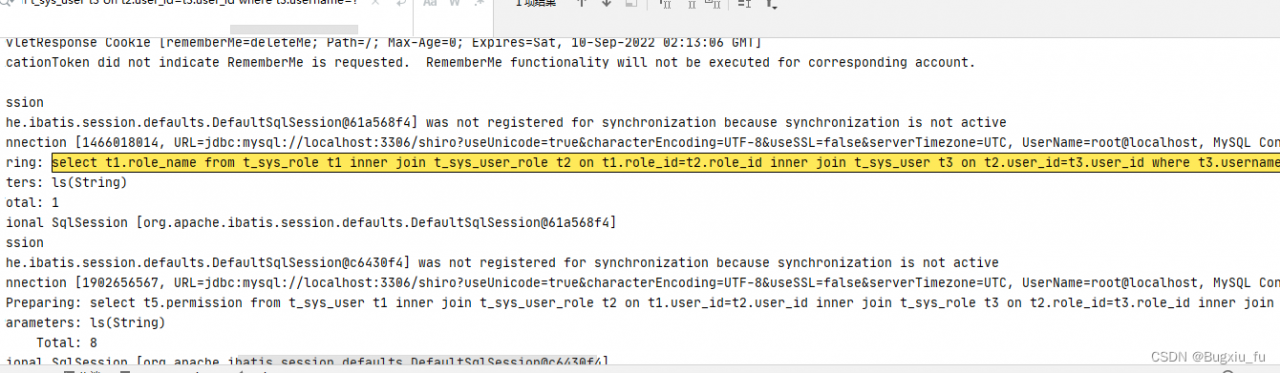
登陆后
由此可见,我们日志只打印了一个sql语句,说明只在数据库执行一次
1)session持久化在applicationContext-base.xml配置文件
   <!-- session管理器 ,配置自定义监听器,同时需要将该sessionManager配置到securityManager中-->
    <bean id="sessionManager" class="org.apache.shiro.web.session.mgt.DefaultWebSessionManager">
        <property name="sessionListeners">
            <list>
                <bean class="com.zking.spring.listener.SessionListener"/>
            </list>
        </property>
        <!-- 配置管理session的 dao -->
        <property name="sessionDAO" ref="sessionDao"/>
    </bean>


    <!-- 自定义SessionDao,将session持久化到数据库, 需要将该Bean注入到sessionManager -->
    <bean id="sessionDao" class="com.zking.spring.listener.DbSessionDao">
    </bean>
2)将session持久化加入安全管理器
<!--注册安全管理器-->
<bean id="securityManager" class="org.apache.shiro.web.mgt.DefaultWebSecurityManager">
<!--自定义Reaml(登陆认证,登陆授权)-->
<property name="realm" ref="shiroRealm" />
<!--shiro 缓存-->
<property name="cacheManager" ref="shrioEhcache"></property>
<!--session持久监听器-->
<property name="sessionManager" ref="sessionManager"/>
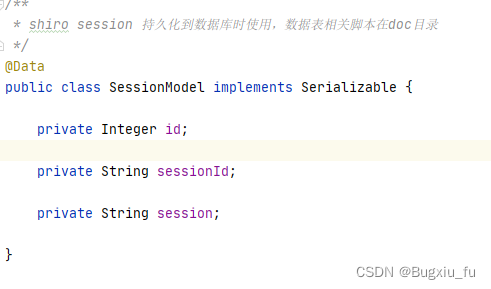
</bean>3)实现序列化接口,文章最后会附上序列化类
4)因为session要写CRUD操作,mapper层service层就不显示了
5)编写自定义的session,实现持久化必须要实现EnterpriseCacheSessionDAO接口,重写父类CRUD方法。
/**
* 自定义Session持久化,将Shiro的Session数据保存到数据库中。
* 完成该类的编写后,需要在spring配置文件中进行配置
*/
@Slf4j
public class DbSessionDao extends EnterpriseCacheSessionDAO {
@Autowired
private ISessionModel sessionService;
@Override
protected Serializable doCreate(Session session) {
Serializable sid = super.doCreate(session);
SessionModel model = new SessionModel();
model.setSessionId(sid.toString());
model.setSession(SerializableUtil.serialize(session));
log.debug("将session保存到数据库, sessionId = {}", sid);
sessionService.addSession(model);
return sid;
}
@Override
protected Session doReadSession(Serializable sessionId) {
Session session = super.doReadSession(sessionId);
//如果从内存中获取了session,则直接返回
if (!Objects.isNull(session)) {
log.debug("从内存中获取session,sessionId = " + sessionId + ", 直接返回");
return session;
}
log.debug("从内存中没有获取到session,id={}, 将从数据库获取session", sessionId);
SessionModel model = new SessionModel();
model.setSessionId(sessionId.toString());
session = (Session) sessionService.getSession(model);
if(Objects.isNull(session)) {
log.debug("数据库中也没有找到id={}的session,将返回null");
}
return session;
}
//删除session时,需要将数据表中的记录一并删除
@Override
protected void doDelete(Session session) {
SessionModel model = new SessionModel();
model.setSessionId(session.getId().toString());
log.debug("删除session,sessionId: " + session.getId().toString());
sessionService.delSession(model);
super.doDelete(session);
}
//更新session
@Override
protected void doUpdate(Session session) {
String sessionId = session.getId().toString();
SessionModel tmpModel = new SessionModel();
tmpModel.setSessionId(sessionId);
SessionModel model = sessionService.getSession(tmpModel);
if(Objects.isNull(model)) {
Object obj = session.getAttribute(DefaultSubjectContext.AUTHENTICATED_SESSION_KEY);
//数据库中是否有session,如果没有检查session无效,则直接返回,否则保存到数据库中
if(Objects.isNull(obj) || !Boolean.parseBoolean(obj.toString())) {
return ;
}
SessionModel saveModel = new SessionModel();
saveModel.setSessionId(session.getId().toString());
saveModel.setSession(SerializableUtil.serialize(session));
log.debug("session已经过验证,且在数据库中不存在,将session保存到数据库 ..... ");
sessionService.addSession(saveModel);
} else {
//如果session在数据库中已存在,则更新session
model.setSession(SerializableUtil.serialize(session));
log.debug("session在数据库中已存在,将session更新到数据库 ..... ");
sessionService.updateSession(model);
}
//调用父类方法,更新session
super.doUpdate(session);
}
}附1:序列化实现类
public final class SerializableUtil {
private SerializableUtil() {}
/**
* Session序列化
* @param session 待序列化的session
* @return String
*/
public static String serialize(Session session) {
try {
//ByteArrayOutputStream 用于存储序列化的Session对象
ByteArrayOutputStream bos = new ByteArrayOutputStream();
//将Object对象输出成byte数据
ObjectOutputStream out = new ObjectOutputStream(bos);
out.writeObject(session);
//将字节码,编码成String类型数据
return Base64.getEncoder().encodeToString(bos.toByteArray());
} catch (Exception e) {
e.printStackTrace();
throw new RuntimeException("序列化失败");
}
}
/**
* session的反向序列化
* @param sessionString 需要被反向序列化的对象
* @return
*/
public static Session deserialize(String sessionString) {
try {
//读取字节码表
ByteArrayInputStream bis = new ByteArrayInputStream(Base64.getDecoder().decode(sessionString));
//将字节码反序列化成 对象
ObjectInputStream in = new ObjectInputStream(bis);
Session session = (Session) in.readObject();
return session;
} catch (Exception e) {
throw new RuntimeException("反序列化失败");
}
}
}版权声明:本文为Bugxiu_fu原创文章,遵循CC 4.0 BY-SA版权协议,转载请附上原文出处链接和本声明。