背景
下面的源码阅读环境,是我亲自试验过的。但是在开始之前,我不得不泼一下冷水。
众所周知,spring-framework 项目是一个非常优秀的框架,但是我仍然不推荐在你只知道简单使用 spring 的情况下,去拜读 spring 框架的源代码。毕竟几百万行的框架源码,你很容易陷入到各种细节里面不可自拔。
如何实现一个框架和如何使用框架实现业务,是两个非常不一样的东西。
以下几种情况需要你去看源代码:
- 当你需要封装 spring 框架,做底层框架的时候,需要去看
- 当你发现 spring 框架的问题,给社区提 issue 的时候
- 当你 debug 到底层,不得不看两眼的时候
所以,我的建议仍然是,先从 spring.io 上的使用文档开始看。官网的文档提炼出了一个框架最核心的思想,这是你需要读多少代码的情况下才能提炼出来的啊!
安装Gradle
下载 zip 包,这里推荐从这里下载 gradle,比较快
https://services.gradle.org/distributions/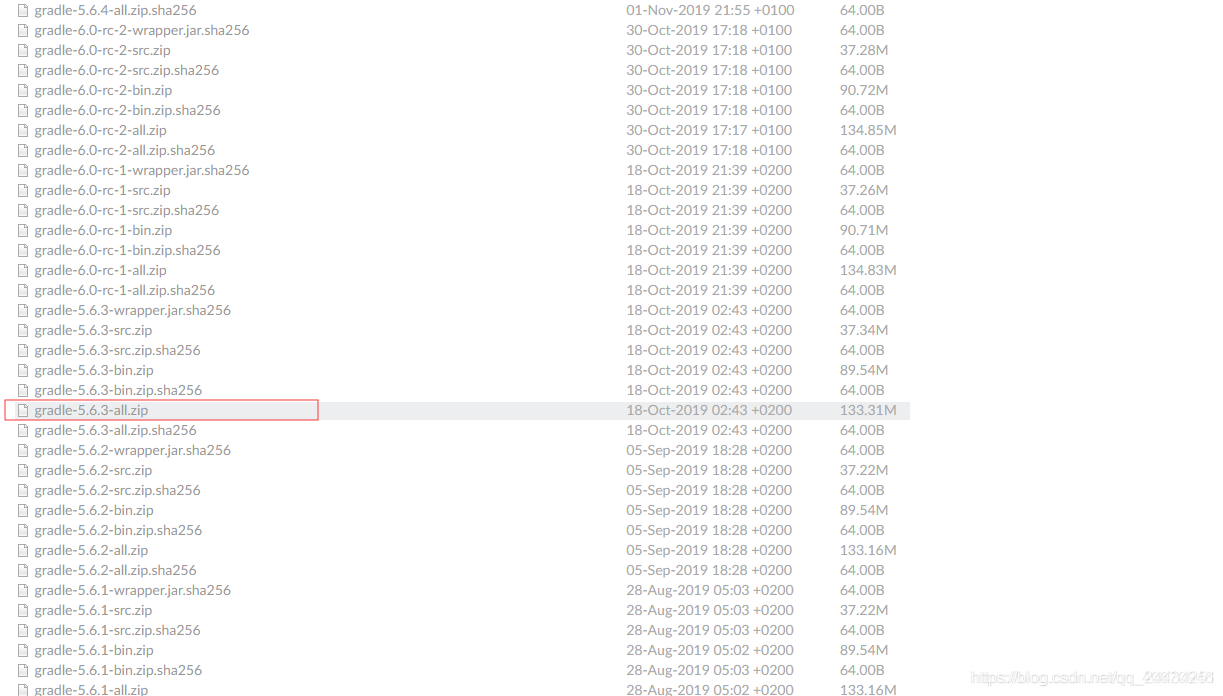
下载好了之后,解压
配置环境变量
配置 path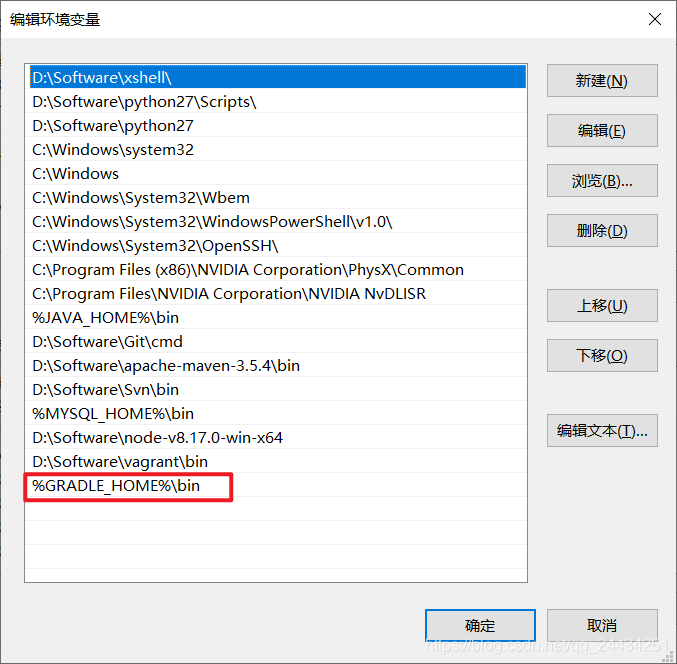
命令行,输入 gradle -v,如果出来版本号,则表示安装成功
重启一下电脑让它生效
导入 spring 源码
源码建议从 gitee 码云上克隆,速度非常快
https://gitee.com/LSZYAB/spring-framework
也可以下载 zip 包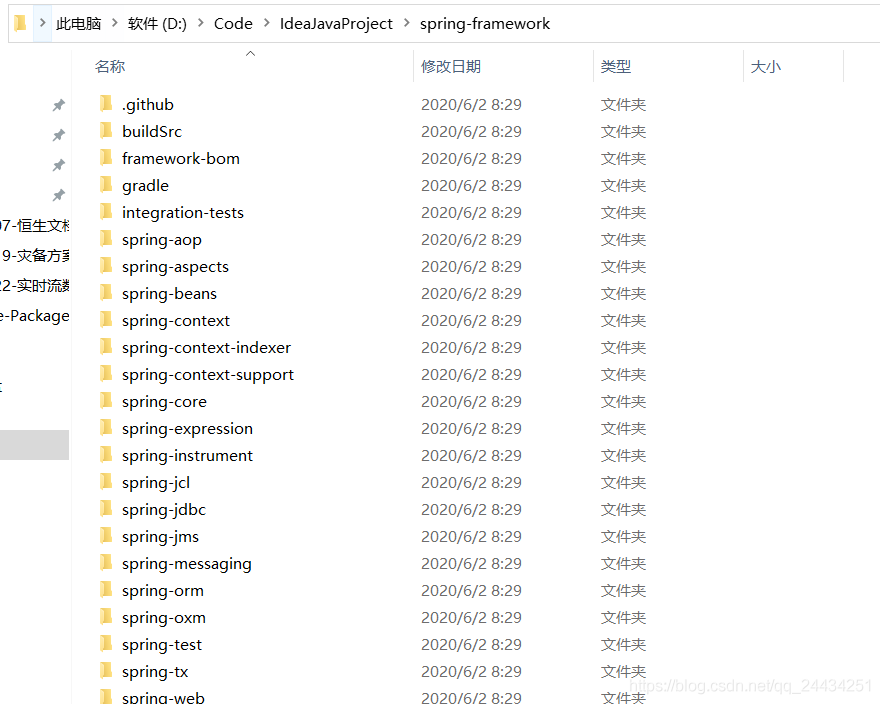
修改配置,下载加速
修改 gradle 配置
在 gradle 根目录下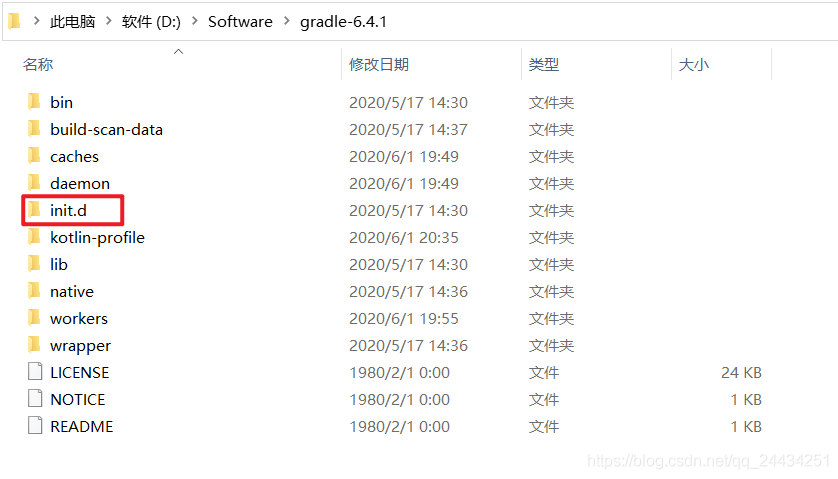
init.d 文件下,新建一个 init.gradle 文件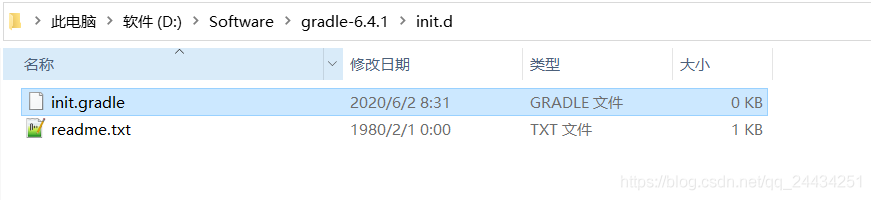
文件内容是:
allprojects{
    repositories {
        def REPOSITORY_URL = 'http://maven.aliyun.com/nexus/content/groups/public/'
        all { ArtifactRepository repo ->
            def url = repo.url.toString()
            if ((repo instanceof MavenArtifactRepository) && (url.startsWith('https://repo1.maven.org/maven2') || url.startsWith('https://jcenter.bintray.com'))) {
                project.logger.lifecycle 'Repository ${repo.url} replaced by $REPOSITORY_URL .'
                remove repo
            }
        }
        maven {
            url REPOSITORY_URL
        }
    }
}
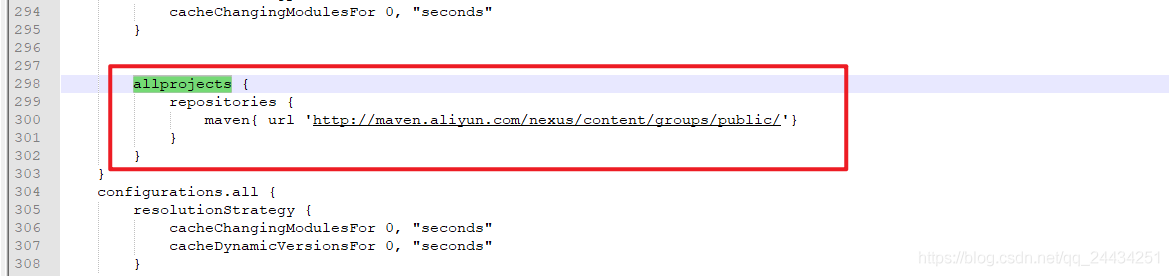
修改 spring 源码根目录下的 build.gradle 文件
将原本这块内容替换成:
    allprojects {
      repositories {
        maven{ url 'http://maven.aliyun.com/nexus/content/groups/public/'}
      }
    }
开始额外编译一下 spring-oxm 模块
cmd 到 spring 源码根目录下,执行:
gradlew :spring-oxm:compileTestJava

此时它会下载一个 gradle-5.6.4-all.zip ,这一步只能是用它自己指定版本的 gradle,让它正常下载即可
等到它开始编译的时候,先 ctrl + c 掉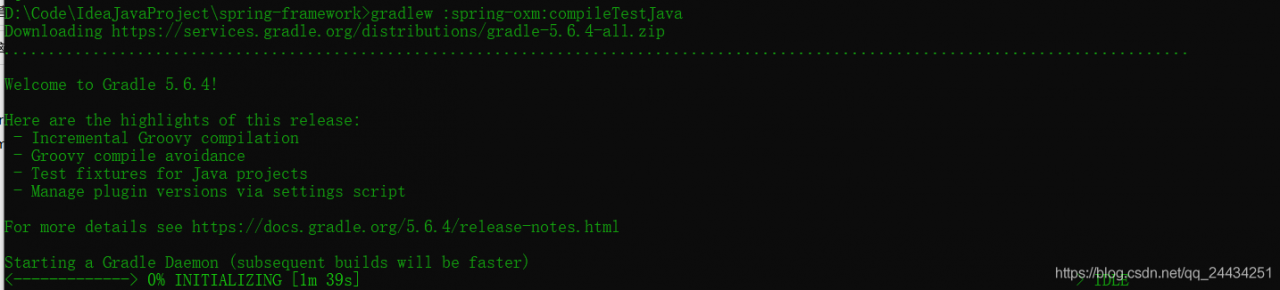
然后把gradle 根目录下 init.d 中的 init.gradle 文件拷贝到
这个地方
然后再次运行,即可使用 阿里云的 仓库下载了,让它编译一会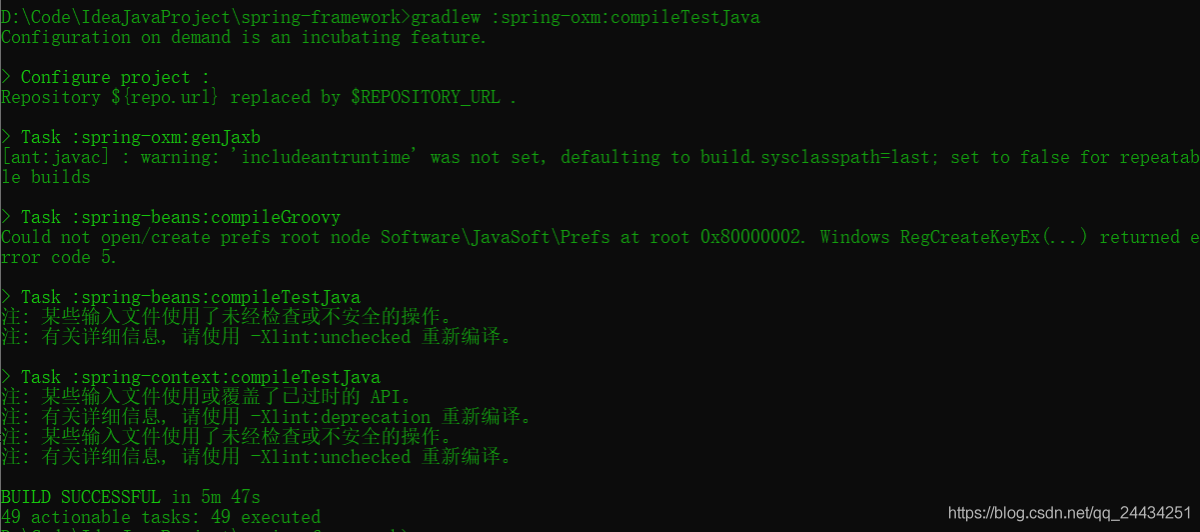
最后五分钟编译完成
导入到 IDEA
File -> New -> Project from Existing Sources -> 找到选择spring-framework源码 -> 选择build.gradle
打开之后,貌似它又下载了一次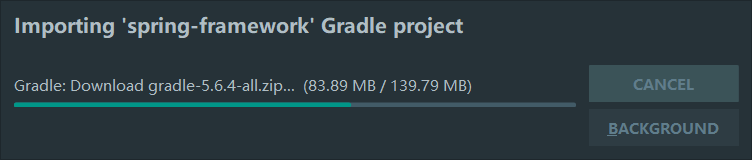
在它编译的时候,先停止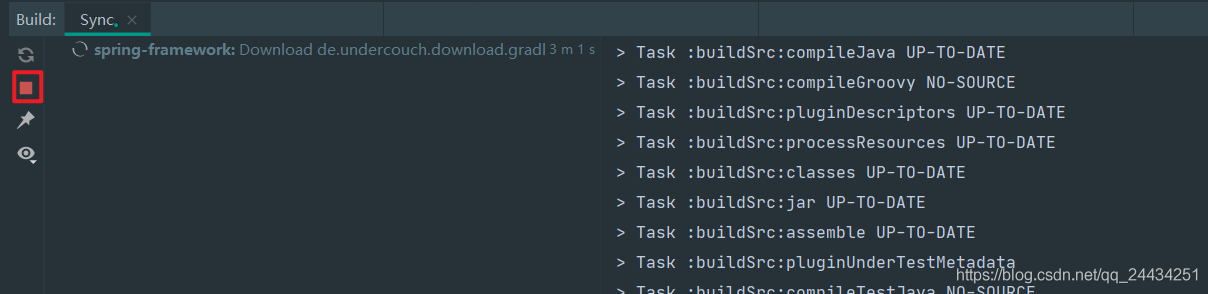
设置一下 gradle 的用户目录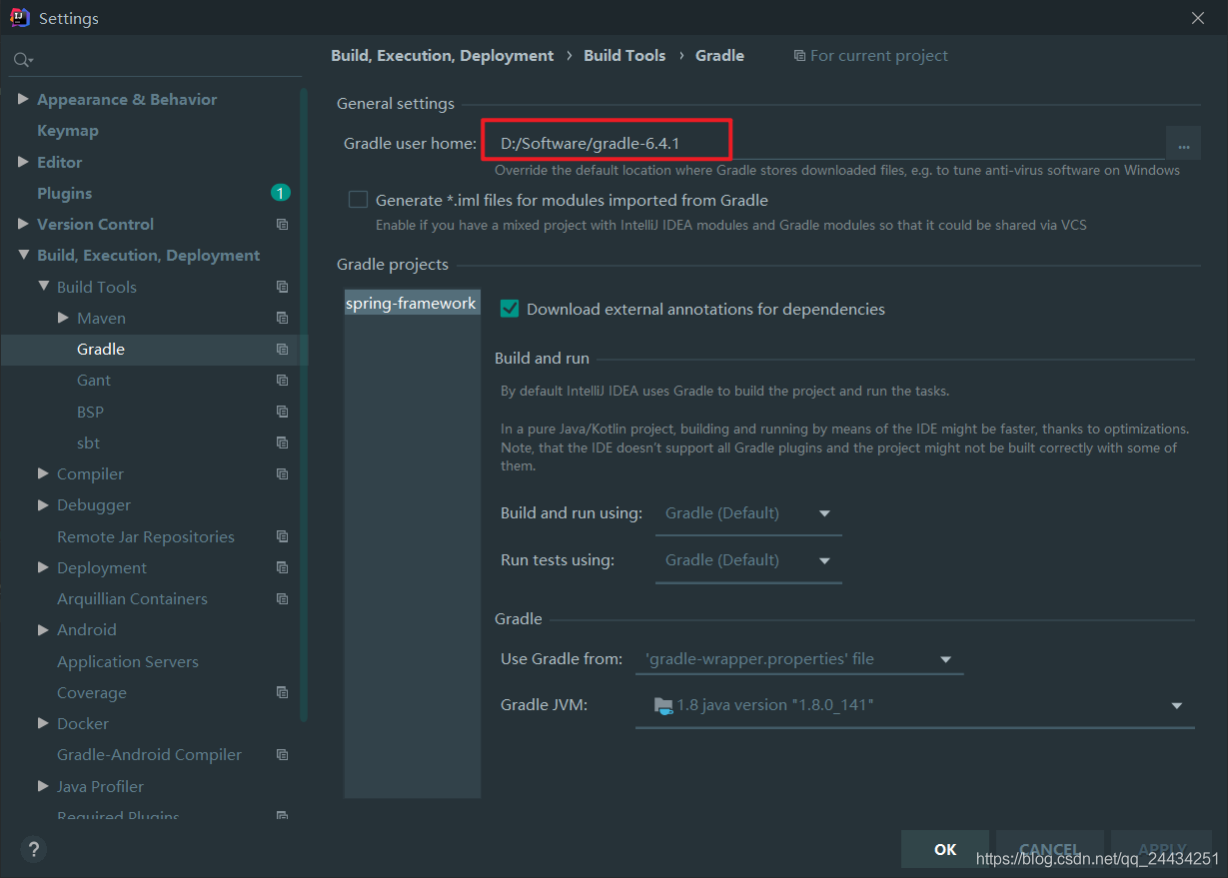
修改一下参数为:-XX:MaxMetaspaceSize=512m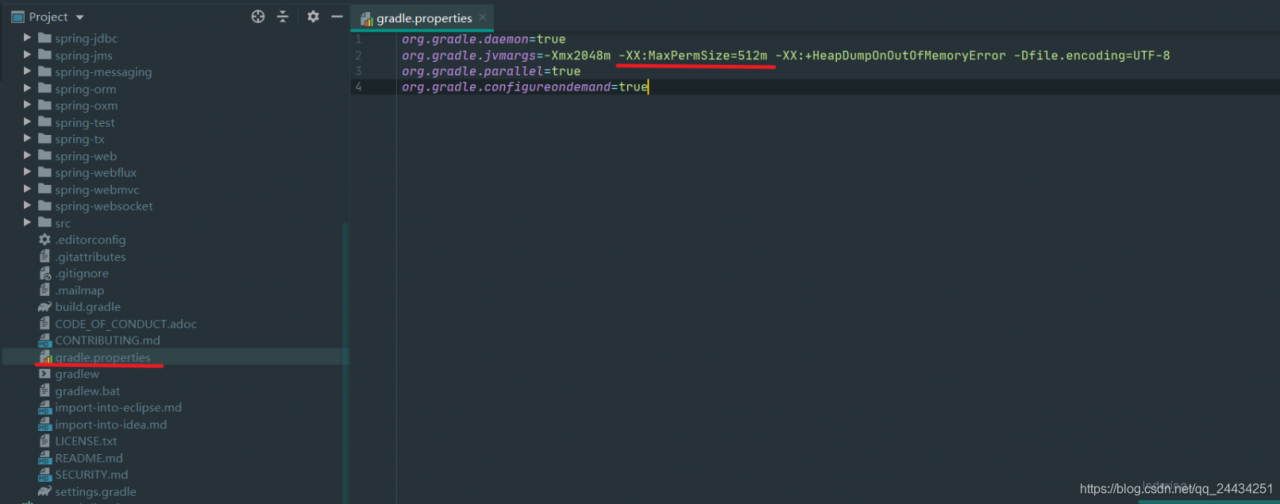
编译整个spring项目
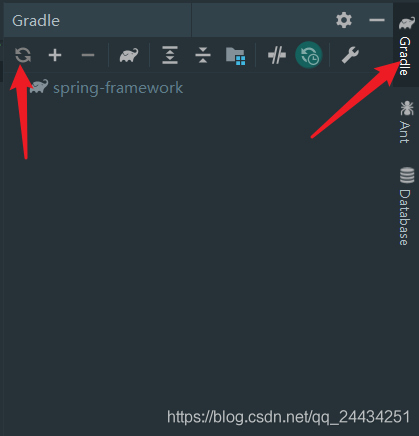
等待一段时间
报错如下: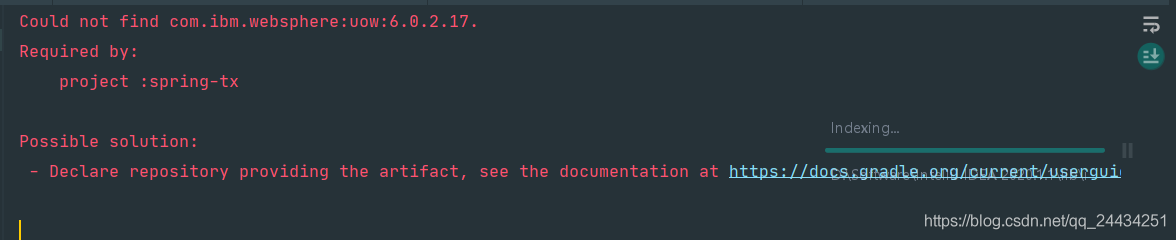
Could not find com.ibm.websphere:uow:6.0.2.17
Required by:
	project :spring-tx
这是 idea 版本 (我这里用的是 2020.1)和 spring 版本不兼容导致的,更换成 idea 2019.3 即可解决
测试
在spring-framework 工程上右键,new module,module名称为my-test,完成
在 resources 目录下,新建 applicationContext.xml
<?xml version="1.0" encoding="UTF-8"?>
<beans xmlns="http://www.springframework.org/schema/beans"
	   xmlns:xsi="http://www.w3.org/2001/XMLSchema-instance"
	   xsi:schemaLocation="http://www.springframework.org/schema/beans http://www.springframework.org/schema/beans/spring-beans.xsd">

	<bean id="hello" class="com.hundsun.Hello"></bean>

</beans>
修改 buidl.gradle 文件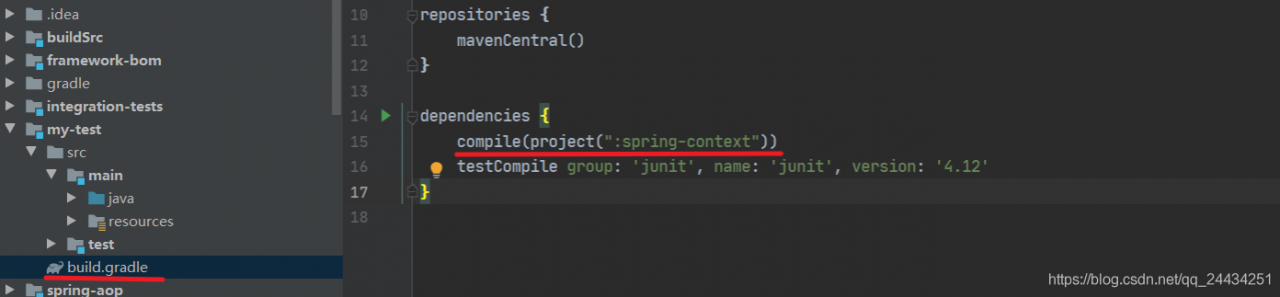
新建一个类
package com.hundsun;

import org.springframework.context.ApplicationContext;
import org.springframework.context.support.ClassPathXmlApplicationContext;

public class TestDemo {

	public static void main(String[] args) {
		ApplicationContext ac = new ClassPathXmlApplicationContext("classpath:applicationContext.xml");
		Hello hello = (Hello) ac.getBean("hello");
		System.out.println(hello.sayHello());
	}
}
package com.hundsun;

public class Hello {

    public String sayHello() {
        return "hello,spring";
    }
}
运行 TestDemo 的 main 方法
最后:表示构建成功