一.Spring Boot简介
1.什么是Spring Boot
Spring Boot是由Pivotal团队提供的框架,其设计目的是用来简化新Spring应用的初始搭建以及开发过程。
该框架使用了特定的方式(继承starter,约定优先于配置)来进行配置,从而使开发人员不再需要定义样板化的配置。通过这种方式,Boot致力于在蓬勃发展的快速应用开发领域(rapid application development)成为领导者。
Spring Boot并不是一个框架,从根本上将,它就是一些库的集合,maven或者gradle项目导入相应依赖即可使用Spring Boot,而且无需自行管理这些库的版本。
2.为什么要使用Spring Boot
Spring Boot是为简化Spring项目配置而生,使用它使得jar依赖管理以及应用编译和部署更为简单。Spring Boot提供自动化配置,使用Spring Boot,你只需编写必要的代码和配置必须的属性。
使用Spring Boot,只需20行左右的代码即可生成一个基本的Spring Web应用,并且内置tomcat,构建的fat Jar包通过Java -jar就可以直接运行。
如下特性使得Spring Boot非常契合微服务的概念,可以结合Spring Boot与Spring Cloud和Docker技术来构建微服务并部署到云端:
一个可执行jar即为一个独立服务很容易加载到容器,每个服务可以在自己的容器(例如docker)中运行
通过一个脚本就可以实现配置与部署,很适合云端部署,并且自动扩展也更容易
简单而言,即Spring Boot使编码更简单,使配置更简单,使部署更简单,使监控更简单。!
3.Spring Boot提供了哪些功能(无需手动管理依赖jar包的版本)
Spring boot通过spring boot starter项目管理其提供的所有依赖的版本,当升级spring boot时,这些依赖的版本也会随之升级。个人无需指定版本号。
但是也可以自定义版本号覆盖springboot的默认值。每个版本的boot都有对应的base spring version,不建议明确地指定spring版本。
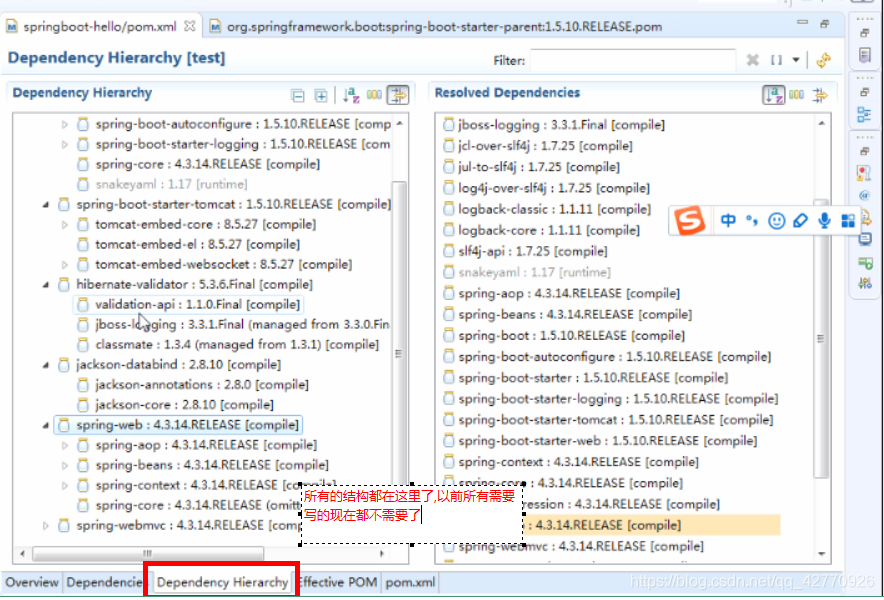
例如,使用maven时,只需简单的在pom中包含spring-boot-starter-web即引入了Spring MVC和Tomcat的依赖。
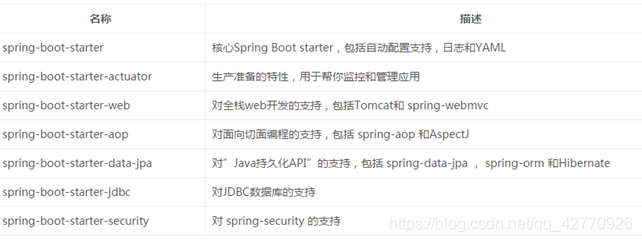
下面是Spring Boot在 org.springframework.boot 组下提供的一些Starters:
二.Spring Boot 入门
1.环境要求
(1)开发环境JDK 1.8
(2)项目管理工具( Maven )
(3)开发工具(Eclipse)
2.入门(这里用maven方式创建)
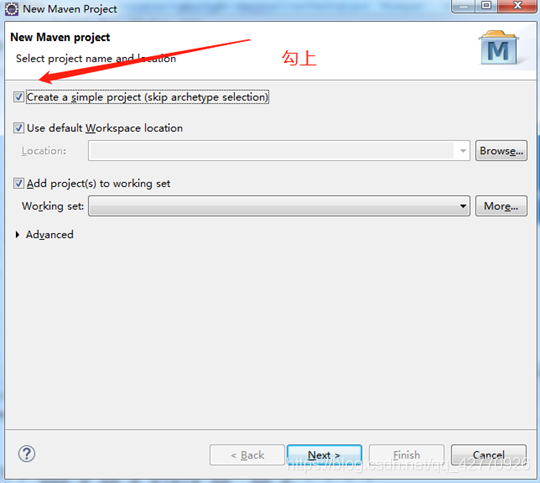
(1) 创建maven项目

(2)修改配置文件
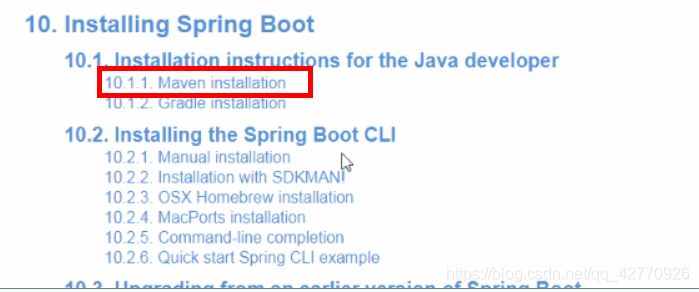
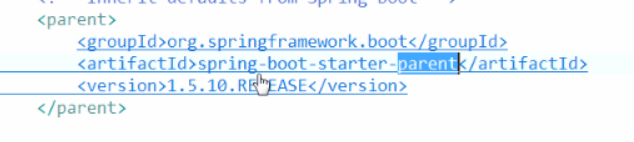
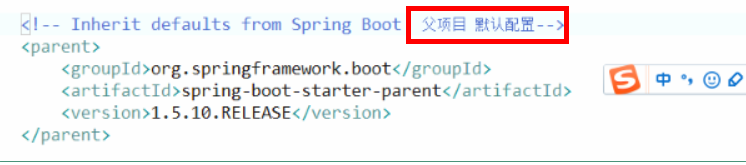
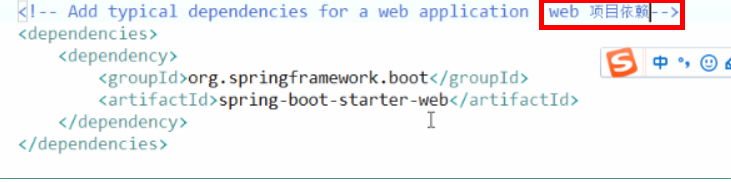
在从springboot官方文档中 找出pom.xml中 加入
<?xml version="1.0" encoding="UTF-8"?>
<project xmlns="http://maven.apache.org/POM/4.0.0" xmlns:xsi="http://www.w3.org/2001/XMLSchema-instance"
    xsi:schemaLocation="http://maven.apache.org/POM/4.0.0 http://maven.apache.org/xsd/maven-4.0.0.xsd">
    <modelVersion>4.0.0</modelVersion>

    <groupId>com.example</groupId>
    <artifactId>myproject</artifactId>
    <version>0.0.1-SNAPSHOT</version>

    <!-- Inherit defaults from Spring Boot -->
    <parent>
        <groupId>org.springframework.boot</groupId>
        <artifactId>spring-boot-starter-parent</artifactId>
        <version>1.5.10.RELEASE</version>
    </parent>

    <!-- Add typical dependencies for a web application -->
    <dependencies>
        <dependency>
            <groupId>org.springframework.boot</groupId>
            <artifactId>spring-boot-starter-web</artifactId>
        </dependency>
    </dependencies>

    <!-- Package as an executable jar -->
    <build>
        <plugins>
            <plugin>
                <groupId>org.springframework.boot</groupId>
                <artifactId>spring-boot-maven-plugin</artifactId>
            </plugin>
        </plugins>
    </build>

</project>
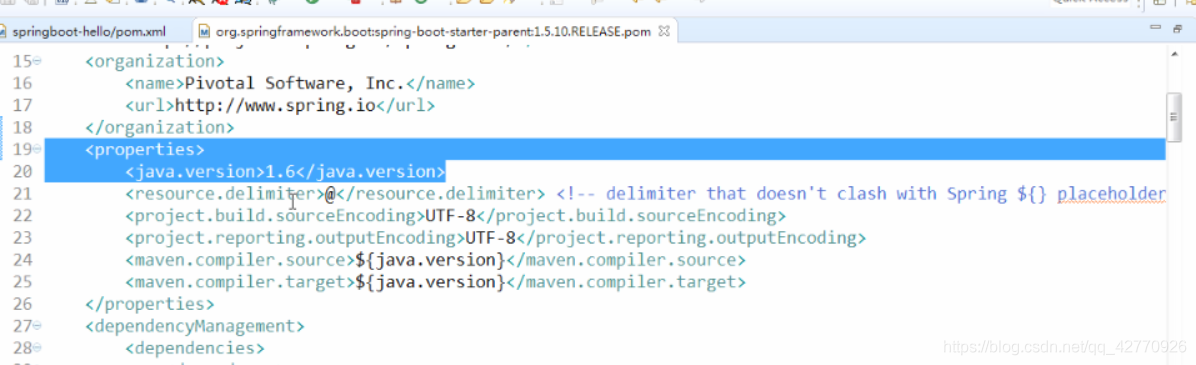
此时会存在问题:版本为1.6 JDK

原因这些parent 存在大量公共的xml
点进去发现
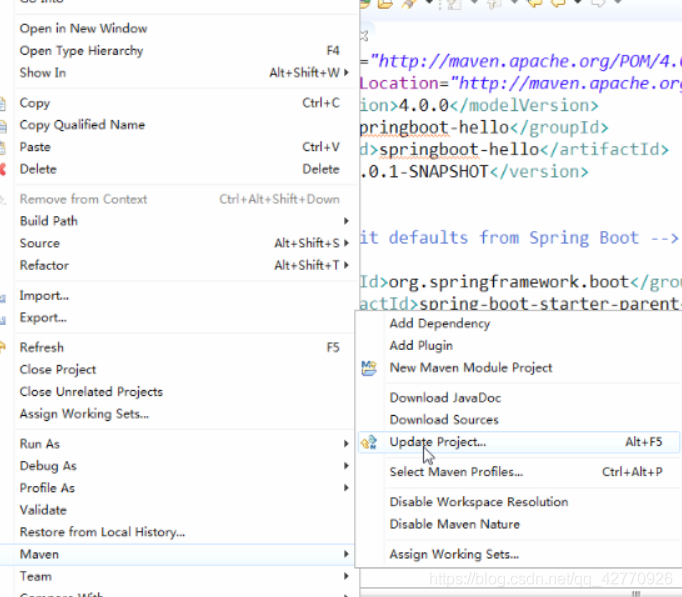
我们可以使用后者覆盖前者的方式去修改他pom.xml加入
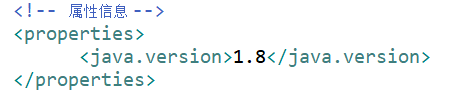
然后重新
此时一个纯净的SpringBoot 项目已经完成了!
(3)解释添加的xml标签的意思
3.测试
根据官网他让我们加入如下代码:

package cn.itsource;
import org.springframework.boot.*;
import org.springframework.boot.autoconfigure.*;
import org.springframework.stereotype.*;
import org.springframework.web.bind.annotation.*;

@RestController
@EnableAutoConfiguration
public class Example {

    @RequestMapping("/")
    String home() {
        return "Hello World!";
    }

    public static void main(String[] args) throws Exception {
        SpringApplication.run(Example.class, args);
    }

}
运行main 方法 结果如下:(成功)
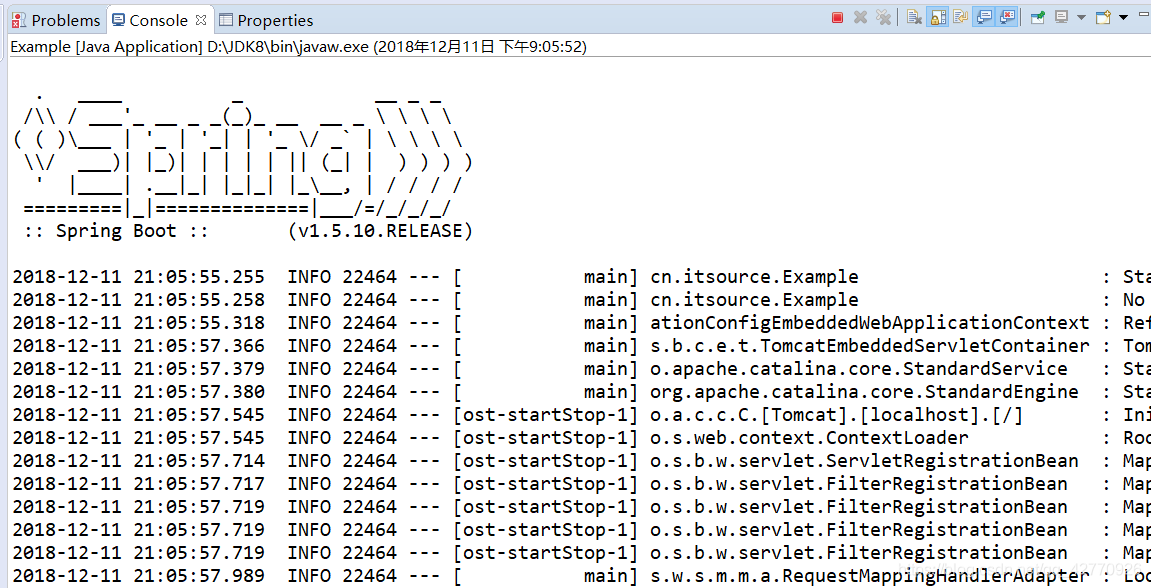
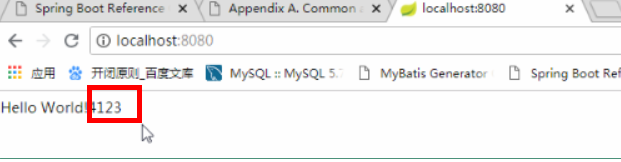
打开浏览器(springboot内置Tomcat 8.5)

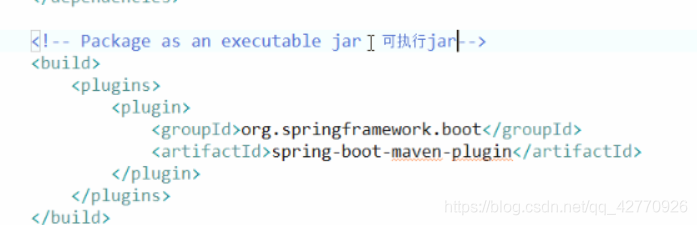
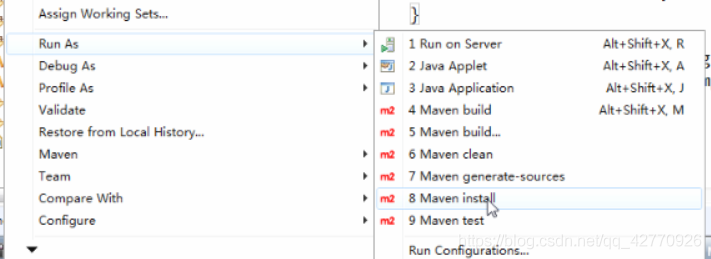
4.创建可执行jar(快速部署)
(1) 打包整个项目
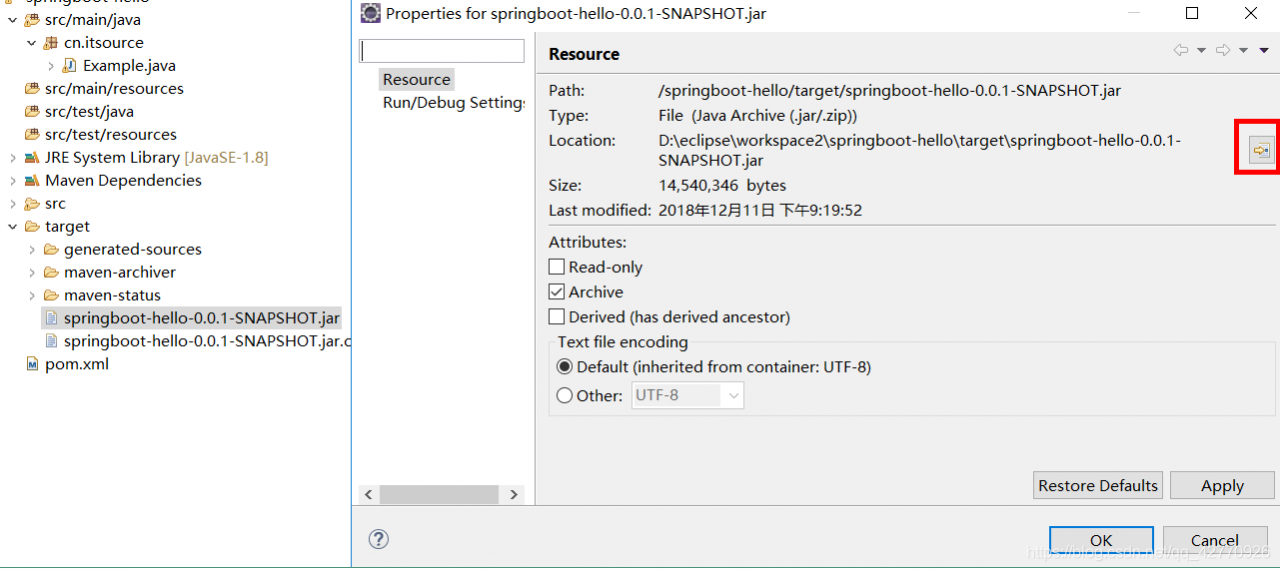
(2)找到被打包文件
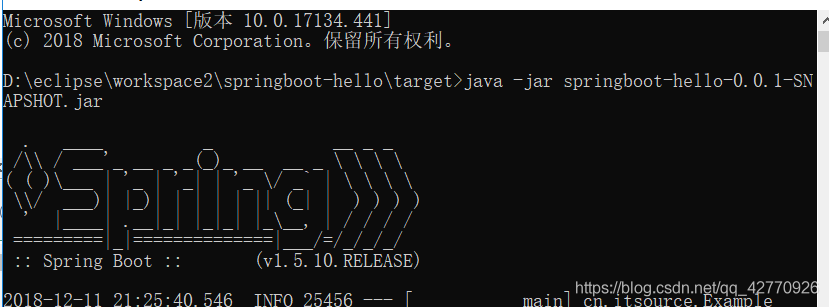
(3)直接运行
三.详细入门
1.三合一注解(@SpringBootApplication)
//The @SpringBootApplication annotation is equivalent to using @Configuration,

//@EnableAutoConfiguration and @ComponentScan with their default attributes:

package com.example.myproject;

import org.springframework.boot.SpringApplication;
import org.springframework.boot.autoconfigure.SpringBootApplication;

@SpringBootApplication // same as @Configuration @EnableAutoConfiguration @ComponentScan
public class Application {

    public static void main(String[] args) {
        SpringApplication.run(Application.class, args);
    }

}
2.热部署功能(开发更快)
依赖jar包(加新包需要重新启动)
<!-- 热部署 不用重启-->
<dependency>
<groupId>org.springframework.boot</groupId>
<artifactId>spring-boot-devtools</artifactId>
<optional>true</optional>
</dependency>

直接后台改代码,刷新页面

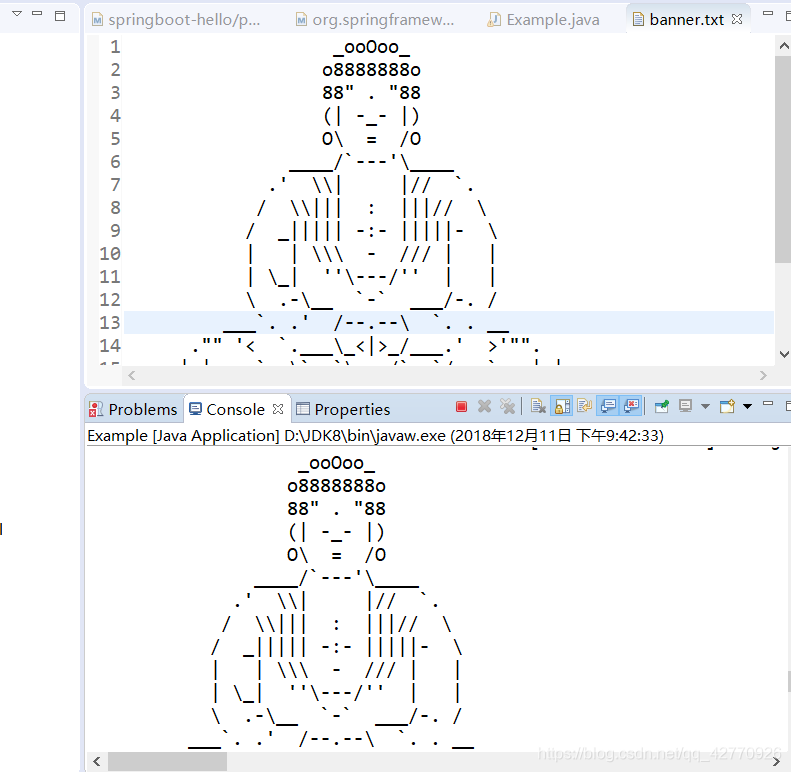
3.自定义服务器启动页面(banner.txt)
4.公共属性文件(application.properties/application.yml)
(1)application.properties
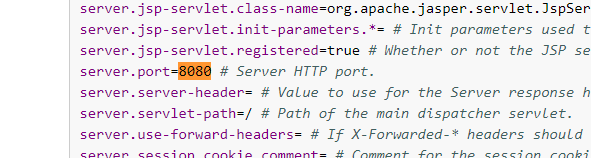
默认端口是8080

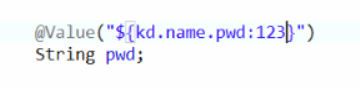
(2)application.yml
格式示例:
#application.yaml 配置文件如下,注意换行按Tab键,冒号之后空格。
 #缩进时不允许使用Tab键,只允许使用空格。
 #缩进的空格数目不重要,只要相同层级的元素左侧对齐即可
 # Tomcat
server:
tomcat:
uri-encoding: UTF-8
max-threads: 1000
min-spare-threads: 30
port: 8080
connection-timeout: 5000
context-path: /hp-cloud-im-web
spring:
# 环境 dev|test|pro
profiles:
active: dev
#include: mybatis
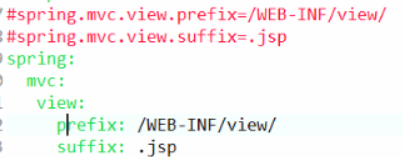
mvc:
view:
prefix: /WEB-INF/view/
suffix: .jsp
# jackson时间格式化
jackson:
time-zone: GMT+8
date-format: yyyy-MM-dd HH:mm:ss
http:
multipart:
max-file-size: 100MB
max-request-size: 100MB
enabled: true
# Spring devtools
devtools:
restart:
enabled: true
# Mybatis配置
mybatis:
mapperLocations: classpath:org/kd/dao/mapper/*.xml
configLocation: classpath:mybatisConfig.xml
# 通用 mapper
mapper:
mappers:
- org.kd.common.base.BaseMapper
not-empty: false
identity: MYSQL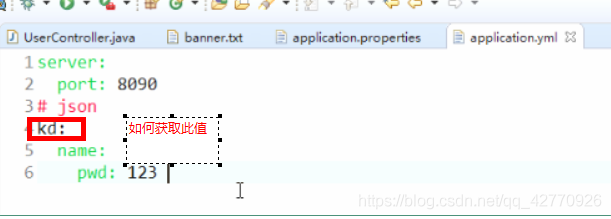

也可以这样写
5.jsp页面
<!--必须有才能编译jsp -->
<dependency>
<groupId>org.apache.tomcat.embed</groupId>
<artifactId>tomcat-embed-jasper</artifactId>
<scope>provided</scope>
</dependency>
修改前缀和尾椎(默认为空)
写法(一)

写法(二)
四.Spring Boot整合第三方框架(示例)
1.整合JDBC
需要jar包
<!-- mysql 驱动 -->
<dependency>
<groupId>mysql</groupId>
<artifactId>mysql-connector-java</artifactId>
</dependency>
<!-- mysql jdbc -->
<dependency>
<groupId>org.springframework.boot</groupId>
<artifactId>spring-boot-starter-jdbc</artifactId>
</dependency>
<!-- 测试 -->
<dependency>
<groupId>org.springframework.boot</groupId>
<artifactId>spring-boot-starter-test</artifactId>
</dependency>
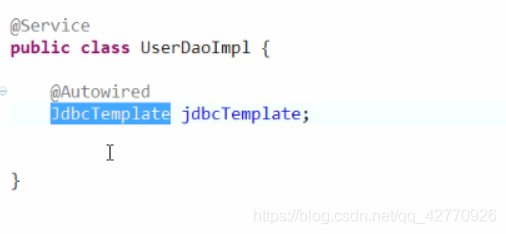
这里没有jdbcTemplate 但是他帮我们自动放进去了, 这就是starter(启动器)的概念
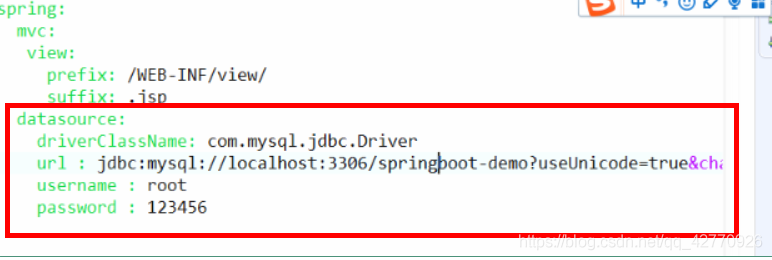
连接数据库配置写法:
测试写法

2.整合jpa(什么xml配置都不用写)
需要jar包
<dependency>
<groupId>mysql</groupId>
<artifactId>mysql-connector-java</artifactId>
</dependency>
<dependency>
<groupId>org.springframework.boot</groupId>
<artifactId>spring-boot-starter-data-jpa</artifactId>
</dependency>
3.整合mybatis
需要jar 包
<!-- mysql数据库驱动. -->
<dependency>
<groupId>mysql</groupId>
<artifactId>mysql-connector-java</artifactId>
</dependency>
<!-- spring-boot mybatis依赖 -->
<dependency>
<groupId>org.mybatis.spring.boot</groupId>
<artifactId>mybatis-spring-boot-starter</artifactId>
<version>1.3.0</version>
</dependency>
<!-- spring boot mybatis分页插件 -->
<dependency>
<groupId>com.github.pagehelper</groupId>
<artifactId>pagehelper-spring-boot-starter</artifactId>
<version>1.2.2</version>
</dependency>
原始方法扫描包
Spring Boot 普通方式:

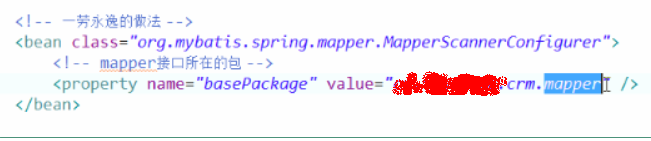
Spring Boot 一劳永逸方式:

映射对应的xml 文件(application.yml)

这里 推荐一款超好用的打印sql 语句的插件:
<dependency>
	        <groupId>showSql-spring-boot-starter</groupId>
	        <artifactId>showSql-spring-boot-starter</artifactId>
	        <version>1.0-M1</version>
</dependency>
可以自动 打印sql 语句, 如果sql 语句写错 还会出现在在打印台,快速提高开发效率
五.总结:
SpringBoot优缺点
优点:
1、快速构建项目。
2、对主流开发框架的无配置集成。
3、项目可独立运行,无须外部依赖Servlet容器。
4、提供运行时的应用监控。
5、极大的提高了开发、部署效率。
6、与云计算的天然集成。
缺点:
1、如果你不认同spring框架,也许这就是缺点。
2、SpringBoot特性
3、创建独立的Spring项目
4、内置Tomcat和Jetty容器
5、提供一个starter POMs来简化Maven配置
6、提供了一系列大型项目中常见的非功能性特性,如安全、指标,健康检测、外部配置等
7、完全没有代码生成和xml配置文件
SpringBoot CLI
SpringBoot CLI 是SpringBoot提供的控制台命令工具。
SpringBoot maven 构建项目
spring-boot-starter-parent:是一个特殊Start,它用来提供相关的Maven依赖项,使用它之后,常用的包依赖可以省去version标签。
SpringBoot几个常用的注解
(1)@RestController和@Controller指定一个类,作为控制器的注解 ,并说明其区别
(2)@RequestMapping方法级别的映射注解,这一个用过Spring MVC的小伙伴相信都很熟悉
(3)@EnableAutoConfiguration和@SpringBootApplication是类级别的注解,根据maven依赖的jar来自动猜测完成正确的spring的对应配置,只要引入了spring-boot-starter-web的依赖,默认会自动配置Spring MVC和tomcat容器
(4)@Configuration类级别的注解,一般这个注解,我们用来标识main方法所在的类,完成元数据bean的初始化。
(5)@ComponentScan类级别的注解,自动扫描加载所有的Spring组件包括Bean注入,一般用在main方法所在的类上
(6)@ImportResource类级别注解,当我们必须使用一个xml的配置时,使用@ImportResource和@Configuration来标识这个文件资源的类。
(7)@Autowired注解,一般结合@ComponentScan注解,来自动注入一个Service或Dao级别的Bean
(8)@Component类级别注解,用来标识一个组件,比如我自定了一个filter,则需要此注解标识之后,Spring Boot才会正确识别。
springboot是如何管理事务的?直接写@transactional注解就行,在方法就是方法事务,类上就是类事务