**
spring boot 集成 activeMQ 传输序列化对象
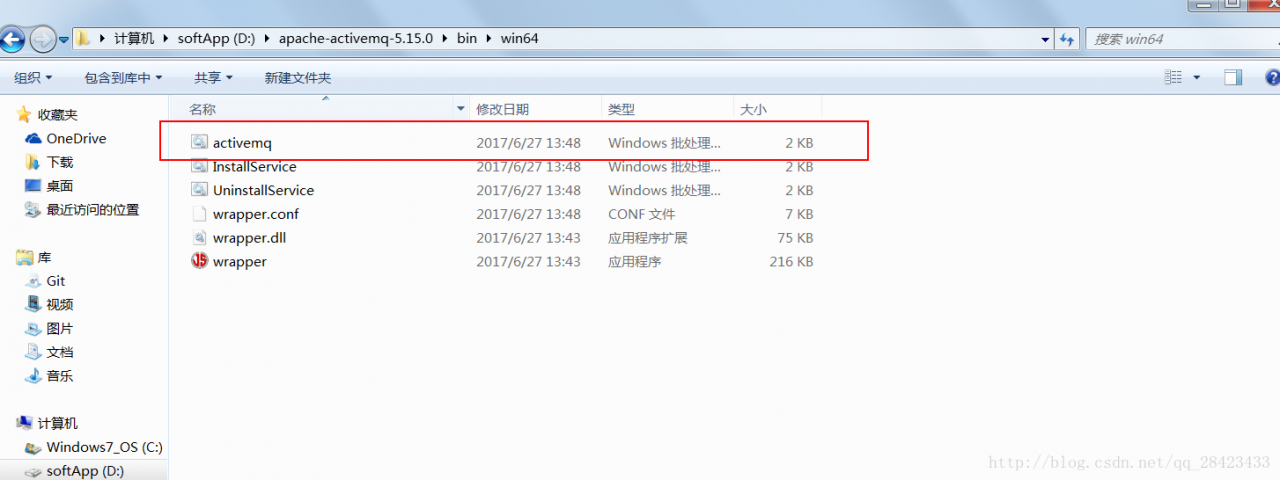
首先下载个mq - -这里用的是windows7 64位的 启动运行即可。当然也可以使用springboot 集成在本地的叫一个什么broker的包,百度一下即可,一般不会使用内置的mq。
**
1.配置文件:pom
    <dependencies>
        <dependency>
            <groupId>org.springframework.boot</groupId>
            <artifactId>spring-boot-starter-activemq</artifactId>
        </dependency>
        <dependency>
            <groupId>org.apache.activemq</groupId>
            <artifactId>activemq-pool</artifactId>
        </dependency>
        <dependency>
            <groupId>org.springframework.boot</groupId>
            <artifactId>spring-boot-starter-web</artifactId>
        </dependency>
           <!--  减少代码 页面整洁-->
        <dependency>
            <groupId>org.projectlombok</groupId>
            <artifactId>lombok</artifactId>
            <optional>true</optional>
        </dependency>
        <dependency>
            <groupId>org.springframework.boot</groupId>
            <artifactId>spring-boot-starter-test</artifactId>
            <scope>test</scope>
        </dependency>
    </dependencies>
2.生成者代码
@Component
public class Producer {

    @Autowired
    private JmsMessagingTemplate jmsMessagingTemplate;

    private Destination destination = null;

    public void send(int i, final Serializable  order) {

        //规定好topic 或者queue 输入不同的i标识生产不同的 destination
        switch(i) {
        case 1:destination = new ActiveMQQueue(MQConstant.order_queue); break;
        case 2:destination = new ActiveMQTopic(MQConstant.order_pull_topic);break;
        case 3:destination = new ActiveMQTopic (MQConstant.order_push_topic);break;
        }
         Map<String, Object> headers =new HashMap();
         //可在消息接收时设置一些属性 这里随便写的没啥用
         headers.put("type", 1);
         //order对象是普通pojo对象 需要实现序列化接口
        this.jmsMessagingTemplate.convertAndSend(destination,order,headers);

    }
3.消费者工厂,active MQ 在注解实例化消费者时候 只会生成一种 bean 所以要同时支持queue和topic两种模式的话需要在此处配置,如果此处不做配置默认为queue模式。
@Configuration
public class ActiveMQConfig {


        // topic模式的ListenerContainer
        @Bean
        public JmsListenerContainerFactory<?> jmsListenerContainerTopic(ConnectionFactory activeMQConnectionFactory) {
            DefaultJmsListenerContainerFactory bean = new DefaultJmsListenerContainerFactory();
            //开启topic支持
            bean.setPubSubDomain(true);
            bean.setConnectionFactory(activeMQConnectionFactory);
            return bean;
        }
        // queue模式的ListenerContainer
        @Bean
        public JmsListenerContainerFactory<?> jmsListenerContainerQueue(ConnectionFactory activeMQConnectionFactory) {
            DefaultJmsListenerContainerFactory bean = new DefaultJmsListenerContainerFactory();
            bean.setConnectionFactory(activeMQConnectionFactory);
            return bean;
        }
}
4.消费者
@Component
public class CustomerImpl{


    private final static Logger logger = LoggerFactory.getLogger(CustomerImpl.class);


    @Autowired
    private ICallOrderService orderService;

    //队列模式
    @JmsListener(destination = MQConstant.order_queue , containerFactory="jmsListenerContainerQueue")
    public void receiveQueue(ObjectMessage text) throws JMSException {

        logger.info(text.toString());
    }

    @JmsListener(destination = MQConstant.order_pull_topic , containerFactory="jmsListenerContainerTopic")
    public void receiveTopic(ObjectMessage text) throws JMSException, IllegalAccessException, InvocationTargetException {
    //接收对象使用ObjectMessage 接收消息
        logger.info("ObjectMessage :{}",text.toString());
    //实例化订单对象
        CallOrder order =new CallOrder();
        logger.info("order :{}",text.getObject().toString());
    //拷贝对象属性到新对象,博主此对象在两个子系统都有一个,所以拷贝一下
        BeanUtils.copyProperties(order, text.getObject());
        logger.info("order new:{}",order.toString());
        orderService.insertOrUpdate(order);
    }
//测试多个topic情况
    @JmsListener(destination = MQConstant.order_push_topic , containerFactory="jmsListenerContainerTopic")
    public void receiveTopic1(ObjectMessage text) throws JMSException {
        logger.info(text..toString());
    }
5.配置文件properties
spring.activemq.broker-url=failover:(tcp://localhost:61616)
spring.activemq.close-timeout=50000
spring.activemq.in-memory=false
spring.activemq.pool.enabled=true
spring.activemq.pool.max-connections=100
spring.activemq.send-timeout=30000
#注意 对象传输需开启包白名单 否则会报错- -
spring.activemq.packages.trust-all=true
6.启动类application,需开启 jms能力 @EnableJms
@SpringBootApplication
@EnableJms
public class ActivemqApplication {


    public static void main(String[] args) {
        SpringApplication.run(ActivemqApplication.class, args);
    }
}
7,测试:比较懒,直接用的controller 从url测试的
@RestController
public class messageController {

    @Autowired
    private Producer producer;


    @RequestMapping("/sendMsg")
    public void send(String msg) {
        producer.send(1,msg);
    }

    @RequestMapping("/sendTopic")
    public void sendTopic() {
        CallOrder order =new CallOrder();
        //实在懒url传值都懒得传了,这里就是普通的springmvc
        order.setPassenger("asd");
        order.setInAddress("卜娜娜香蕉道");
        producer.send(2,(Serializable)order);
    }

    @RequestMapping("/sendTopic2")
    public void sendTopic2(CallOrder order) {
        producer.send(3,(Serializable)order);
    }

}
8.测试结果:
开启生产者 ,需要先下载active MQ到本地并启动 然后运行生产者,端口是8080
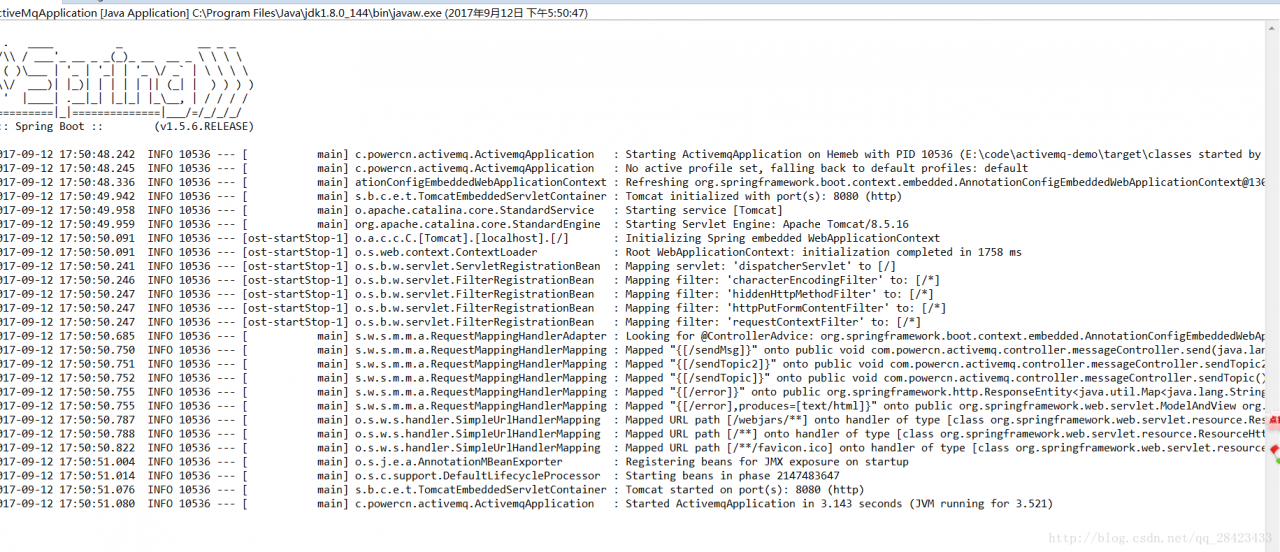
启动消费者 无关紧要的一堆日志请忽略- -端口是8070

浏览器发送消息

http://localhost:8080/sendTopic
生产者发送消息成功 
消费者收到消息,并持久化到数据库

到这里基本就结束了- -。
版权声明:本文为qq_28423433原创文章,遵循CC 4.0 BY-SA版权协议,转载请附上原文出处链接和本声明。