最近负责公司的运维工作,由于系统已经安装过Nginx服务器,初次在linux安装GitLab过程碰到了各种问题,大概花了2个小时才解决。记录一下安装过程,方便下次安装。
1、配置yum源
vim /etc/yum.repos.d/gitlab-ce.repo复制以下内容到gitlab-ce.repo文件:
[gitlab-ce]
name=Gitlab CE Repository
baseurl=https://mirrors.tuna.tsinghua.edu.cn/gitlab-ce/yum/el$releasever/
gpgcheck=0
enabled=1
2.刷新缓存
yum makecache3.开始安装
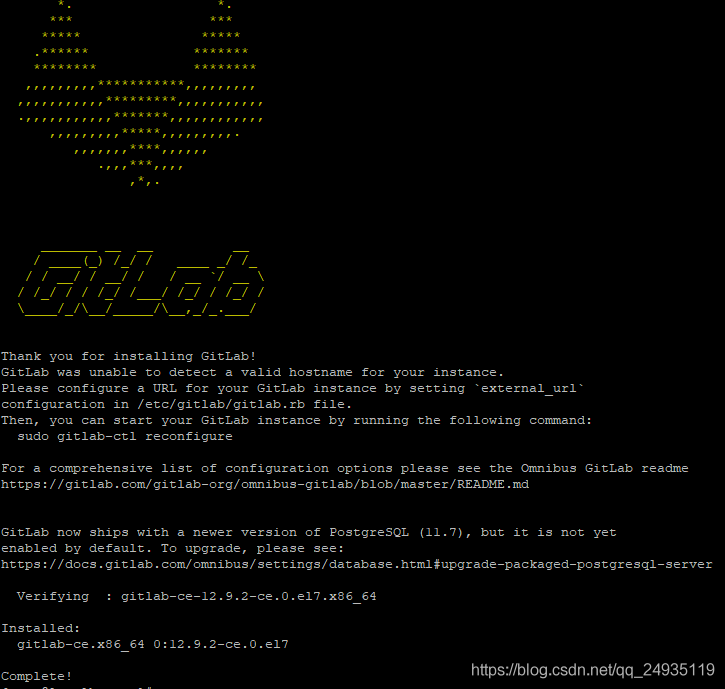
yum install gitlab-ce安装成功
4.修改:gitlab.rb
vim /etc/gitlab/gitlab.rb找到下面的内容修改(80已被nginx端口占用,自定义端口8181)
# 禁用gitlab自带的nginx服务器
nginx['enable'] = false

# www为当前服务器运行nginx的用户
web_server['external_users'] = ['www']

gitlab_rails['trusted_proxies'] = [ '127.0.0.1' ]

gitlab_workhorse['listen_network'] = "tcp"

# 修改端口成8181,如果端口已被占用,使用其他端口
gitlab_workhorse['listen_addr'] = "127.0.0.1:8181"


# git clone 地址
external_url 'http://git.xxxx.com'
5.刷新gitlab配置
gitlab-ctl reconfigure启动gitlab
gitlab-ctl start6.配置nginx反向代理
注意修改配置中的端口号和上面配置的一致,server_name改成自己的域名,其他的可以照抄
upstream gitlab {
  server 127.0.0.1:8181;
}

server {
  listen *:80;
  server_name git.xxxxx.cn;   # 请修改为你的域名

  server_tokens off;     # don't show the version number, a security best practice
  root /opt/gitlab/embedded/service/gitlab-rails/public;

  # Increase this if you want to upload large attachments
  # Or if you want to accept large git objects over http
  client_max_body_size 250m;

  # individual nginx logs for this gitlab vhost
  access_log  /var/log/gitlab/gitlab_access.log;
  error_log    /var/log/gitlab/gitlab_error.log;

  location / {
    # serve static files from defined root folder;.
    # @gitlab is a named location for the upstream fallback, see below
    try_files $uri $uri/index.html $uri.html @gitlab;
  }

  # if a file, which is not found in the root folder is requested,
  # then the proxy pass the request to the upsteam (gitlab unicorn)
  location @gitlab {
    # If you use https make sure you disable gzip compression
    # to be safe against BREACH attack

    proxy_read_timeout 300; # Some requests take more than 30 seconds.
    proxy_connect_timeout 300; # Some requests take more than 30 seconds.
    proxy_redirect     off;
    proxy_set_header   X-Forwarded-Proto $scheme;
    proxy_set_header   Host              $http_host;
    proxy_set_header   X-Real-IP         $remote_addr;
    proxy_set_header   X-Forwarded-For   $proxy_add_x_forwarded_for;
    proxy_set_header   X-Frame-Options   SAMEORIGIN;

    proxy_pass http://gitlab;
  }

  # Enable gzip compression as per rails guide: http://guides.rubyonrails.org/asset_pipeline.html#gzip-compression
  # WARNING: If you are using relative urls do remove the block below
  # See config/application.rb under "Relative url support" for the list of
  # other files that need to be changed for relative url support
  location ~ ^/(assets)/  {
    root /opt/gitlab/embedded/service/gitlab-rails/public;
    # gzip_static on; # to serve pre-gzipped version
    expires max;
    add_header Cache-Control public;
  }

  error_page 502 /502.html;
}
7.刷新nginx
nginx -s reload
8.访问设置的域名,大功告成。

备份gitlab
gitlab-rake gitlab:backup:create使用以上命令会在/var/opt/gitlab/backups目录下创建一个名称类似为1502357536_2017_08_10_9.4.3_gitlab_backup.tar的压缩包
恢复备份
gitlab-rake gitlab:backup:restore 1502357536_2017_08_10_9.4.3
版权声明:本文为qq_24935119原创文章,遵循CC 4.0 BY-SA版权协议,转载请附上原文出处链接和本声明。