前言
cuda11.0+pytorch1.7.1
一、安装好cuda和cudnn
具体的可以见:
https://blog.csdn.net/weixin_41891632/article/details/126583538?spm=1001.2014.3001.5502
二、安装pytorch
1.打开官网,安装对应合适的版本(cuda):
https://pytorch.org/get-started/previous-versions/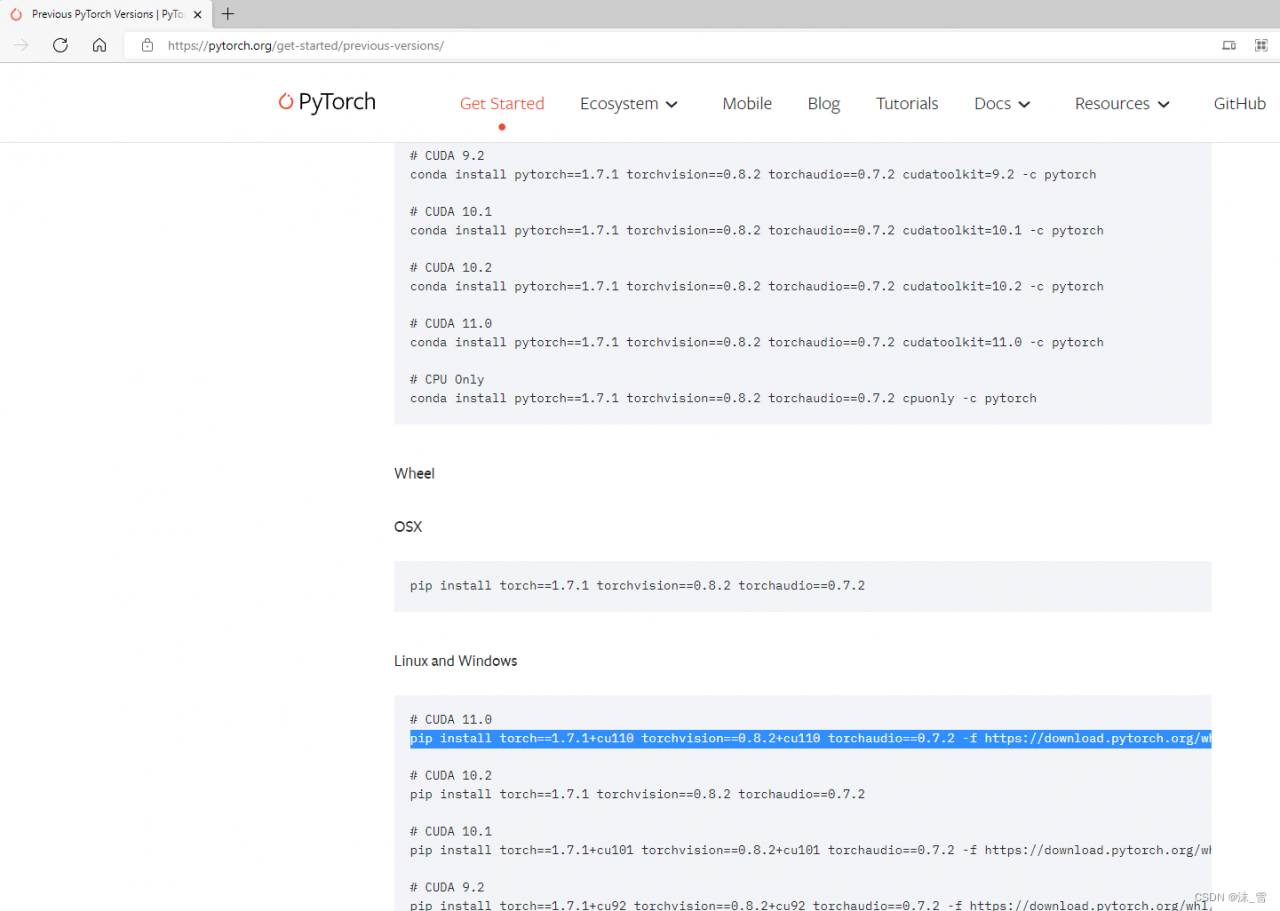
conda安装方式:
我的cuda版本是11.0的。要安装的pytorch是1.7.1的,直接找到对应的命令,复制下来: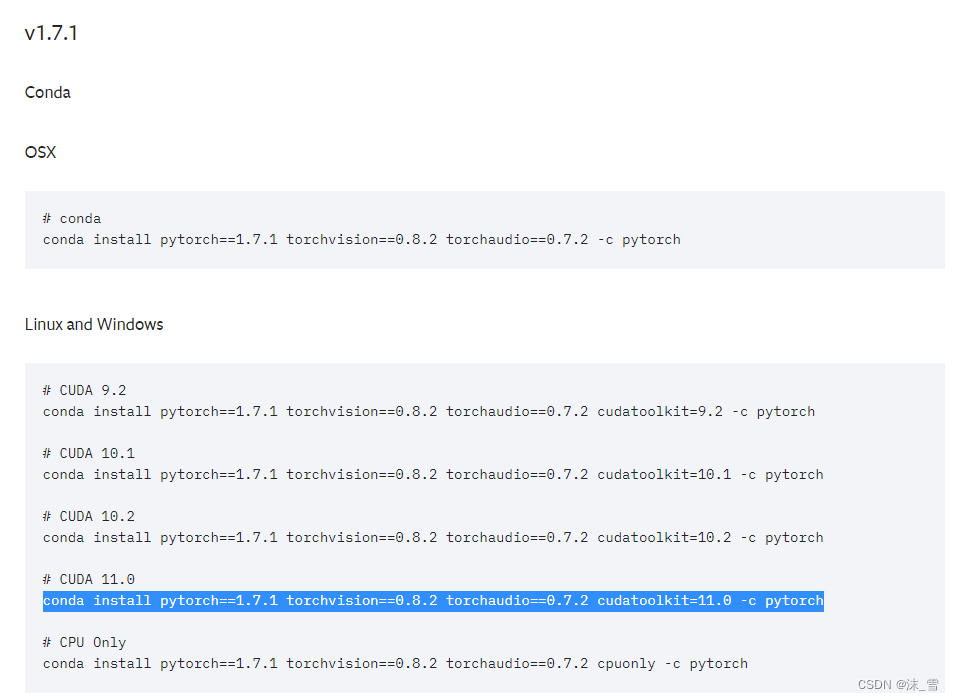
conda install pytorch==1.7.1 torchvision==0.8.2 torchaudio==0.7.2 cudatoolkit=11.0 -c pytorch
这里如果用-c后面的默认源,安装会很慢,可以换源:
打开这个网址:
https://mirrors.tuna.tsinghua.edu.cn/anaconda/cloud/pytorch/
选择自己的系统: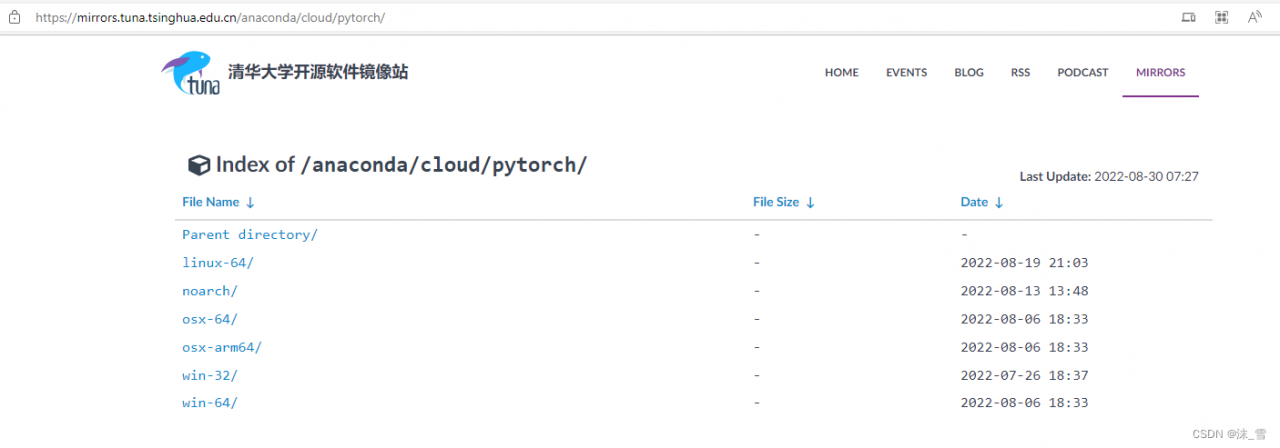
我这里是win10,64位: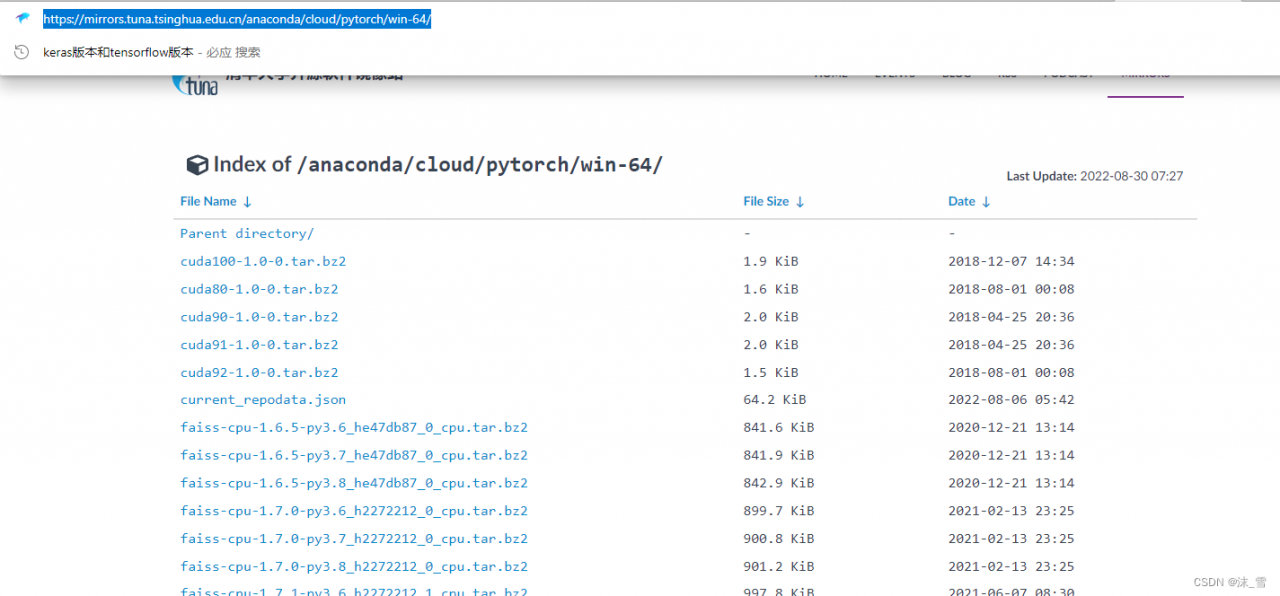
点开之后,复制这个网址,替换掉上面的-c后面内容:将-c pytorch更改为:
conda install pytorch==1.7.1 torchvision==0.8.2 torchaudio==0.7.2 cudatoolkit=11.0 -c https://mirrors.tuna.tsinghua.edu.cn/anaconda/cloud/pytorch/win-64/
另外一种安装方式是pip安装,我这里用的是这种方式:
直接找到对应的pip安装命令,复制,我默认用的这个官方源,下载速度也还可以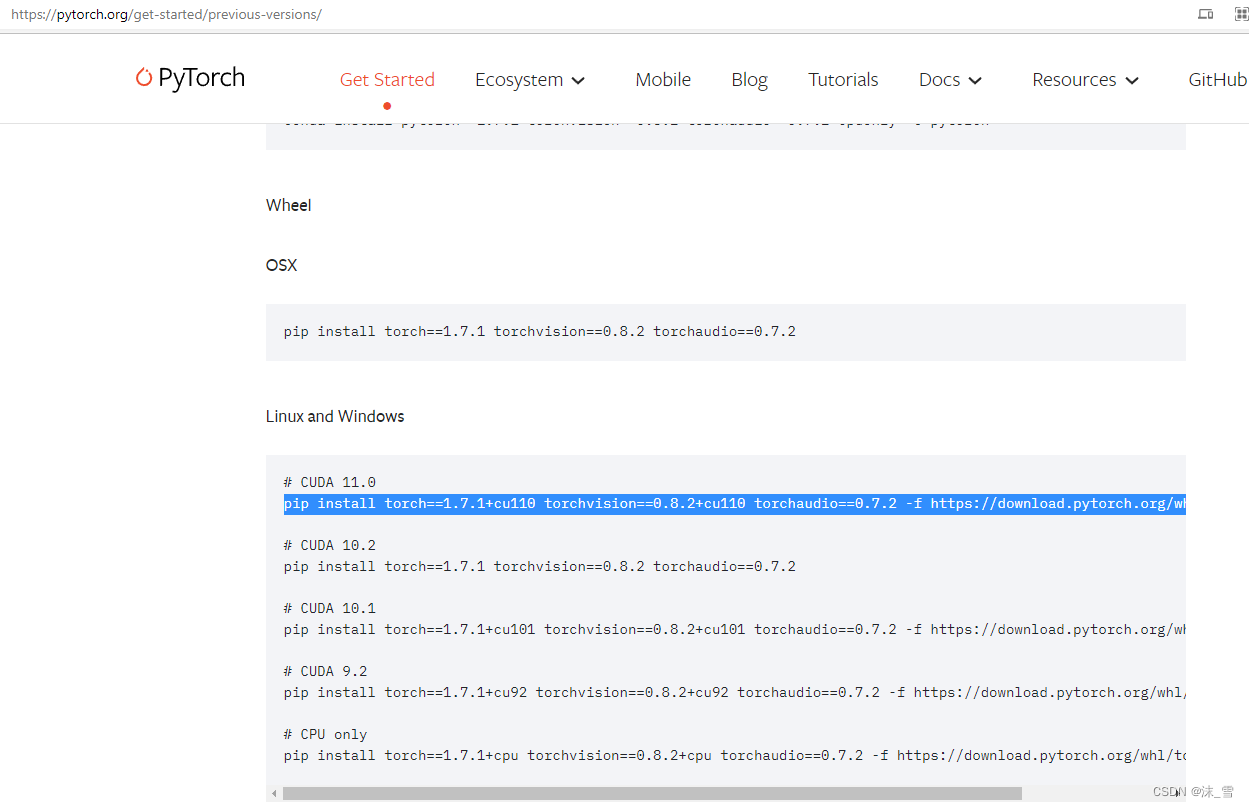
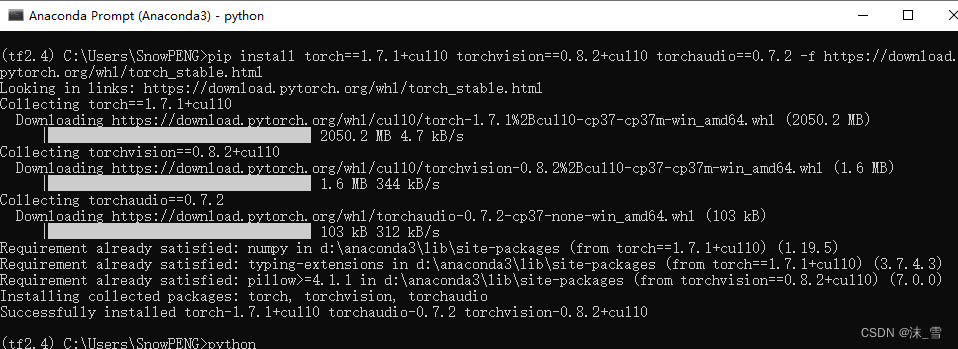
在自己conda创建的环境中运行安装就行,我之前创建了一个tf2.4环境,在里面运行,安装成功
pip install torch==1.7.1+cu110 torchvision==0.8.2+cu110 torchaudio==0.7.2 -f https://download.pytorch.org/whl/torch_stable.html
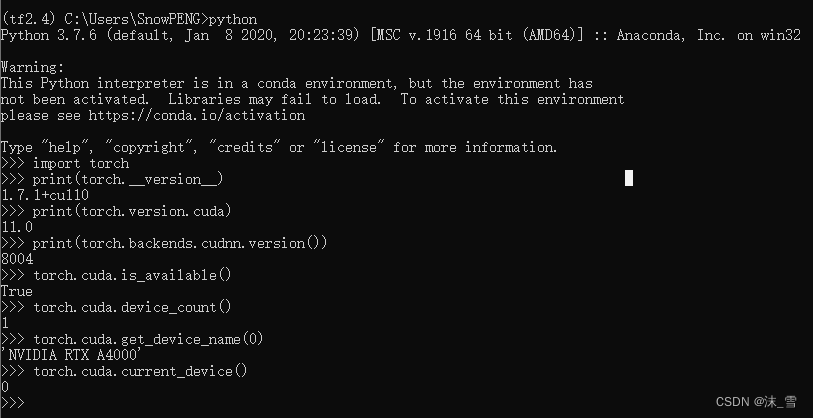
2.测试是否安装成功:
代码如下(示例):
python

import torch
print(torch.__version__)

print(torch.version.cuda)
print(torch.backends.cudnn.version())

torch.cuda.is_available()
#cuda是否可用;

torch.cuda.device_count()
#返回gpu数量;

torch.cuda.get_device_name(0)
#返回gpu名字,设备索引默认从0开始;

torch.cuda.current_device()
#返回当前设备索引
该处使用的url网络请求的数据。
总结
提示:这里对文章进行总结:
例如:以上就是今天要讲的内容,本文仅仅简单介绍了pandas的使用,而pandas提供了大量能使我们快速便捷地处理数据的函数和方法。
版权声明:本文为weixin_41891632原创文章,遵循CC 4.0 BY-SA版权协议,转载请附上原文出处链接和本声明。