1、创建gradle的java项目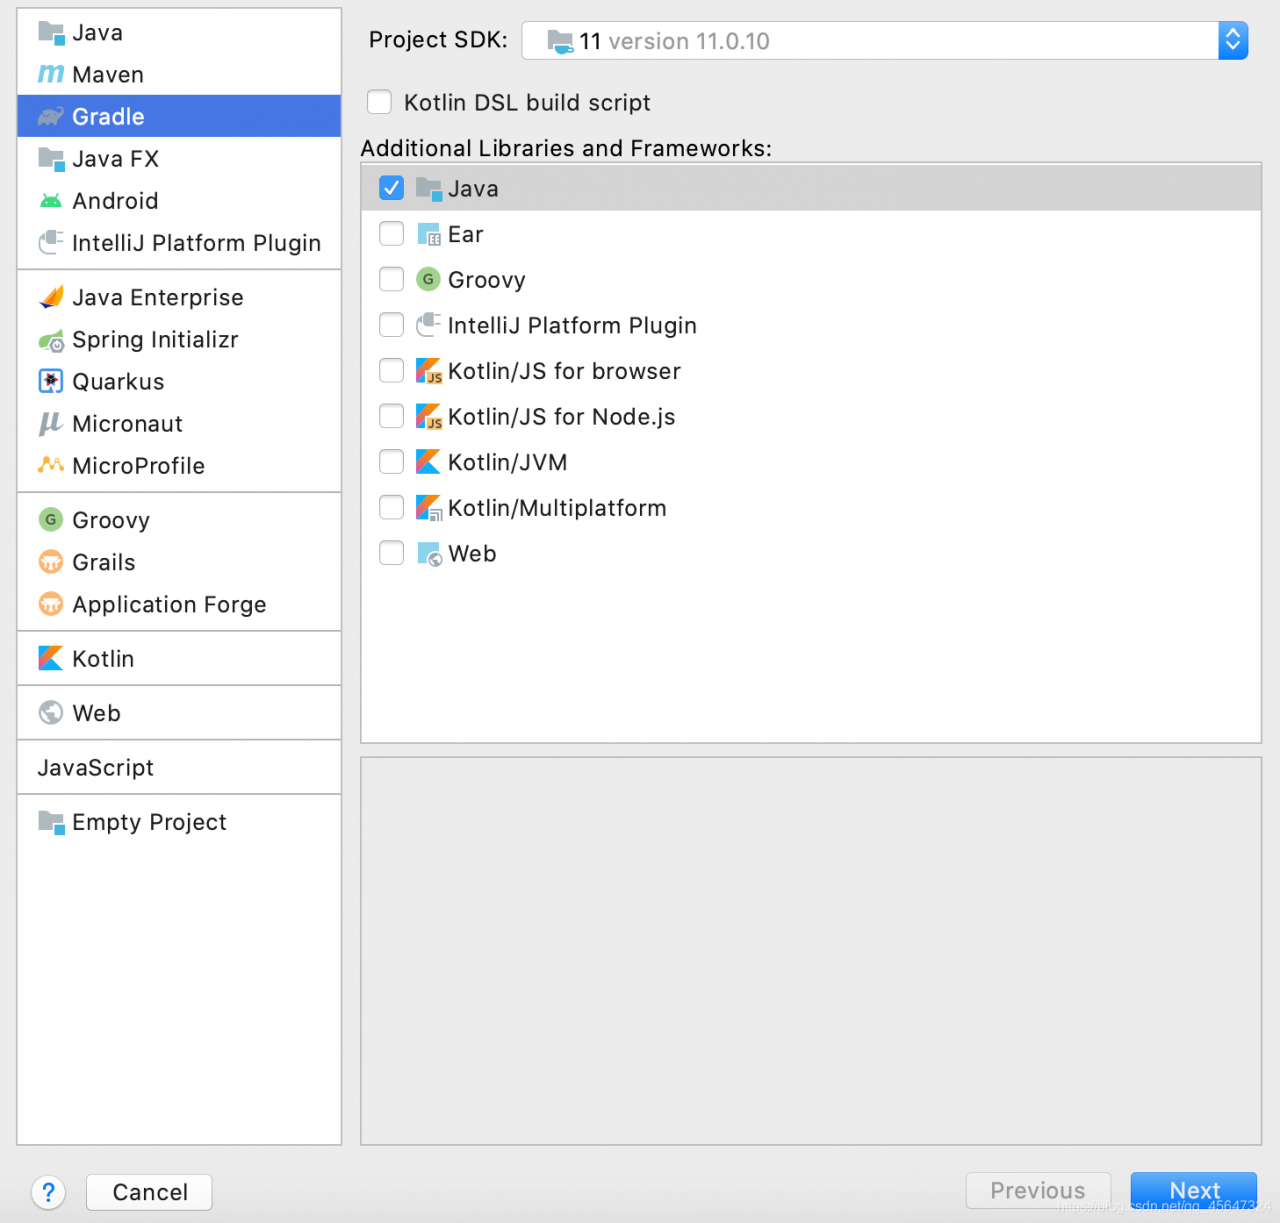
2、修改项目的build.gradle文件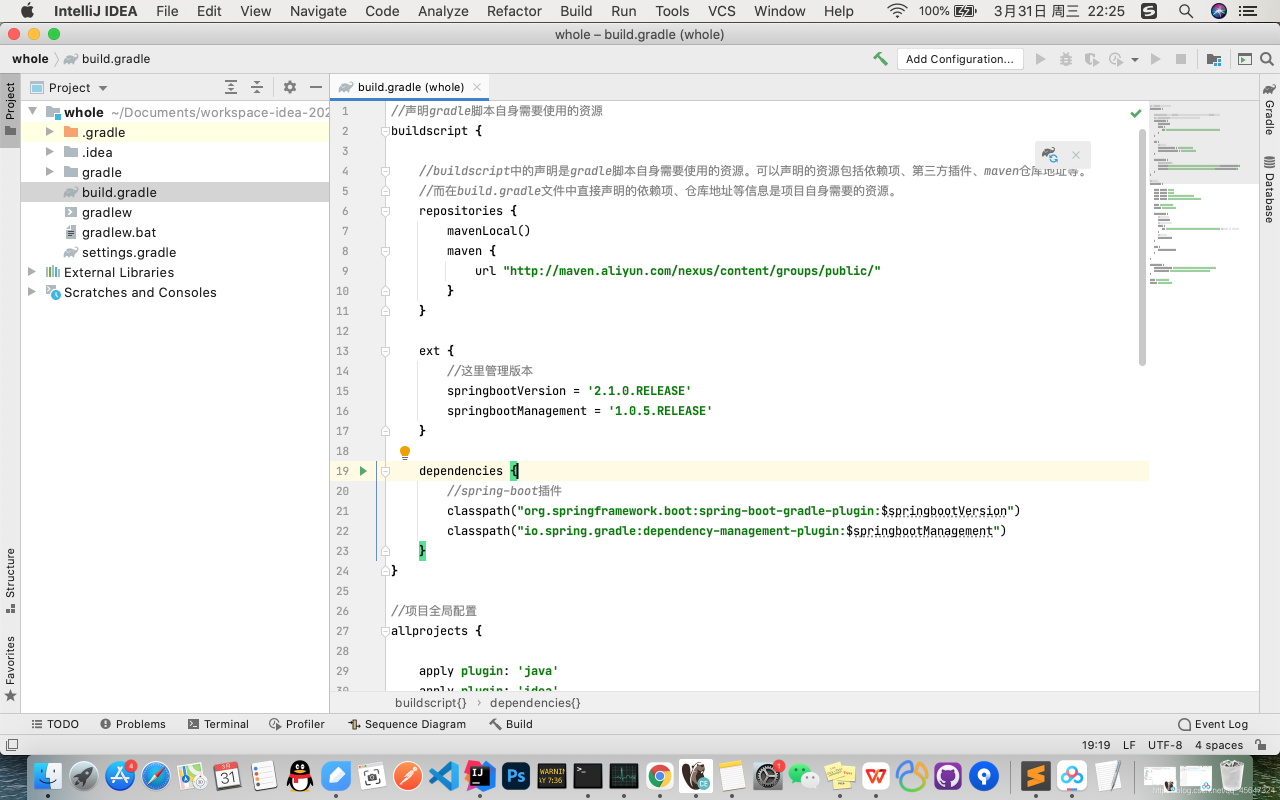
//声明gradle脚本自身需要使用的资源
buildscript {

    //buildscript中的声明是gradle脚本自身需要使用的资源。可以声明的资源包括依赖项、第三方插件、maven仓库地址等。
    //而在build.gradle文件中直接声明的依赖项、仓库地址等信息是项目自身需要的资源。
    repositories {
        mavenLocal()
        maven {
            url "http://maven.aliyun.com/nexus/content/groups/public/"
        }
    }

    ext {
        //这里管理版本
        springbootVersion = '2.1.0.RELEASE'
        springbootManagement = '1.0.5.RELEASE'
    }

    dependencies {
        //spring-boot插件
        classpath("org.springframework.boot:spring-boot-gradle-plugin:$springbootVersion")
        classpath("io.spring.gradle:dependency-management-plugin:$springbootManagement")
    }
}

//项目全局配置
allprojects {

    apply plugin: 'java'
    apply plugin: 'idea'
    apply plugin: 'org.springframework.boot'
    apply plugin: 'io.spring.dependency-management'

    group 'org.example'
    version '1.0-SNAPSHOT'

    repositories {
        //优先从本地仓库获取
        mavenLocal()
        //从阿里云或者公司仓库获取
        maven {
            url 'http://maven.aliyun.com/nexus/content/groups/public/' //配置阿里云 或者 自己公司的仓库
        }
        //从中央仓库获取
        mavenCentral()
    }

    test {
        useJUnitPlatform()
    }

}

dependencies {
    testImplementation 'org.junit.jupiter:junit-jupiter-api:5.6.0'
    testRuntimeOnly 'org.junit.jupiter:junit-jupiter-engine'
}

group 'org.example'
version '1.0-SNAPSHOT'
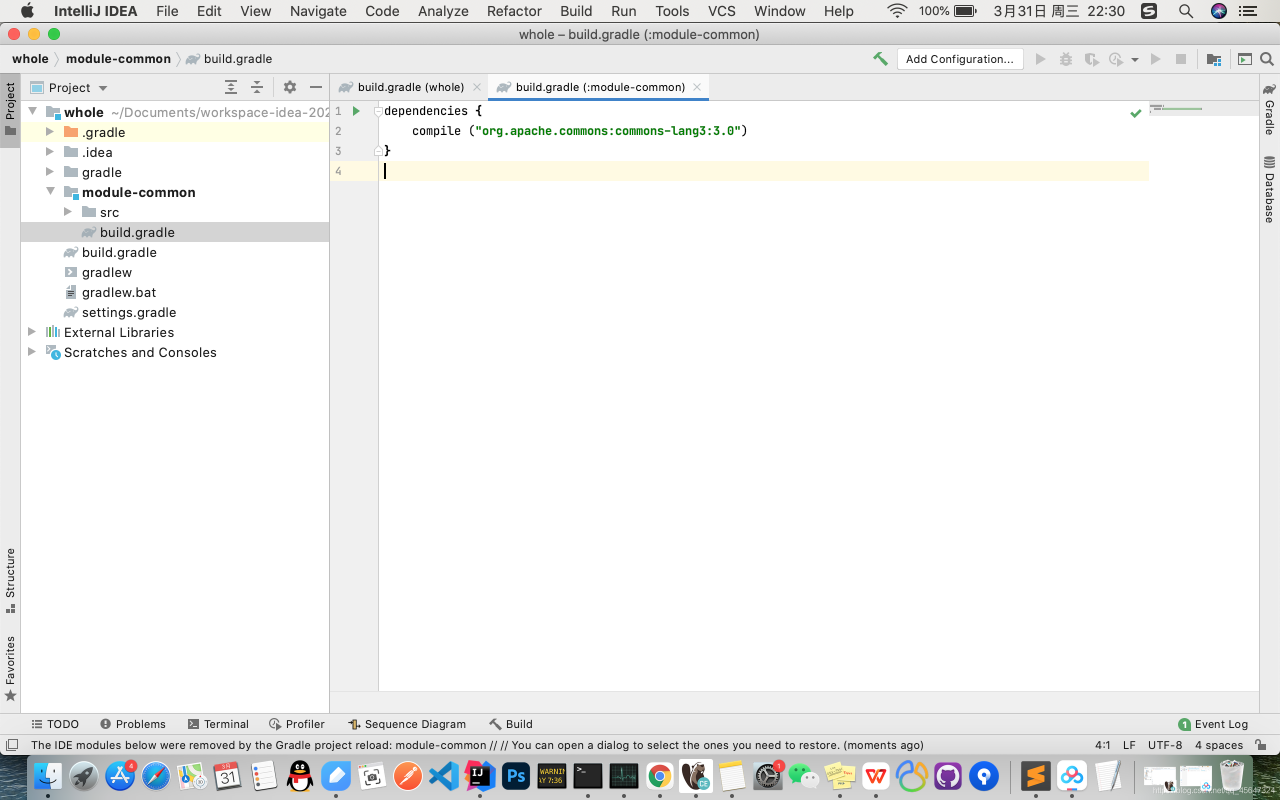
3、创建项目的新模块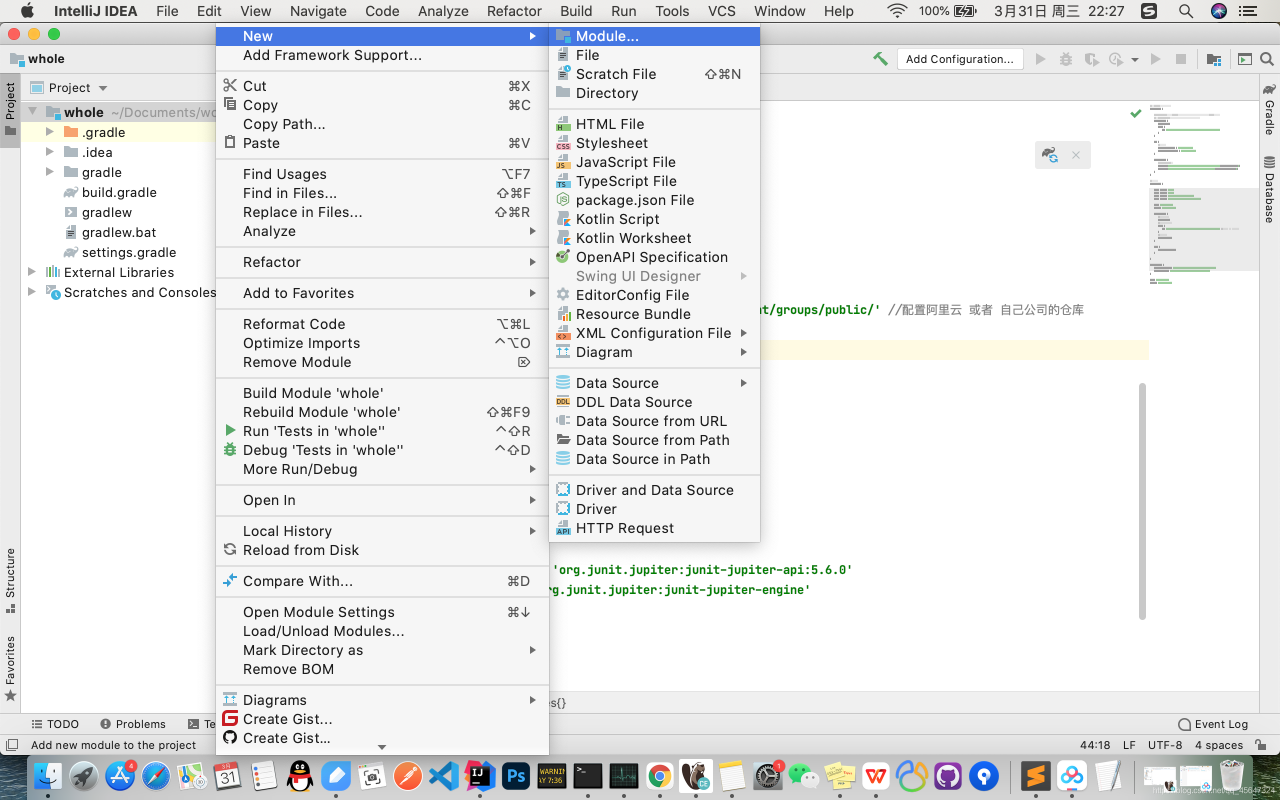
修改build.gradle文件
dependencies {
    compile ("org.apache.commons:commons-lang3:3.0")
}
4、创建启动模块module-start,修改build.gradle
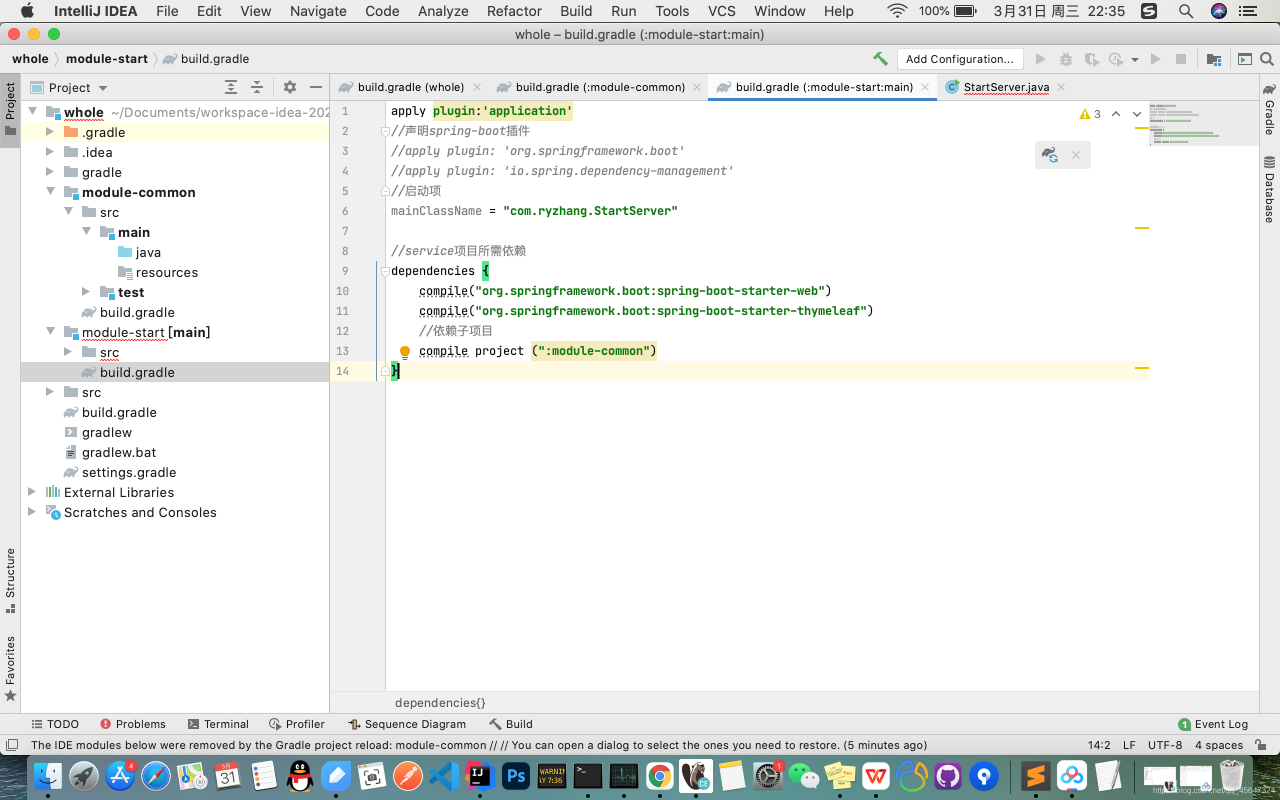
apply plugin:'application'
//声明spring-boot插件
//apply plugin: 'org.springframework.boot'
//apply plugin: 'io.spring.dependency-management'
//启动项
mainClassName = "com.ryzhang.StartServer"

//service项目所需依赖
dependencies {
    compile("org.springframework.boot:spring-boot-starter-web")
    compile("org.springframework.boot:spring-boot-starter-thymeleaf")
    //依赖子项目
    compile project (":module-common")
}
5、创建启动类"com.ryzhang.StartServer"
@SpringBootApplication
public class StartServer {
    public static void main(String[] args){
        SpringApplication.run(StartServer.class);
    }
}
版权声明:本文为qq_45647324原创文章,遵循CC 4.0 BY-SA版权协议,转载请附上原文出处链接和本声明。