Cobra 项目地址:https://github.com/spf13/cobra
 可以看到,由于我们还没有实现
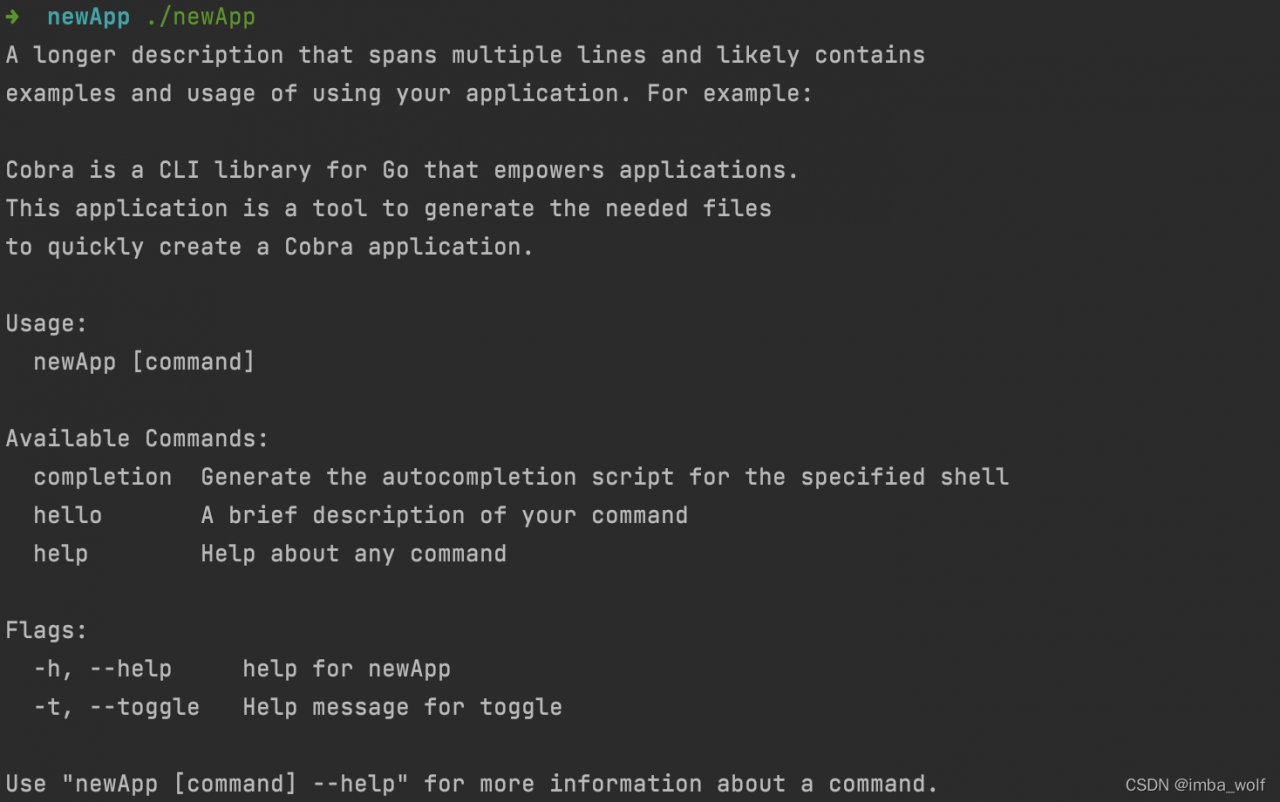 输入
输入
 cobra的flag默认情况下都是可选的,但如果我们想强制要求用户使用命令行工具的时候携带某些flag,也是可行的。我们可以在
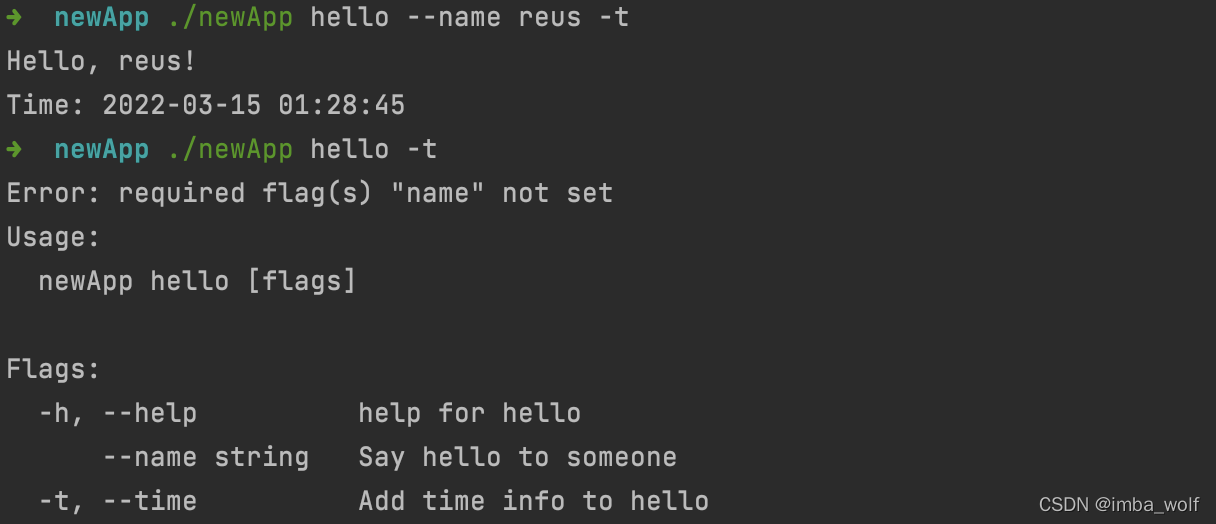 可以看到,不带
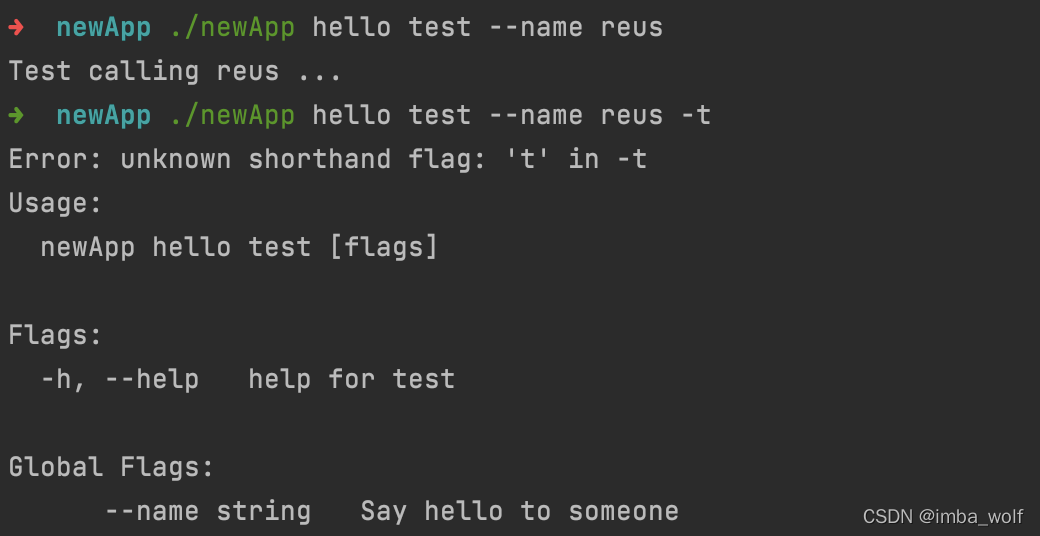 可以看到,test子命令对于
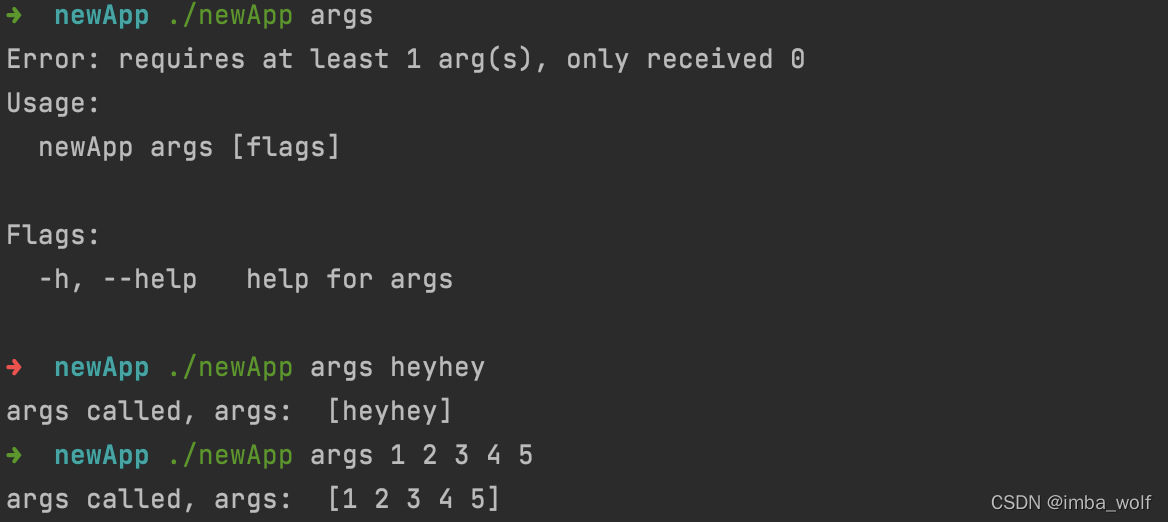 以上就是cobra的简单使用。
1 新建cobra项目
# 安装cobra-cli工具
go install github.com/spf13/cobra-cli@latest
# 新建项目目录
mkdir -p newApp
# 进入项目文件夹
cd myApp
# 初始化
go mod init && cobra-cli init
root.go文件中有如下代码:// rootCmd represents the base command when called without any subcommands
var rootCmd = &cobra.Command{
Use: "newApp",
Short: "A brief description of your application",
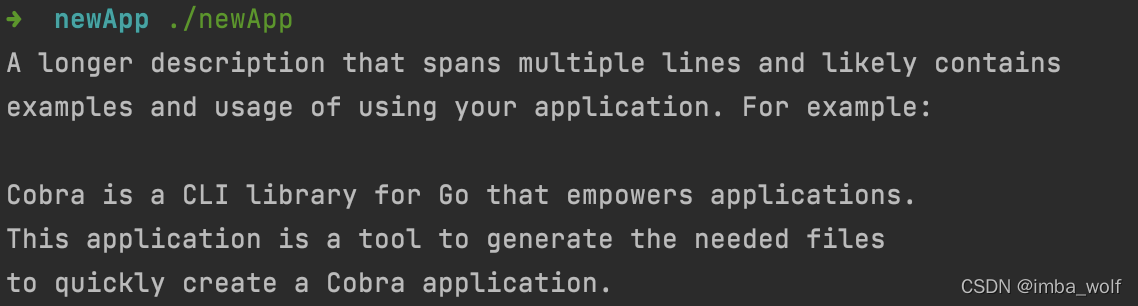
Long: `A longer description that spans multiple lines and likely contains
examples and usage of using your application. For example:
Cobra is a CLI library for Go that empowers applications.
This application is a tool to generate the needed files
to quickly create a Cobra application.`,
// Uncomment the following line if your bare application
// has an action associated with it:
// Run: func(cmd *cobra.Command, args []string) { },
}
rootCmd各个成员的含义:Use: 命令的名称
Short: 对命令的简短描述
Long: 对命令的详细描述,输入[appName] -h的时候会显示出来
Run: 命令的具体逻辑,这就是我们要去实现的了
# 编译
go build
# 执行
./newApp
Run,所以只打印出了详细的描述信息。2 添加COMMAND
cobra官方建议的指令格式是APPNAME COMMAND ARG --FLAG ,譬如git clone URL --bare 这样的。# 添加新的COMMAND
cobra-cli add hello
hello.go文件,有如下代码:// helloCmd represents the hello command
var helloCmd = &cobra.Command{
Use: "hello",
Short: "A brief description of your command",
Long: `A longer description that spans multiple lines and likely contains examples
and usage of using your command. For example:
Cobra is a CLI library for Go that empowers applications.
This application is a tool to generate the needed files
to quickly create a Cobra application.`,
Run: func(cmd *cobra.Command, args []string) {
fmt.Println("hello called")
},
}
helloCmd有了一个默认的Run成员,我们重新编译执行,输出如下:输入./newApp hello查看输出:3 定制FLAG
如果我们想为hello定制flag,应该怎么做呢? 修改hello.go中的init()函数:// 定义了两个全局变量
var Name *string
var Time *bool
func init() {
rootCmd.AddCommand(helloCmd)
// 这样的flag无法通过if判断是否要输出
// 且对于所有子命令都有效
helloCmd.PersistentFlags().String("name", "", "Say hello to someone")
// 这种flag就可以通过if来判断是否输出了,默认是false
// 在调用command的时候加上 --time 或 -t 就可以变为true
// 这样的flag仅对当前命令有效
helloCmd.Flags().BoolP("time", "t", false, "Add time info to hello")
}
Run函数的实现:Run: func(cmd *cobra.Command, args []string) {
str, _ := cmd.Flags().GetString("name")
fmt.Printf("Hello, %s!\n", str)
t, _ := cmd.Flags().GetBool("time")
if t {
fmt.Println("Time:", time.Now().Format("2006-01-02 15:04:05"))
}
}
init()函数中加入如下代码: // 设置使用hello的时候后面必须加上name
err := helloCmd.MarkPersistentFlagRequired("name")
if err != nil {
log.Fatal("Set flag required fail!")
}
—-name的命令自动报错了。4 子命令
# 为hello命令添加子命令
cobra-cli add test -p helloCmd
test.go,我们去修改一下它的实现:Run: func(cmd *cobra.Command, args []string) {
str, _ := cmd.Flags().GetString("name")
fmt.Printf("Test calling %s ...\n", str)
t, _ := cmd.Flags().GetBool("time")
if t {
fmt.Println("Time:", time.Now().Format("2006-01-02 15:04:05"))
}
}
—-name是可以接收的,但是无法解析-t,这是因为我们前面为helloCmd声明flag的方式不同(详见代码注释)。5 ARG
如果想在命令中加入参数,应该怎么做呢?为了不那么混乱,我们新建一个args命令:cobra-cli add args
	// 设置最少需要一个参数
	Args: cobra.MinimumNArgs(1),
	Run: func(cmd *cobra.Command, args []string) {
		fmt.Println("args called, args: ", args)
	}