一,创建server
1,导入依赖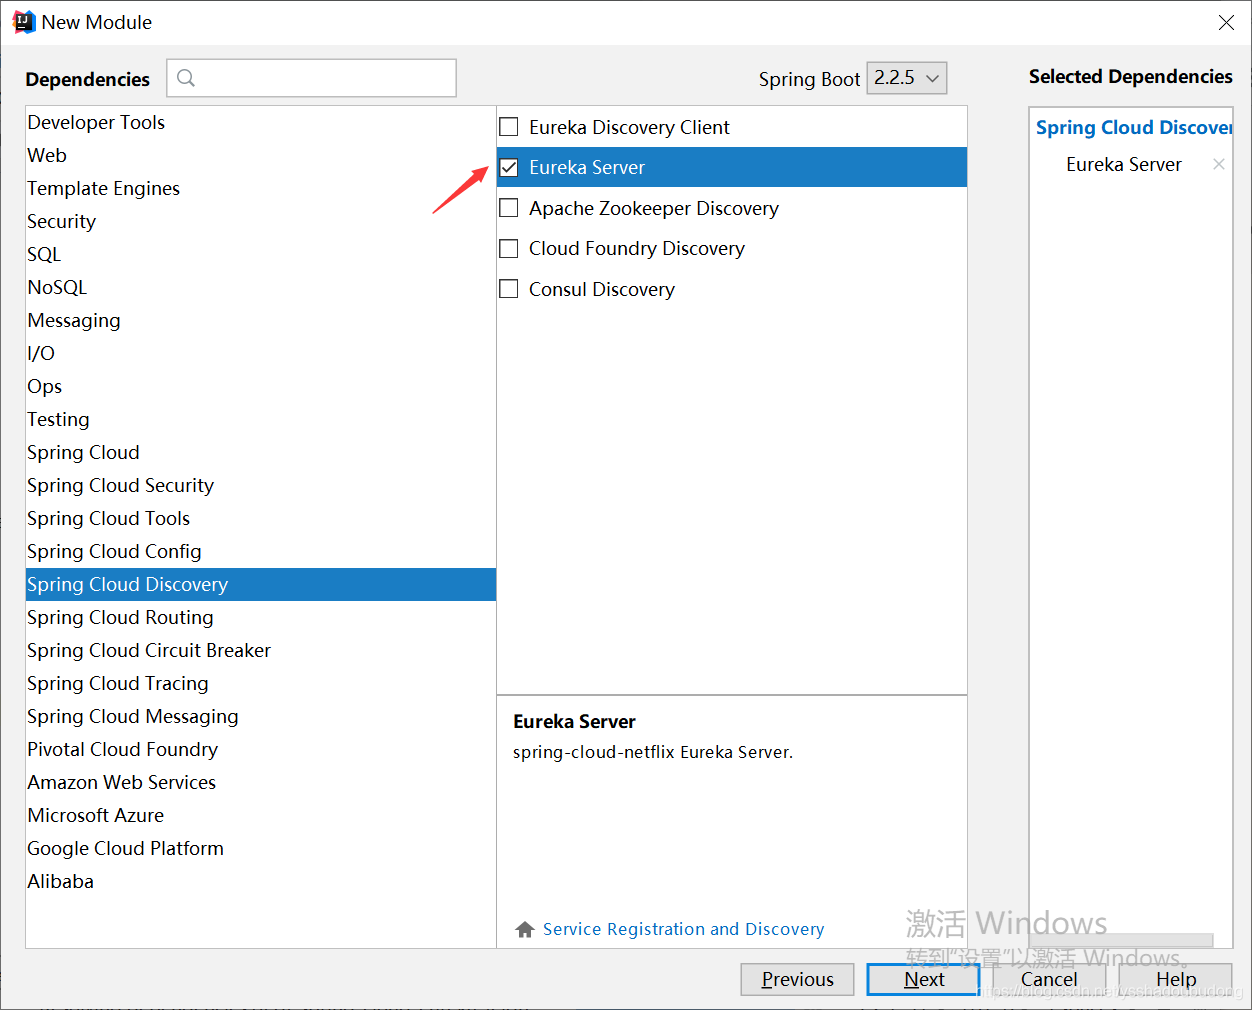
2,编写配置文件
#服务名称
spring:
  application:
    name: qf-spring-cloud-server

server:
  port: 8761

eureka:
  instance:
    hostname: localhost
  client:
  #这个false为不向注册中心注册自己,在非集群的操作下 都为false
    registerWithEureka: false
   #该项配置说明,注册中心只要维护微服务实例清单,非集群环境下,不需要作检索服务,所有也设置为false
    fetchRegistry: false
    serviceUrl:
      defaultZone: #客户端发现server路径
 				http://${eureka.instance.hostname}:${server.port}/eureka/
3,启动类
@EnableEurekaServer	//开启server
@SpringBootApplication
public class QfSpringCloudEurekaServerApplication {
    public static void main(String[] args) {
       SpringApplication.run(QfSpringCloudEurekaServerApplication.class, args);
    }
}
二,创建service
1,导入依赖
2,编写配置文件
spring:
  application:
    name: qf-spring-cloud-eureka-service

server:
  port: 8764

eureka:
  client:
    serviceUrl:
      defaultZone: http://localhost:8761/eureka/
3,创建接口
@RestController
public class MyController {
    @Value("${server.port}")
    private String port;

    @RequestMapping("/hi")
    public String sayHi(@RequestParam(value = "message")String message){
    //String.format 省去字符串拼接创建的多个对象
        return String.format("%s 消息来自:%s",message,port);
    }
}
延申:
String.fomat("%s 哈哈哈哈 %s",a,b)
结果:a哈哈哈哈b
省去了字符串拼接造成多个对象的创建
4,启动类
@EnableEurekaClient  //这个注解为客户端,也可用@EnableEurekaServer 这样方便分清
@SpringBootApplication
public class QfSpringCloudEurekaServiceApplication {

    public static void main(String[] args) {
        SpringApplication.run(QfSpringCloudEurekaServiceApplication.class, args);
    }
}
三,创建consumer(Ribbon)
2,编写配置文件
spring:
  application:
    name: qf-spring-cloud-eureka-consumer

server:
  port: 8765

eureka:
  client:
    serviceUrl:
      defaultZone: http://localhost:8761/eureka/
3,编写配置类
@Configuration
public class MyConfig {

    @LoadBalanced  //开启负载均衡过滤器
    @Bean
    //Ribbon需要的rest传输
    public RestTemplate creatRestTemplate(){
        return new RestTemplate();
    }

    @Bean
    //负载均衡策略 默认为轮询
    public IRule getRound(){
        return new RandomRule();
    }
}
4,编写service
@Service
public class MyService {

    @Autowired
    //注入RestTemplate来调用提供者中的服务
    private RestTemplate restTemplate;

    public String sayHi(String message){
        //服务提供者返回的是一个String
        String uri = "http://QF-SPRING-CLOUD-EUREKA-SERVICE/hi?message="+message;
        return restTemplate.getForObject(uri,String.class);
    }
}
这里用程序名代替具体的uri地址,在Ribbon中它会根据服务来选择具体的服务实列,根据服务实列在请求的时候用具体的uri替换掉服务名。
5,创建controller
@RestController
public class MyController {
    @Autowired
    //注入service调用方法
    private MyService myService;

    @RequestMapping("/hi")
    public String sayhi(String message){
       return myService.sayHi(message);
    }
}
四,创建consumer(Feign)
1,导入依赖

因为Feign是建立在Ribbon的基础上的,所以这两个依赖都需要导上去。
2,编写配置文件
spring:
  application:
    name: hello-spring-cloud-web-admin-feign


server:
  port: 8766

eureka:
  client:
    serviceUrl:
      defaultZone: http://localhost:8761/eureka/
3,创建Feign接口
//指定调用的服务
@FeignClient(value = "hello-spring-cloud-service-admin")
public interface AdminService {

    @RequestMapping(value = "hi", method = RequestMethod.GET)
    public String sayHi(@RequestParam(value = "message") String message);
}
通过 @FeignClient("服务名") 注解来指定调用哪个服务
4,创建controller
@RestController
public class AdminController {

    @Autowired
    //注入service调用方法
    private AdminService adminService;

    @RequestMapping(value = "hi", method = RequestMethod.GET)
    public String sayHi(@RequestParam String message) {
        return adminService.sayHi(message);
    }
}
5,启动类
@SpringBootApplication
@EnableDiscoveryClient //开启客户端
@EnableFeignClients		//开启Feign
public class WebAdminFeignApplication {
    public static void main(String[] args) {
        SpringApplication.run(WebAdminFeignApplication.class, args);
    }
}
版权声明:本文为ysshadoubudong原创文章,遵循CC 4.0 BY-SA版权协议,转载请附上原文出处链接和本声明。