踩了无数的坑所以特意在此总结一下
1、安装git
sudo yum install -y git
2、安装zsh
如果你centos版本为7x,那就无法自动安装zsh,后续安装的p10K主题要求的zsh最低版本为5.1,而7x所安装的是5.0;所以在此需要手动编译源码后安装zsh
这里选择zsh 5.8版本
①、clone zsh
我这里是干净的机器所以我就直接克隆,如果你已经安装过zsh了那么需要先删除(yum remove zsh)原来的后再手动安装
git clone -b zsh-5.8 --depth=1 https://github.com/zsh-users/zsh.git temp-zsh
②、安装所需要组件
sudo yum install git make ncurses-devel gcc autoconf man
③、安装
cd temp-zsh
./Util/preconfig
./configure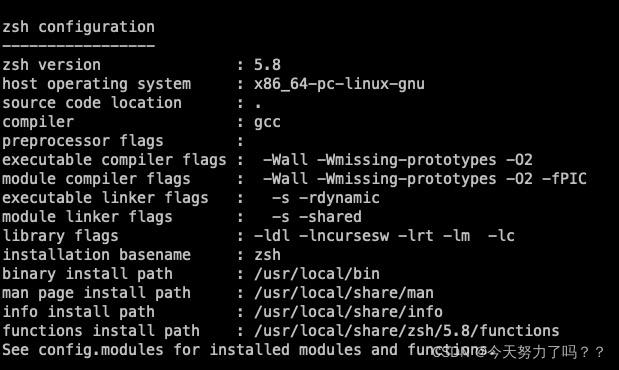
make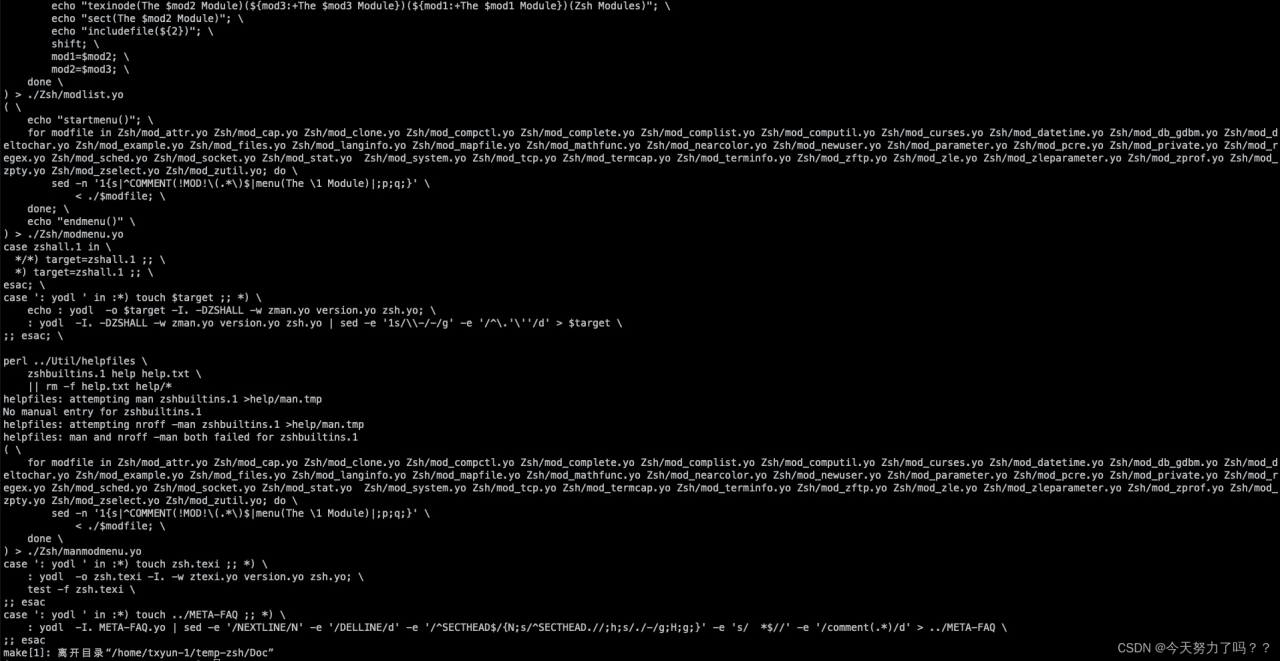
make check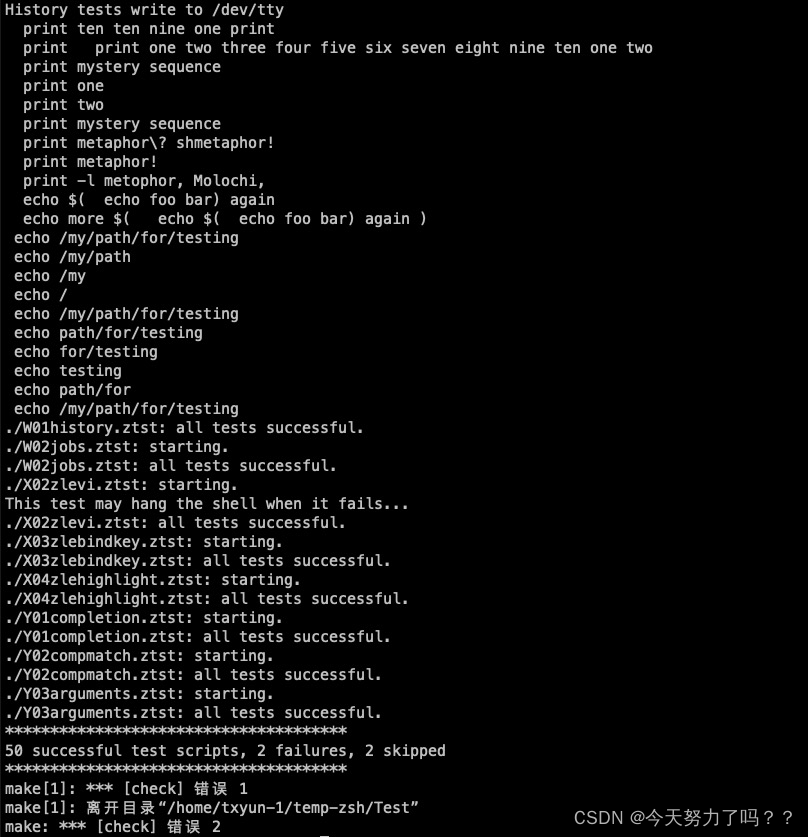
make install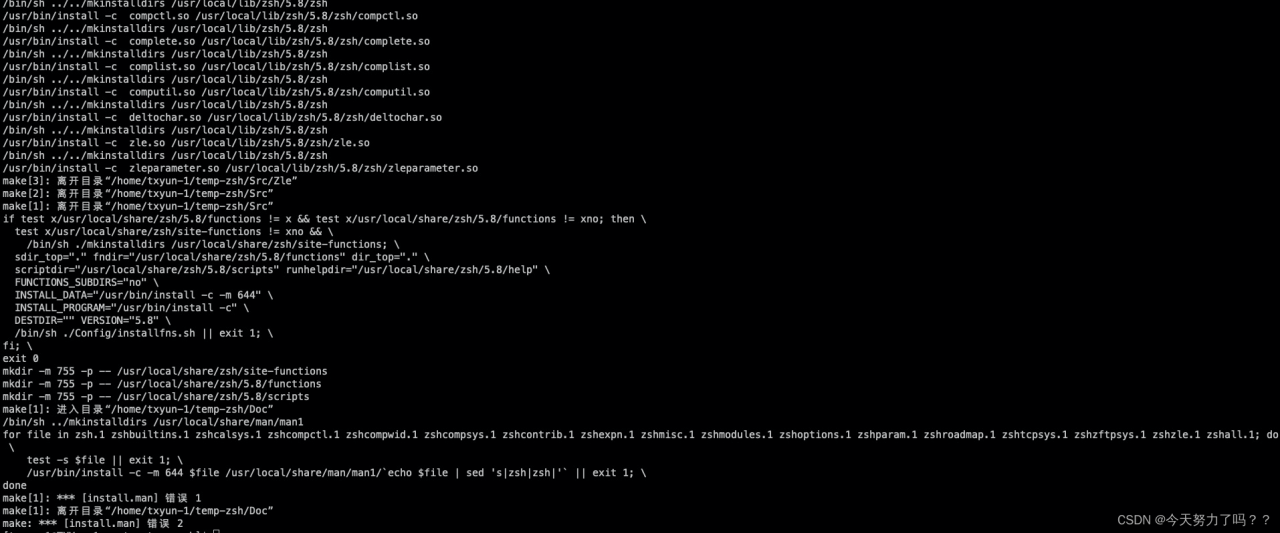
⑤、查看

将/usr/local/bin/zsh加入/etc/shells内
切换bash
chsh -s $(which zsh)
Options For Configure
---------------------

The `configure' program accepts many options, not all of which are useful
or relevant to zsh.  To get the complete list of configure options, run
"./configure --help".  The following list should contain most of the
options of interest for configuring zsh.

Configuration:
  --cache-file=FILE     # cache test results in FILE
  --help                # print a help message
  --version             # print the version of autoconf that create configure
  --quiet, --silent     # do not print `checking...' messages
  --no-create           # do not create output files

Directories:
  --prefix=PREFIX       # install host independent files in PREFIX [/usr/local]
  --exec-prefix=EPREFIX # install host dependent files in EPREFIX [PREFIX]
  --bindir=DIR          # install user executables in DIR [EPREFIX/bin]
  --infodir=DIR         # install info documentation in DIR [PREFIX/info]
  --mandir=DIR          # install man documentation in DIR [PREFIX/man]
  --srcdir=DIR          # find the sources in DIR [configure dir or ..]
  --datadir=DATADIR     # install shared files in DATADIR [PREFIX/share]

Features:
  --enable-FEATURE      # enable use of this feature
  --disable-FEATURE     # disable use of this feature

Here is the list of FEATURES currently supported.  Defaults are shown in
brackets, though a value shown as `yes' (equivalent to --enable-FEATURE)
will be ignored if your OS doesn't support that feature.

zsh-debug            # compile debugging features into zsh [no]
zsh-mem              # use zsh's memory allocators [no]
zsh-mem-debug        # debug zsh's memory allocators [no]
zsh-mem-warning      # turn on warnings of memory allocation errors [no]
zsh-secure-free      # turn on memory checking of free() [no]
zsh-hash-debug       # turn on debugging of internal hash tables [no]
etcdir=directory     # default directory for global zsh scripts [/etc]
zshenv=pathname      # the path to the global zshenv script [/etc/zshenv]
zshrc=pathname       # the path to the global zshrc script [/etc/zshrc]
zlogin=pathname      # the path to the global zlogin script [/etc/zlogin]
zprofile=pathname    # the path to the global zprofile script [/etc/zprofile]
zlogout=pathname     # the path to the global zlogout script [/etc/zlogout]
fndir=directory      # the directory where shell functions will go
                     # [DATADIR/zsh/VERSION/functions]
site-fndir=directory # the directory where site-specific functions can go
                     # [DATADIR/zsh/site-functions]
additional-path      # add directories to default function path [<none>]
function-subdirs     # if functions will be installed into subdirectories [no]
dynamic              # allow dynamically loaded binary modules [yes]
largefile            # allow configure check for large files [yes]
locale               # allow use of locale library [yes]

# 这是.configure不加选项生成的配置
zsh configuration
-----------------
zsh version               : 5.8
host operating system     : x86_64-pc-linux-gnu
source code location      : .
compiler                  : gcc
preprocessor flags        :
executable compiler flags :  -Wall -Wmissing-prototypes -O2
module compiler flags     :  -Wall -Wmissing-prototypes -O2 -fPIC
executable linker flags   :   -s -rdynamic
module linker flags       :   -s -shared
library flags             : -lgdbm -ldl -lncursesw -lrt -lm  -lc
installation basename     : zsh
binary install path       : /usr/local/bin
man page install path     : /usr/local/share/man
info install path         : /usr/local/share/info
functions install path    : /usr/local/share/zsh/5.8/functions
See config.modules for installed modules and functions.
3、安装oh-my-zsh
网上有的博客是直接wget github上的,但是有链接不稳定的情况,所以这里咱么你直接用国内的资源就好
gitee:https://gitee.com/sun_kuo_rui/fonts
这仓库放了安装p10k的所需字体和安装oh-my-zsh所需的install.sh
在这里执行./install.sh
执行完成后出现一下内容证明安装成功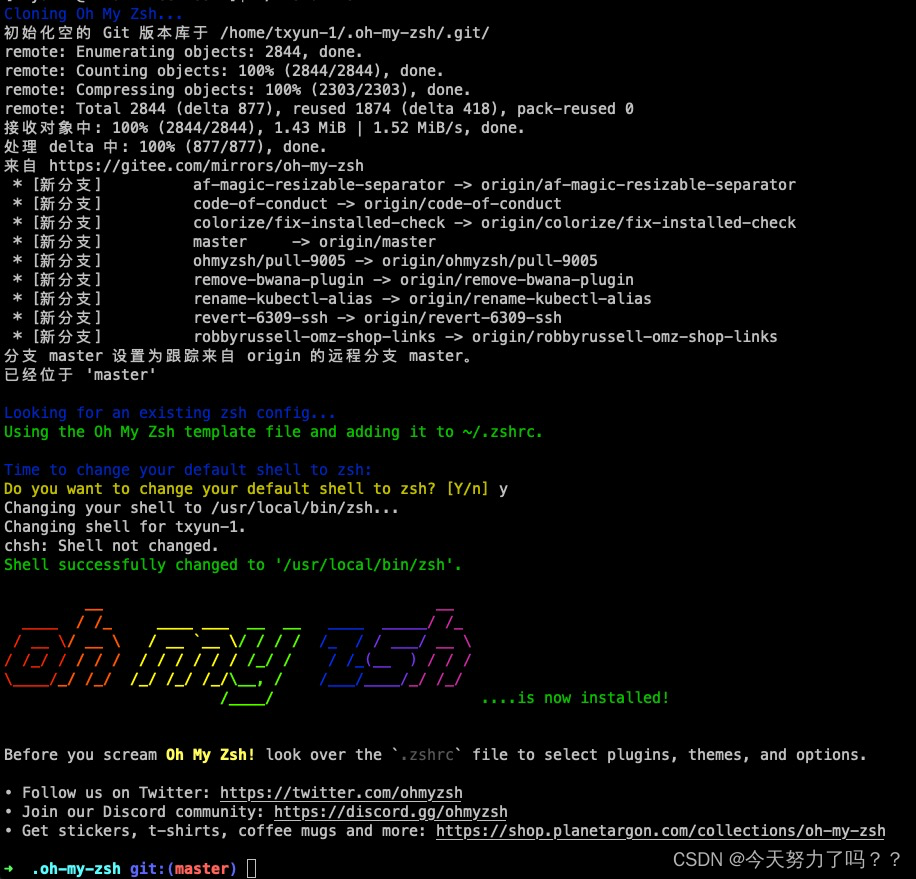
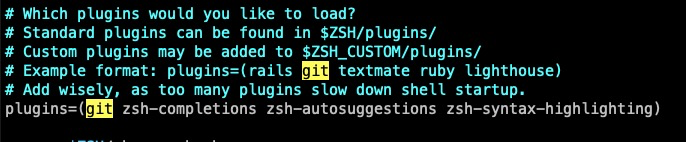
插件安装
zsh-syntax-highlighting :提供了语法高亮显示。
zsh-autosuggestions :它会根据历史记录和完成情况建议您键入的命令,而且快速/不干扰自动提示。
zsh-completions :命令自动补全。
采用国内下载源
git clone https://gitee.com/mo2/zsh-syntax-highlighting.git ${ZSH_CUSTOM:-~/.oh-my-zsh/custom}/plugins/zsh-syntax-highlighting
git clone https://gitee.com/yantaozhao/zsh-autosuggestions.git ${ZSH_CUSTOM:-~/.oh-my-zsh/custom}/plugins/zsh-autosuggestions
git clone https://gitee.com/wangnd/zsh-completions.git ${ZSH_CUSTOM:=~/.oh-my-zsh/custom}/plugins/zsh-completions
修改.zshrc

source .zshrc
到这里其实已经比Linux原来的操作界面好看多了,但是zsh虽有好多theme但是还是有些枯燥,所以这里继续安装p10k使终端不在枯燥,提高开发效率
5、安装powerlevel10k
因为咱么手动安装的zsh所以zsh的版本完全符合powerlevel10k的要求。
在安装前需要安装四个powerlevel10k所需字体(我的gitee中有可以直接用https://gitee.com/sun_kuo_rui/fonts.git), 其实安装步骤powerlevel10k git上都有
https://github.com/romkatv/powerlevel10k
①、安装字体
执行完该指令后就可以看到fonts和fontconfig目录了(有的服务器可能没带所以需要安装)
yum -y install fontconfig
将字体上传此目录
cd /usr/share/fonts/
刷新内存中的字体缓存,这样就不用reboot重启了
fc-cache
fc-list查看是否安装成功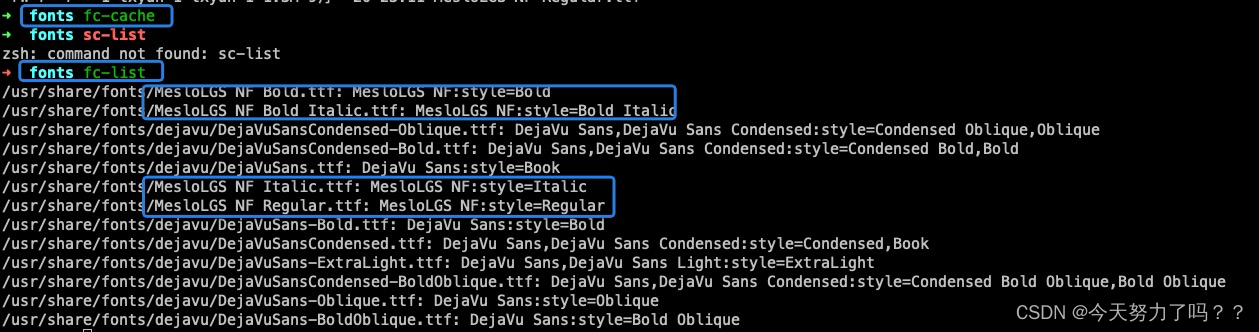
②、安装p10k
git clone --depth=1 https://gitee.com/romkatv/powerlevel10k.git KaTeX parse error: Expected '}', got 'EOF' at end of input: {ZSH_CUSTOM:-HOME/.oh-my-zsh/custom}/themes/powerlevel10k
修改.zshrc中的theme Set ZSH_THEME=“powerlevel10k/powerlevel10k” in ~/.zshrc.
source ./zshrc
下面按照引导慢慢配置就好了,主要是一些p10k风格的问题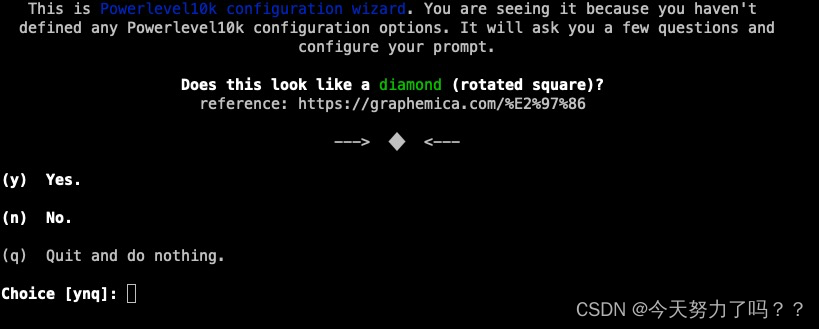 完成拉
完成拉 还可以通过修改.p10k.zsh来拓展powerlevel10k的样式,将内容直接复制翻译就明白了每个代表了啥意思了,修改完后记得source .zshrc