ActiveMQ
ActiveMQ 是Apache出品,最流行的. 功能强大的即时通讯和集成模式的开源服务器。
ActiveMQ 是一个完全支持JMS1.1和J2EE 1.4规范的 JMS Provider实现。
提供客户端支持跨语言和协议,带有易于在充分支持JMS 1.1和1.4使用J2EE企业集成模式和许多先进的功能。
特性:
- 多种语言和协议编写客户端。语言: Java. C. C++. C#. Ruby. Perl. Python. PHP。 应用协议:OpenWire. Stomp REST. WS Notification. XMPP. AMQP
- 完全支持JMS1.1和J2EE 1.4规范 (持久化,XA消息,事务)
- 对Spring的支持,ActiveMQ可以很容易内嵌到使用Spring的系统里面去,而且也支持Spring2.0的特性
- 通过了常见J2EE服务器(如 Geronimo. JBoss 4. GlassFish. WebLogic)的测试,其中通过JCA 1.5 resource adaptors的配置,可以让ActiveMQ可以自动的部署到任何兼容J2EE 1.4 商业服务器上
- 支持多种传送协议:in-VM. TCP. SSL. NIO. UDP. JGroups. JXTA
- 支持通过JDBC和journal提供高速的消息持久化
- 从设计上保证了高性能的集群,客户端-服务器,点对点
- 支持Ajax
- 支持与Axis的整合
- 可以很容易得调用内嵌JMS provider,进行测试
下载使用:
- 第一步:下载
http://activemq.apache.org/activemq-5156-release.html
第二步:解压
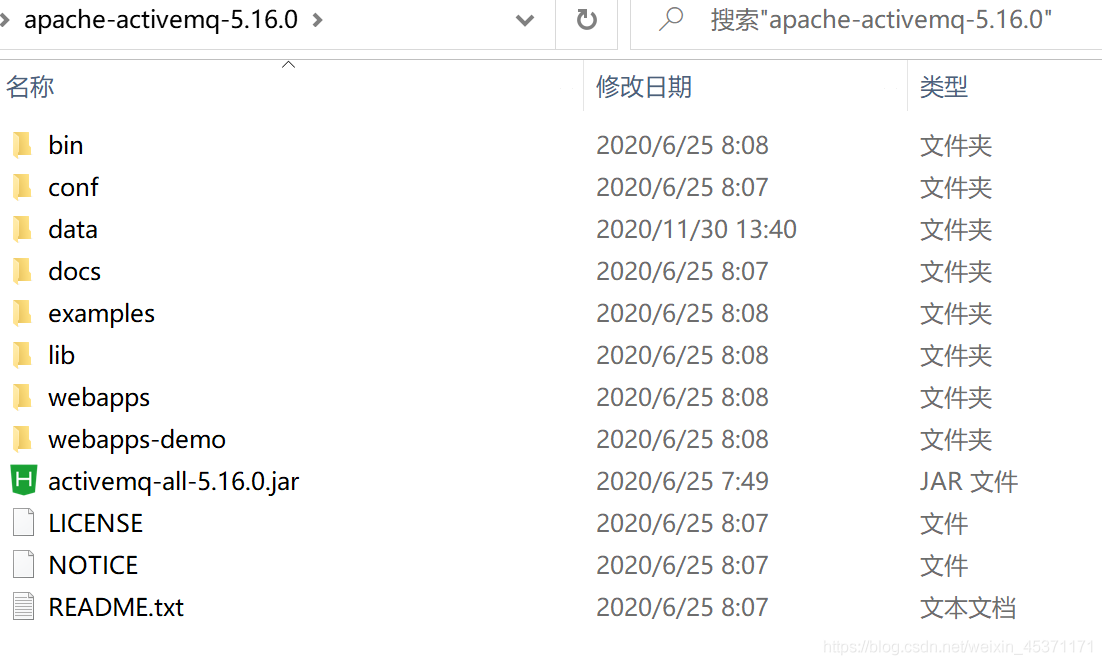
第三步:启动:
在bin包里面,cmd,敲命令:activemq start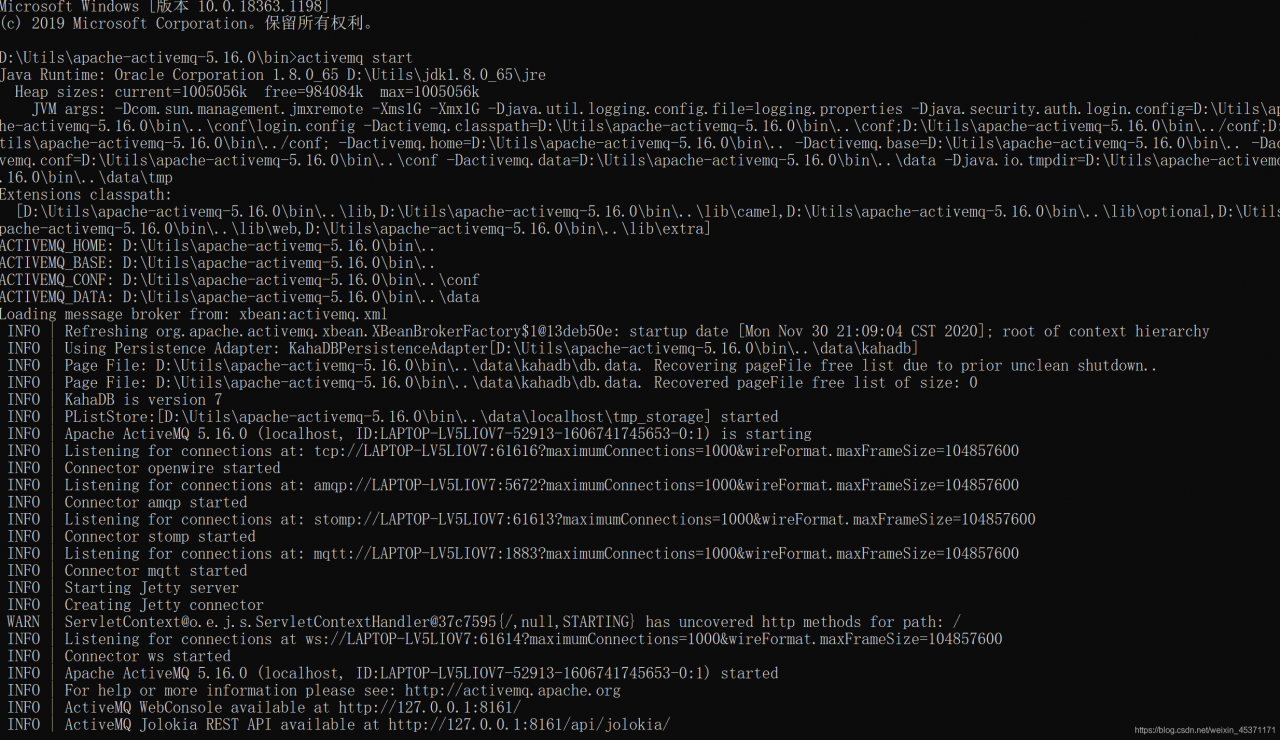
就可以了,注意,如果刚入门的老铁,这个cmd不要关闭。否则就关掉了。第四步:登录
访问http://localhost:8161/,用户名和密码,默认都是admin。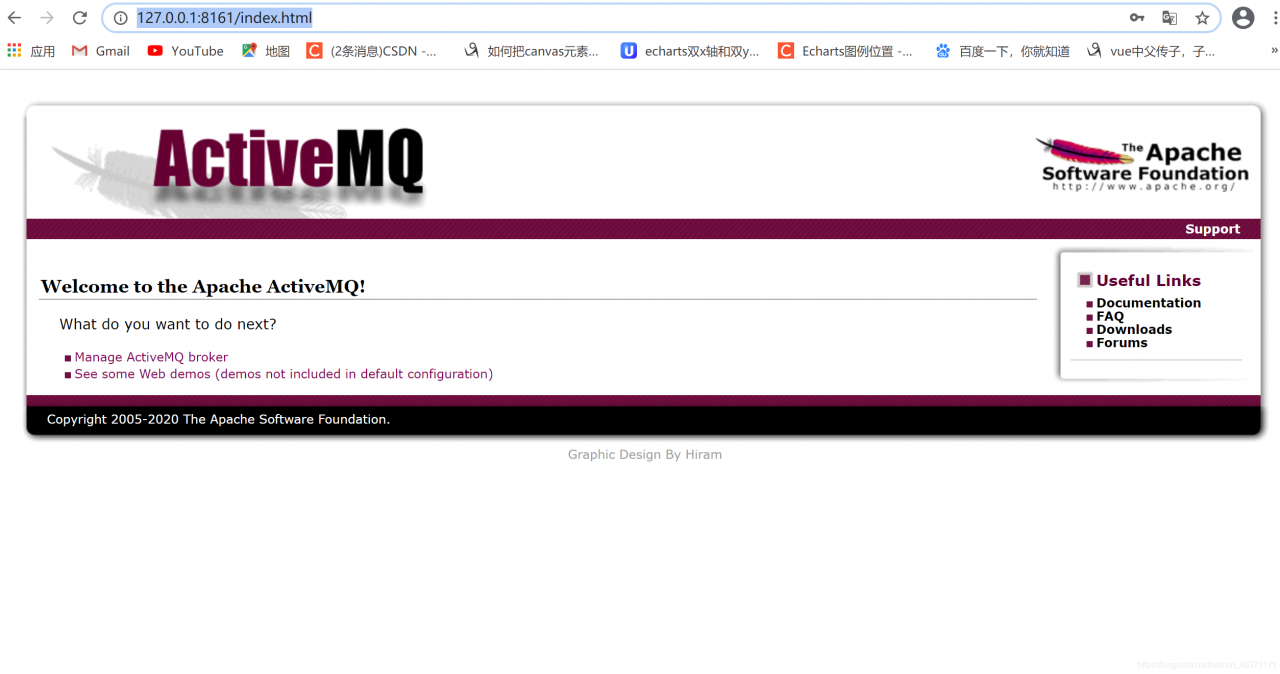
这样,就是完全启动啦!
SpringBoot集成ActiveMQ:
pom.xml导入依赖
<!--ActiveMq-->
<dependency>
    <groupId>org.springframework.boot</groupId>
    <artifactId>spring-boot-starter-activemq</artifactId>
    <version>1.5.0.RELEASE</version>
</dependency>
<!--消息队列连接池-->
<dependency>
    <groupId>org.apache.activemq</groupId>
    <artifactId>activemq-pool</artifactId>
    <version>5.15.0</version>
</dependency>
配置xml文件:
spring:
  activemq:
    broker-url: tcp://127.0.0.1:61616
    user: admin
    password: admin
    close-timeout: 15s   # 在考虑结束之前等待的时间
    in-memory: true      # 默认代理URL是否应该在内存中。如果指定了显式代理,则忽略此值。
    non-blocking-redelivery: false  # 是否在回滚回滚消息之前停止消息传递。这意味着当启用此命令时,消息顺序不会被保留。
    send-timeout: 0     # 等待消息发送响应的时间。设置为0等待永远。
    queue-name: active.queue
    topic-name: active.topic.name.model
  pool:
    enabled: true
    max-connections: 10   #连接池最大连接数
    idle-timeout: 30000   #空闲的连接过期时间,默认为30秒
启动类增加消息队列@EnableJms注解:
/**
 * 启动程序
 *
 * @author ruoyi
 */
@SpringBootApplication(exclude = {DataSourceAutoConfiguration.class})
@EnableJms
public class Application {
    public static void main(String[] args) {
        // System.setProperty("spring.devtools.restart.enabled", "false");
        SpringApplication.run(Application.class, args);
        System.out.println("   _____  _______         _____  _______    _____  _    _   _____  _____  ______   _____  _____  ______  _    _  _       _   __     __\n" +
                "  / ____||__   __| /\\    |  __ \\|__   __|  / ____|| |  | | / ____|/ ____||  ____| / ____|/ ____||  ____|| |  | || |     | |  \\ \\   / /\n" +
                " | (___     | |   /  \\   | |__) |  | |    | (___  | |  | || |    | |     | |__   | (___ | (___  | |__   | |  | || |     | |   \\ \\_/ / \n" +
                "  \\___ \\    | |  / /\\ \\  |  _  /   | |     \\___ \\ | |  | || |    | |     |  __|   \\___ \\ \\___ \\ |  __|  | |  | || |     | |    \\   /  \n" +
                "  ____) |   | | / ____ \\ | | \\ \\   | |     ____) || |__| || |____| |____ | |____  ____) |____) || |     | |__| || |____ | |____ | |   \n" +
                " |_____/    |_|/_/    \\_\\|_|  \\_\\  |_|    |_____/  \\____/  \\_____|\\_____||______||_____/|_____/ |_|      \\____/ |______||______||_|   \n" +
                "                                                                                                                                      ");
    }
}
初始化配置:
import org.apache.activemq.ActiveMQConnectionFactory;
import org.apache.activemq.command.ActiveMQQueue;
import org.apache.activemq.command.ActiveMQTopic;
import org.springframework.beans.factory.annotation.Value;
import org.springframework.context.annotation.Bean;
import org.springframework.context.annotation.Configuration;
import org.springframework.jms.config.JmsListenerContainerFactory;
import org.springframework.jms.config.SimpleJmsListenerContainerFactory;
import org.springframework.jms.core.JmsMessagingTemplate;

import javax.jms.ConnectionFactory;
import javax.jms.Queue;
import javax.jms.Topic;

@Configuration
public class BeanConfig {

    @Value("${spring.activemq.broker-url}")
    private String brokerUrl;

    @Value("${spring.activemq.user}")
    private String username;

    @Value("${spring.activemq.topic-name}")
    private String password;

    @Value("${spring.activemq.queue-name}")
    private String queueName;

    @Value("${spring.activemq.topic-name}")
    private String topicName;

    @Bean(name = "queue")
    public Queue queue() {
        return new ActiveMQQueue(queueName);
    }

    @Bean(name = "topic")
    public Topic topic() {
        return new ActiveMQTopic(topicName);
    }

    @Bean
    public ConnectionFactory connectionFactory() {
        return new ActiveMQConnectionFactory(username, password, brokerUrl);
    }

    @Bean
    public JmsMessagingTemplate jmsMessageTemplate() {
        return new JmsMessagingTemplate(connectionFactory());
    }

    // 在Queue模式中,对消息的监听需要对containerFactory进行配置
    @Bean("queueListener")
    public JmsListenerContainerFactory<?> queueJmsListenerContainerFactory(ConnectionFactory connectionFactory) {
        SimpleJmsListenerContainerFactory factory = new SimpleJmsListenerContainerFactory();
        factory.setConnectionFactory(connectionFactory);
        factory.setPubSubDomain(false);
        return factory;
    }

    //在Topic模式中,对消息的监听需要对containerFactory进行配置
    @Bean("topicListener")
    public JmsListenerContainerFactory<?> topicJmsListenerContainerFactory(ConnectionFactory connectionFactory) {
        SimpleJmsListenerContainerFactory factory = new SimpleJmsListenerContainerFactory();
        factory.setConnectionFactory(connectionFactory);
        factory.setPubSubDomain(true);
        return factory;
    }
}
创建Queue模式的消费者:
import org.springframework.jms.annotation.JmsListener;
import org.springframework.stereotype.Component;

@Component
public class QueueConsumerListener {
    @JmsListener(destination = "${spring.activemq.queue-name}", containerFactory = "queueListener")
    public void readActiveQueue(String message) {
        System.out.println("queue接受到:" + message);
    }
}
创建topic模式的消费者
import org.springframework.jms.annotation.JmsListener;
import org.springframework.stereotype.Component;

@Component
public class TopicConsumerListener {
    @JmsListener(destination = "${spring.activemq.topic-name}", containerFactory = "topicListener")
    public void readActiveQueue(String message) {
        System.out.println("topic接受到:" + message);
    }
}
测试一下:
import io.swagger.annotations.Api;
import io.swagger.annotations.ApiOperation;
import org.springframework.beans.factory.annotation.Autowired;
import org.springframework.jms.core.JmsMessagingTemplate;
import org.springframework.web.bind.annotation.PostMapping;
import org.springframework.web.bind.annotation.RequestBody;
import org.springframework.web.bind.annotation.RequestMapping;
import org.springframework.web.bind.annotation.RestController;

import javax.jms.Destination;
import javax.jms.Queue;
import javax.jms.Topic;

@Api("测试")
@RestController
@RequestMapping("/test")
public class ProducerController {
    @Autowired
    private JmsMessagingTemplate jmsMessagingTemplate;

    @Autowired
    private Queue queue;

    @Autowired
    private Topic topic;

    @ApiOperation("queue消费者测试")
    @PostMapping("/queue/test")
    public String sendQueue(@RequestBody String str) {
        this.sendMessage(this.queue, str);
        return "success";
    }

    @ApiOperation("topic消费者测试")
    @PostMapping("/topic/test")
    public String sendTopic(@RequestBody String str) {
        this.sendMessage(this.topic, str);
        return "success";
    }

    // 发送消息,destination是发送到的队列,message是待发送的消息
    private void sendMessage(Destination destination, final String message) {
        jmsMessagingTemplate.convertAndSend(destination, message);
    }
}
控制台打印输出: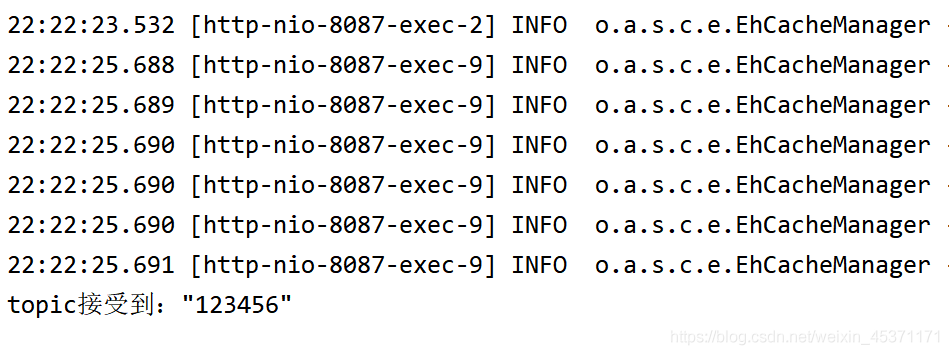
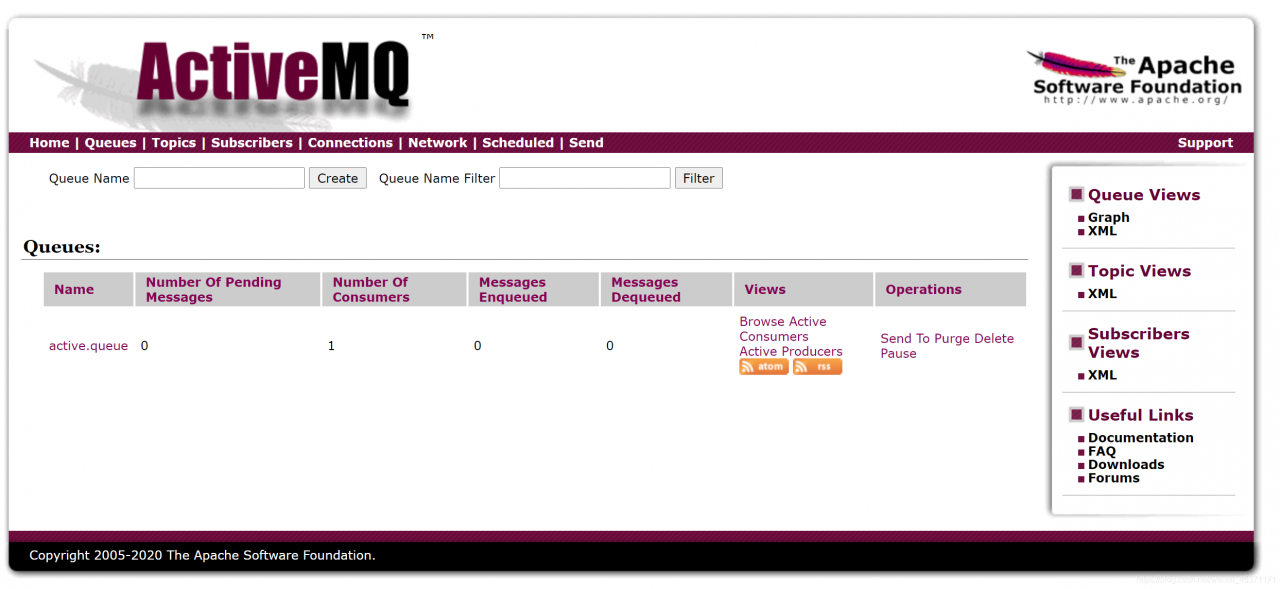
我们可以看到ActiveMQ上也又一些变化。
如有雷同,都是你对
版权声明:本文为weixin_45371171原创文章,遵循CC 4.0 BY-SA版权协议,转载请附上原文出处链接和本声明。