Angular脚手架安装及创建项目,基础命令
1,node.js的安装请到如下链接查看
https://blog.csdn.net/weixin_45191709/article/details/114696936
2,安装Angular脚手架:
黑窗口输入:
npm install -g @angular/cli
或
cnpm install -g @angular/cli
查看是否安装成功
ng  version
或
ng -v
如下为安装成功: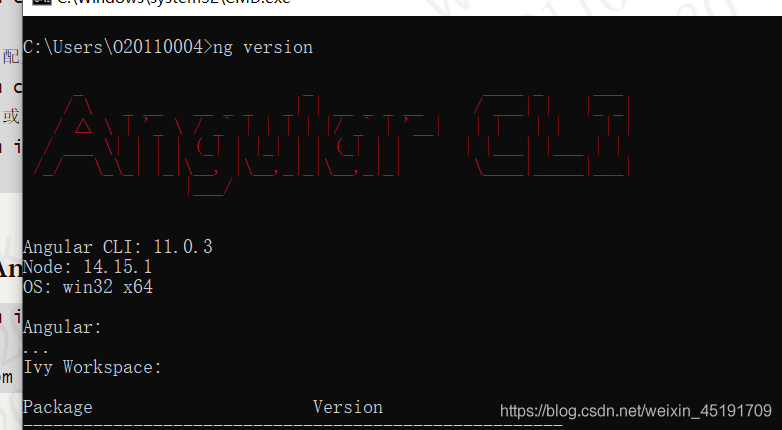
卸载命令
npm uninstall –g angular-cli
或
cnpm uninstall –g angular-cli
3、创建项目
ng  new 项目名     创建项目

npm install  或  cnpm install      初始化项目

ng serve  编译运行项目(启动项目)

更改端口号  : ng  serve --port 4201

http://localhost:4200/    项目访问路径
4、基础命令
- 查看angular-cli的版本号:
ng -v - 创建项目:
ng new app(项目名称) - 下载依赖包:
npm install - 删除依赖包:
npm install rimraf -grimraf node_modules
- 创建组件:`ng g c MyComponent(组件名称)
// 创建组件的时候也可以带路径,比如:ng generate component mydir/MyComponent(从app下的文件夹开始写)  如:
   app下建组件demo就
   ng   g component demo
   demo下建组件news就
   ng   g component /demo/news
- 创建service服务 :
ng g s MyService - 动态生成服务,并把这个服务提供给依赖注入系统: ·ng g service 服务名 --module=app·
- 动态生成类文件:
ng g class 类名 - 动态生成接口文件:
ng g i 接口名 - 创建module :
ng g m teacher - 动态生成管道,并把这个管道在module中声明:
ng g p 管道名 - 新建路由文件:
ng g module trade --routing
10.动态生成组件,并把这个组件导入module中:ng g c 组件名 - 不生成对应的单元测试文件:
ng g c core/header --spec false - 创建guard(一般用于写权限拦截):
ng g g service/login/login - 自动创建指令:
ng g d MyDirective - 运行项目:
ng serve - 停止项目:
ctrl +c 输入y - 构建项目:
ng build - 如果你想构建最终的产品版本(进行优化,包压缩等),可以用
ng build –prod - 添加路由:
ng generate module app-routing --flat --module=app
版权声明:本文为weixin_45191709原创文章,遵循CC 4.0 BY-SA版权协议,转载请附上原文出处链接和本声明。