文章目录
1.安装环境及软件准备
1.1环境
- 系统: CentOS7.9
- Hadoop: 3.1.1
- Zookeeper: 3.4.6
- JDK: 1.8.0_231
- __服务器: __ 三台虚拟机,
2.准备工作
JDK1.8+ JDK安装
所有节点都要有JDK环境,这里不详细介绍,网上资料很多
Mysql/PostgreSQL
这里使用的msyql,mysql版本必须是5.1.47+,mysql的安装包及安装部署之前的博客有提到,CentOS7.9离线安装mysql
Zookeeper集群
这里不详细介绍,网上资料很多
DolphinScheduler软件
提取码: wriv
节点间免密配置和域名映射
之前写过了,这里就不详细写了可以在,Ambari-2.7.4和HDP-3.1.4安装博客中查看对应的步骤
3.安装DolphinScheduler
3.1DolphinSchedule源数据库配置
创建数据库
在安装mysql的节点创建Dolphin的元数据库
mysql> CREATE DATABASE dolphinscheduler DEFAULT CHARACTER SET utf8 DEFAULT COLLATE utf8_general_ci; -- 创建数据库并指定编码格式开启权限
-- 赋权
mysql> GRANT ALL PRIVILEGES ON dolphinscheduler.* TO '用户名'@'%' IDENTIFIED BY '密码';
-- 如果提示'Your password does not satisfy the current policy requirements'就说明这个密码不符当前的密码策略,可以执行如下命令
mysql> set global validate_password_policy=LOW; -- 验证密码等级强度
mysql> set global validate_password_length=6; -- 设置密码长度
mysql> flush privileges; -- 刷新权限
3.2DolphinScheduler配置及安装
3.2.1 驱动配置
先将Dolphin安装包上传解压
tar -zxf apache-dolphinscheduler-2.0.0-alpha-bin.tar.gz # 解压安装包增加mysql驱动
# 将mysql驱动放到Dolphin的lib目录下 mv ./mysql-connector-java-5.1.44.jar ./apache-dolphinscheduler-2.0.0-alpha-bin/lib__提取码:__f464
3.2.2 配置文件修改
3.2.2.1 修改数据源配置
修改
conf目录下的datasource.properties配置文件]vi datasource.properties #修改内容如下 # datasource configuration #spring.datasource.driver-class-name=org.postgresql.Driver #spring.datasource.url=jdbc:postgresql://127.0.0.1:5432/dolphinscheduler #spring.datasource.username=root #spring.datasource.password=root # mysql 因为这里使用的mysql作为元数据库,所以要将上面postgresql的配置注释掉 spring.datasource.driver-class-name=com.mysql.jdbc.Driver spring.datasource.url=jdbc:mysql://lx01:3306/dolphinscheduler?characterEncoding=UTF-8&allowMultiQueries=true spring.datasource.username=用户名 spring.datasource.password=密码 #保存退出即可执行脚本初始化元数据
dolphin已经为我们准备了初始化元数据库的脚本,执行
script目录下的create-dolphinscheduler.sh脚本即可./create-dolphinscheduler.sh # 如果在部署完所有的步骤后,访问DolphinScheduler界面创建项目时,发现提示元数据库缺少字段,可以不通过create-dolphinscheduler.sh这个脚本初始化元数据库,可以将/opt/apps/apache-dolphinscheduler-2.0.0-alpha-bin/sql这个目录下的dolphinscheduler_mysql.sql这个文件在mysql中直接执行用来创建元数据表,在mysql中执行命令:source //opt/apps/apache-dolphinscheduler-2.0.0-alpha-bin/dolphinscheduler_mysql.sql执行完成后移可以去我们已经在mysql建立的dolphinscheduler库中查看一下
mysql> show tables;
+----------------------------------------+
| Tables_in_dolphinscheduler             |
+----------------------------------------+
| QRTZ_BLOB_TRIGGERS                     |
| QRTZ_CALENDARS                         |
| QRTZ_CRON_TRIGGERS                     |
| QRTZ_FIRED_TRIGGERS                    |
| QRTZ_JOB_DETAILS                       |
| QRTZ_LOCKS                             |
| QRTZ_PAUSED_TRIGGER_GRPS               |
| QRTZ_SCHEDULER_STATE                   |
| QRTZ_SIMPLE_TRIGGERS                   |
| QRTZ_SIMPROP_TRIGGERS                  |
| QRTZ_TRIGGERS                          |
| t_ds_access_token                      |
| t_ds_alert                             |
| t_ds_alert_plugin_instance             |
| t_ds_alertgroup                        |
| t_ds_command                           |
| t_ds_datasource                        |
| t_ds_environment                       |
| t_ds_environment_worker_group_relation |
| t_ds_error_command                     |
| t_ds_master_server                     |
| t_ds_plugin_define                     |
| t_ds_process_definition                |
-- 这里就不全部展示了
3.2.2.2 修改各组件环境变量
这里用到什么组件就修改什么就可了,没有使用到的组件可直接注释掉,修改/conf/env目录下的dolphinscheduler_env.sh配置文件
vi ./dolphinscheduler_env.sh

# 文件内容如下:
export HADOOP_HOME=/opt/apps/hadoop-3.1.1
export HADOOP_CONF_DIR=/opt/apps/hadoop-3.1.1/etc/hadoop
#export SPARK_HOME1=/opt/soft/spark1
export SPARK_HOME2=/opt/apps/spark-3.0
#export PYTHON_HOME=/opt/soft/python
export JAVA_HOME=/opt/apps/jdk1.8
export HIVE_HOME=/opt/apps/hive-3.1.2
#export FLINK_HOME=/opt/soft/flink
#export DATAX_HOME=/opt/soft/datax

export PATH=$HADOOP_HOME/bin:$SPARK_HOME2/bin:$JAVA_HOME/bin:$HIVE_HOME/bin:$PATH
3.2.2.3修改Dolphin安装配置
修改
/conf/config目录下的install_config.conf配置文件vi ./install_config.conf # 文件内容如下 # # Licensed to the Apache Software Foundation (ASF) under one or more # contributor license agreements. See the NOTICE file distributed with # this work for additional information regarding copyright ownership. # The ASF licenses this file to You under the Apache License, Version 2.0 # (the "License"); you may not use this file except in compliance with # the License. You may obtain a copy of the License at # # http://www.apache.org/licenses/LICENSE-2.0 # # Unless required by applicable law or agreed to in writing, software # distributed under the License is distributed on an "AS IS" BASIS, # WITHOUT WARRANTIES OR CONDITIONS OF ANY KIND, either express or implied. # See the License for the specific language governing permissions and # limitations under the License. # # --------------------------------------------------------- # INSTALL MACHINE # --------------------------------------------------------- # Dolphin服务所要部署的节点,ips后面可加主机名或者直接加ip地址 ips="lx01,lx02,lx03" # ssh端口号,一般默认为22,不用修改 sshPort="22" # master服务所在节点 masters="lx01,lx02" # worker服务所在节点,并指定所属worker组,这里指定default组 workers="lx01:default,lx02:default,lx03:default" # alter服务(报警服务)所在节点,单节点就可以 alertServer="lx03" # api服务(后端api服务)所在节点,单节点就可以 apiServers="lx01" # DS安装位置,三个节点都要有这个目录 installPath="/opt/apps/dolphinscheduler" # 使用哪个用户进行安装部署,这里就直接使用root,如果使用别的用户进行安装部署需要对该用户进行授权 deployUser="root" # DolphinScheduler本地数据的存储目录,三个节点都要有这个目录 dataBasedirPath="/opt/data/dolphin" # JAVA环境变量的物理路径 javaHome="/opt/apps/jdk1.8" # API后端服务的端口号同时也是web页面访问的端口号,根据实际需求进行配置 apiServerPort="12345" # 所使使用的数据库类型,选择mysql或者postgresql,这里使用mysql dbtype="mysql" # mysql服务所在节点及端口号 dbhost="lx01:3306" # mysql的用户名 username="用户名" # mysql的密码 password="密码" # 在mysql中所使用的库名,就是之前已经配置好的dolphin的元数据库 dbname="dolphinscheduler" # 注册服务插件jar包位置,这个默认即可 registryPluginDir="lib/plugin/registry/zookeeper" # 注册服务名称,默认即可 registryPluginName="zookeeper" # 注册服务位置,将ip地址换成zoopeeker集群的位置即可,可以写ip地址或者主机名 registryServers="lx01:2181,lx02:2181,lx03:2181" # Dolphin在zookeeper中注册的位置,默认即可 zkRoot="/dolphinscheduler" # 警报服务插件jar包位置,默认即可 alertPluginDir="lib/plugin/alert" # 任务调度插件jar包位置,默认即可 taskPluginDir="lib/plugin/task" # 资源存储类型: HDFS, S3, NONE,这里选择hdfs,如果选择NONE则是使用本地文件系统 resourceStorageType="HDFS" # 资源存储位置,因为上面选择的存储类型是HDFS,这个路径就是HDFS上的路径,要确保存在这个路径,并且Dolphin具备读写权限 resourceUploadPath="/dolphinscheduler" # 默认文件系统,如果选择了HDFS并且HDFS已经开启了HA那么就要将core-site.xml和hdfs-site.xml放入到conf目录下 defaultFS="hdfs://lx01:8020" # 没有使用到s3,这个就可以注释掉,如果使用的s3再另行配置 # s3Endpoint="http://192.168.xx.xx:9010" # s3AccessKey="xxxxxxxxxx" # s3SecretKey="xxxxxxxxxx" # yarn的resourcemanager http端口号 resourceManagerHttpAddressPort="8088" # 如resourcemanager HA启用,则配置为ResourceManager节点的主备ip或者hostname,比如"192.168.xx.xx,192.168.xx.xx";如果是单ResourceManager请配置yarnHaIps=""即可 yarnHaIps="192.168.xx.xx,192.168.xx.xx" # 如果ResourceManager是HA或者没有使用到Yarn保持默认值"yarnIp1"即可;如果是单ResourceManager,请配置真实的ResourceManager主机名或者ip singleYarnIp="lx01" # 使用哪个用户对hdfs文件系统进行操作,一般我们要选一个权限比较高的 hdfsRootUser="hdfs" # 关于kerberos根据实际情况配置即可,如果开启了kerberos就根据实际情况配置,没有开启则不用动 # kerberos config # whether kerberos starts, if kerberos starts, following four items need to config, otherwise please ignore kerberosStartUp="false" # kdc krb5 config file path krb5ConfPath="$installPath/conf/krb5.conf" # keytab username,watch out the @ sign should followd by \\ keytabUserName="hdfs-mycluster\\@ESZ.COM" # username keytab path keytabPath="$installPath/conf/hdfs.headless.keytab" # kerberos expire time, the unit is hour kerberosExpireTime="2" # 是否使用sudo,默认为true就可 sudoEnable="true" # 工作租户自动创建,默认为false即可 workerTenantAutoCreate="false"
3.2.2.4 安装
执行apache-dolphinscheduler-2.0.0-alpha-bin目录下的install.sh脚本进行安装部署
./install.sh
安装完成后DolphinScheduler会自动启动,可通过jps命令查看服务是否已经启动
jps
3475 QuorumPeerMain
5571 MasterServer # Master服务
5877 Jps
3703 NameNode
3848 DataNode
4457 NodeManager
5657 LoggerServer # 日志服务
4858 JobHistoryServer
5707 ApiApplicationServer # Api服务
4302 ResourceManager
5615 WorkerServer # Worker服务
3.2.2.5通过web界面访问
URL
ip地址:12345/dolphinscheduler
默认用户
admin
默认密码
dolphinscheduler123
登录界面如下
![[外链图片转存中...(img-LtIeJT4J-1660130725324)]](https://code84.com/wp-content/uploads/2022/09/6bed571200954ec9a12609d96a240cc8.png)
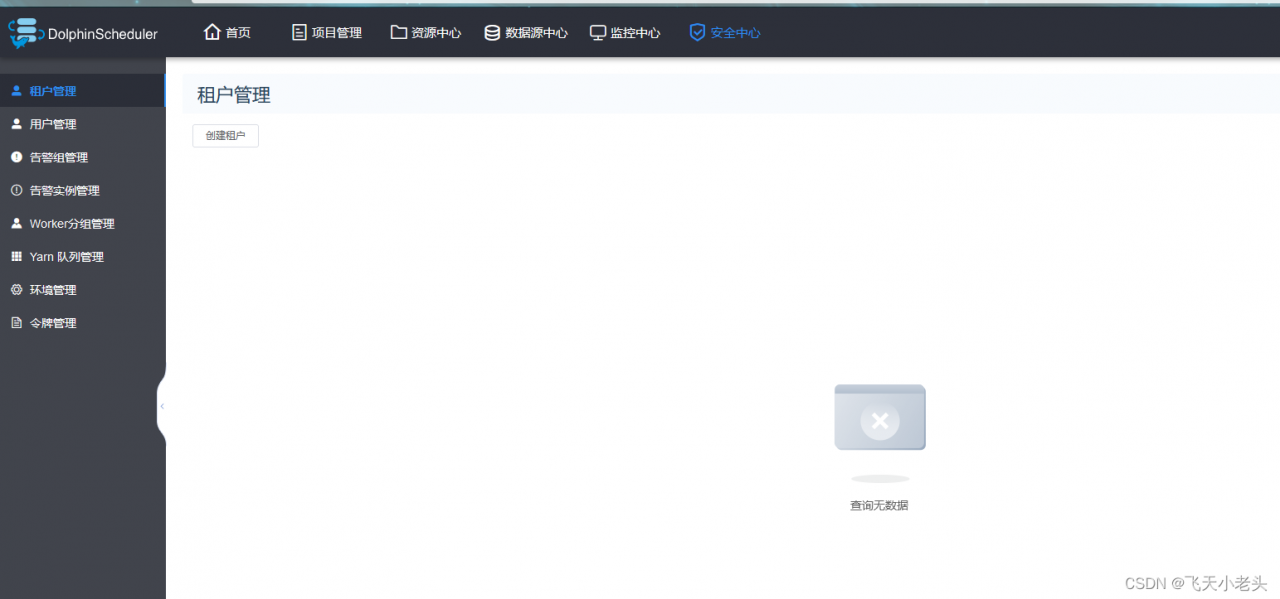
操作界面如下
到这里DolphinScheduler的安装部署就完成了,接下来我们就可以进行上使用了.