服务启动注册原理
Nacos作为服务注册中心,可以很好的支持服务治理,本文主要讲解,SpringCloud下Nacos是如何进行服务的注册的。
SpringCloud服务注册支持
在SpringCloud common包中,SpringCloud提供了服务注册的扩展支持,主要包括如下: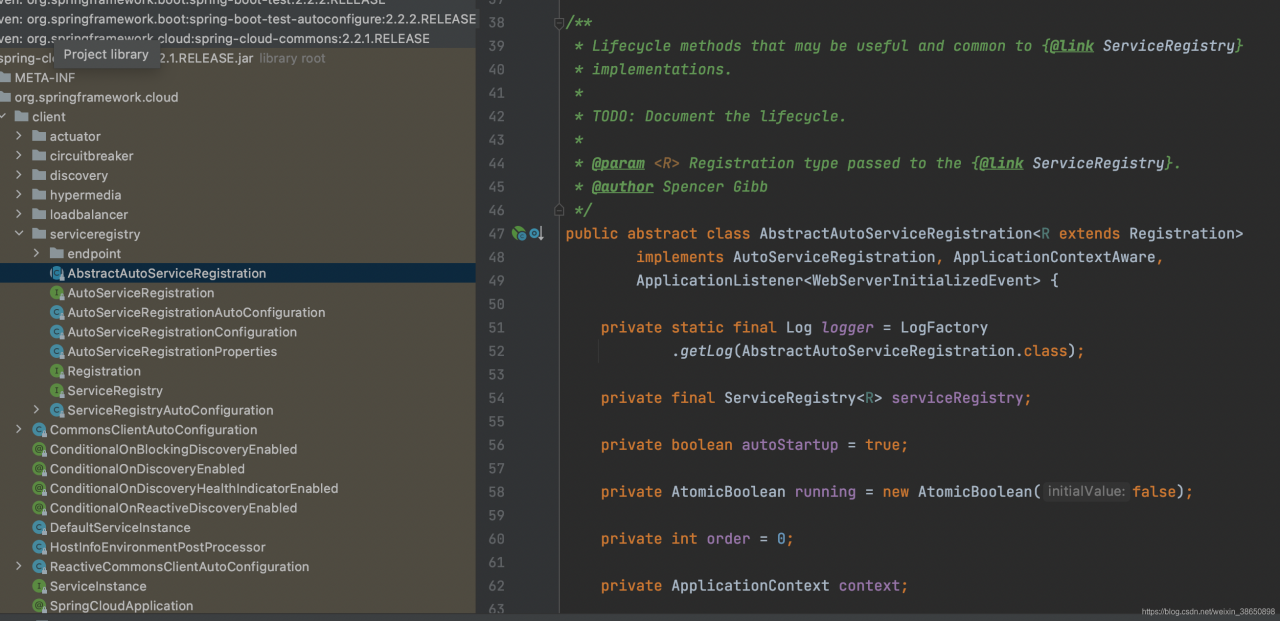
其中主要属性讲解:
- AutoServiceRegistration:继承接口,表明是一个服务注册管理器
- Registration:服务的实例信息接口,继承了ServiceInstance接口,规范如下:
public interface ServiceInstance {
	default String getInstanceId() {
		return null;
	}
	String getServiceId();
	String getHost();
	int getPort();
	boolean isSecure();
	URI getUri();
	Map<String, String> getMetadata();
	default String getScheme() {
		return null;
	}

}
- ServiceRegistry:服务的注册器,负责往注册中心注册服务,源码如下:
public interface ServiceRegistry<R extends Registration> {

	// 注册一个服务
	void register(R registration);
	// 取消服务
	void deregister(R registration);
	// 关闭
	void close();
	// 设置服务的状态
	void setStatus(R registration, String status);
	// 获取服务状态
	<T> T getStatus(R registration);

}
查看一下nacos的服务发现模块,可以看到它确实是根据这个来实现的,如下: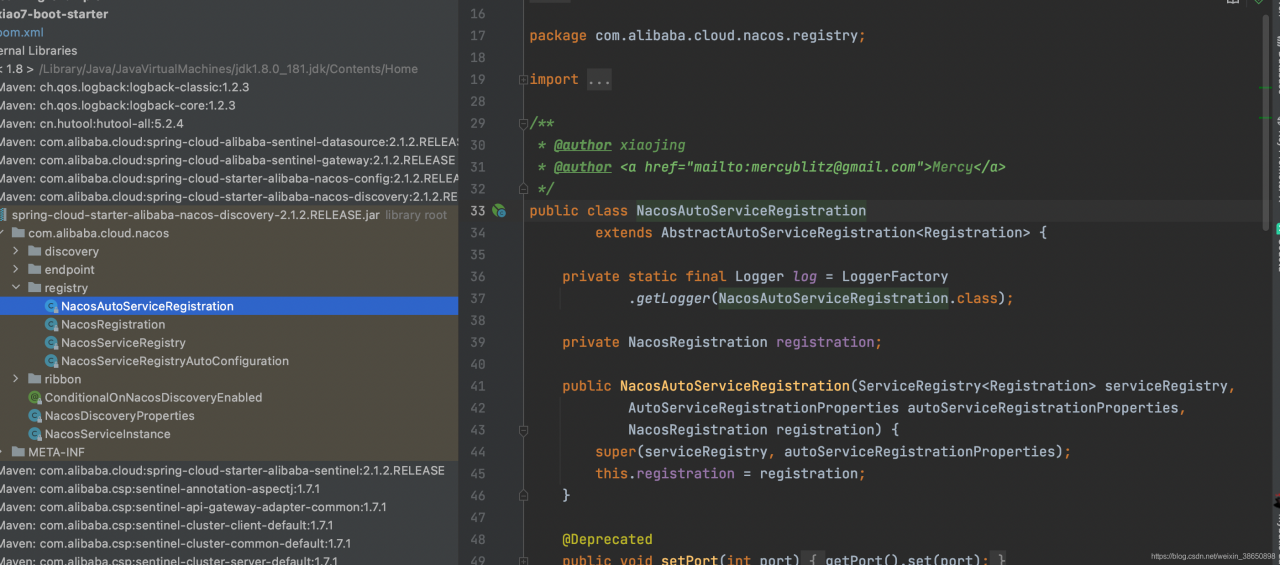
还可以看到的是AbstractAutoServiceRegistration是实现了ApplicationListener<WebServerInitializedEvent>容器的监听事件的,在容器的初始化完后,进行操作的,看一下它在容器刷新完后干了什么,从它的onApplicationEvent方法开始
	@Override
	@SuppressWarnings("deprecation")
	public void onApplicationEvent(WebServerInitializedEvent event) {
		bind(event);
	}

	@Deprecated
	// 绑定事件
	public void bind(WebServerInitializedEvent event) {
		ApplicationContext context = event.getApplicationContext();
		if (context instanceof ConfigurableWebServerApplicationContext) {
			if ("management".equals(((ConfigurableWebServerApplicationContext) context)
					.getServerNamespace())) {
				return;
			}
		}
		this.port.compareAndSet(0, event.getWebServer().getPort());
		// 开始操作
		this.start();
	}
start方法源码:
public void start() {
		// 不开启服务注册则直接返回
		if (!isEnabled()) {
			if (logger.isDebugEnabled()) {
				logger.debug("Discovery Lifecycle disabled. Not starting");
			}
			return;
		}

		if (!this.running.get()) {
			this.context.publishEvent(
					new InstancePreRegisteredEvent(this, getRegistration()));
			// 开始注册
			register();
			if (shouldRegisterManagement()) {
				registerManagement();
			}
			this.context.publishEvent(
					new InstanceRegisteredEvent<>(this, getConfiguration()));
			this.running.compareAndSet(false, true);
		}

	}
// 注册,则是调用this.serviceRegistry服务注册器去注册服务的
protected void register() {
		this.serviceRegistry.register(getRegistration());
}
可以看到,SpringCloud是在服务启动后,通过Spring的事件来进行服务的注册的,至于具体的实现则由不同的注册中心的来实现具体的代码。比如Nacos,到这里SpirngCloud的服务注册支持也就分心完了,接下来就是Nacos的具体的注册流程了。
Nacos的服务的注册源码分析
继续上面是调用了this.serviceRegistry.register(getRegistration())方法,实际的执行便是在NacosServiceRegistry的register(Registration registration)方法中了,具体的源码如下:
public void register(Registration registration) {

		if (StringUtils.isEmpty(registration.getServiceId())) {
			log.warn("No service to register for nacos client...");
			return;
		}

		String serviceId = registration.getServiceId();
		String group = nacosDiscoveryProperties.getGroup();

		// 组装实例对象
		Instance instance = getNacosInstanceFromRegistration(registration);

		try {
			// 使用NacosNameingService去注册服务实例
			namingService.registerInstance(serviceId, group, instance);
			log.info("nacos registry, {} {} {}:{} register finished", group, serviceId,
					instance.getIp(), instance.getPort());
		}
		catch (Exception e) {
			log.error("nacos registry, {} register failed...{},", serviceId,
					registration.toString(), e);
			rethrowRuntimeException(e);
		}
	}
继续看NacosNameing的registerInstance方法是如何注册服务的
   @Override
    public void registerInstance(String serviceName, String groupName, Instance instance) throws NacosException {
		// 是否临时节点
        if (instance.isEphemeral()) {
            BeatInfo beatInfo = new BeatInfo();
            beatInfo.setServiceName(NamingUtils.getGroupedName(serviceName, groupName));
            beatInfo.setIp(instance.getIp());
            beatInfo.setPort(instance.getPort());
            beatInfo.setCluster(instance.getClusterName());
            beatInfo.setWeight(instance.getWeight());
            beatInfo.setMetadata(instance.getMetadata());
            beatInfo.setScheduled(false);
            beatInfo.setPeriod(instance.getInstanceHeartBeatInterval());
			// 注册心跳时间,每隔5秒监听
            beatReactor.addBeatInfo(NamingUtils.getGroupedName(serviceName, groupName), beatInfo);
        }
		// 由服务代理类去注册服务
        serverProxy.registerService(NamingUtils.getGroupedName(serviceName, groupName), groupName, instance);
    }
先看一下代理类是怎么注册服务的:
public void registerService(String serviceName, String groupName, Instance instance) throws NacosException {

        NAMING_LOGGER.info("[REGISTER-SERVICE] {} registering service {} with instance: {}",
            namespaceId, serviceName, instance);
		// 组装请求参数
        final Map<String, String> params = new HashMap<String, String>(9);
        params.put(CommonParams.NAMESPACE_ID, namespaceId);
        params.put(CommonParams.SERVICE_NAME, serviceName);
        params.put(CommonParams.GROUP_NAME, groupName);
        params.put(CommonParams.CLUSTER_NAME, instance.getClusterName());
        params.put("ip", instance.getIp());
        params.put("port", String.valueOf(instance.getPort()));
        params.put("weight", String.valueOf(instance.getWeight()));
        params.put("enable", String.valueOf(instance.isEnabled()));
        params.put("healthy", String.valueOf(instance.isHealthy()));
        params.put("ephemeral", String.valueOf(instance.isEphemeral()));
        params.put("metadata", JSON.toJSONString(instance.getMetadata()));
		// 像nacos发送请求进行服务的注册
        reqAPI(UtilAndComs.NACOS_URL_INSTANCE, params, HttpMethod.POST);

    }
可以看到,服务注册就是构建当前服务的信息,然后发送请求给nacos注册中心进行注册的,至于心跳检测是用于检测服务状态的,如果状态不健康,尝试重新注册服务,然后再次使用定时任务循环执行。
 class BeatTask implements Runnable {

        BeatInfo beatInfo;

        public BeatTask(BeatInfo beatInfo) {
            this.beatInfo = beatInfo;
        }

        @Override
        public void run() {
            if (beatInfo.isStopped()) {
                return;
            }
            long nextTime = beatInfo.getPeriod();
            try {
            	// 构建请求,往nacos注册中心发送心跳请求
                JSONObject result = serverProxy.sendBeat(beatInfo, BeatReactor.this.lightBeatEnabled);
                long interval = result.getIntValue("clientBeatInterval");
                boolean lightBeatEnabled = false;
                // 心跳健康
                if (result.containsKey(CommonParams.LIGHT_BEAT_ENABLED)) {
                    lightBeatEnabled = result.getBooleanValue(CommonParams.LIGHT_BEAT_ENABLED);
                }
                BeatReactor.this.lightBeatEnabled = lightBeatEnabled;
                if (interval > 0) {
                    nextTime = interval;
                }
                int code = NamingResponseCode.OK;
                if (result.containsKey(CommonParams.CODE)) {
                    code = result.getIntValue(CommonParams.CODE);
                }
                // 没有发现资源,则尝试重新发送请求注册服务
                if (code == NamingResponseCode.RESOURCE_NOT_FOUND) {
                    Instance instance = new Instance();
                    instance.setPort(beatInfo.getPort());
                    instance.setIp(beatInfo.getIp());
                    instance.setWeight(beatInfo.getWeight());
                    instance.setMetadata(beatInfo.getMetadata());
                    instance.setClusterName(beatInfo.getCluster());
                    instance.setServiceName(beatInfo.getServiceName());
                    instance.setInstanceId(instance.getInstanceId());
                    instance.setEphemeral(true);
                    try {
                        serverProxy.registerService(beatInfo.getServiceName(),
                            NamingUtils.getGroupName(beatInfo.getServiceName()), instance);
                    } catch (Exception ignore) {
                    }
                }
            } catch (NacosException ne) {
                NAMING_LOGGER.error("[CLIENT-BEAT] failed to send beat: {}, code: {}, msg: {}",
                    JSON.toJSONString(beatInfo), ne.getErrCode(), ne.getErrMsg());

            }
            // 执行完一个任务后,再次执行下一个相同的任务
            executorService.schedule(new BeatTask(beatInfo), nextTime, TimeUnit.MILLISECONDS);
        }
    }
服务的注册流程到这就差不多了,接下来就是结合Ribbon分析服务的发现流程了。